It's no big secret that autumn is my very favorite season! I love everything about it—the bright colors of the changing leaves, the grey skies, the first frosty mornings, the bright starry night skies, and… even the bitter cold winds. For me, one of the most magnificent wonders of autumn is seeing the trees swaying in the gusty winds and watching their leaves take wing. Oh! And don't forget the flocks of migrating birds flying in the wild winds. Yes, the name of my studio was inspired by those gorgeous moments!
Today I'm making earrings again—care to join me? Good! And today, I'm working with a brand new component in leather made by my uber talented sister, Bethanne. If you don't know already, she joined my shop and the ranks of art jewelry element creators just a few months back—such exciting times!!
Okay, lets get creating…
Supplies you'll need:
- 22 gauge bronze wire
- 2 headpins
- 2 earwires
- 2 10mm carnelian coins
- 2 rustic chevron leather rectangles
- 2 raven black aster wheel disc beads
- 2 rustic tribal white seabird beads
* The chevron rectangles, aster wheels, and seabirds are available in my etsy shop.
Tools you'll need:
- tape measure
- wire cutters
- round-nose pliers
- flat-nose pliers
- bent-nose pliers
- large needle
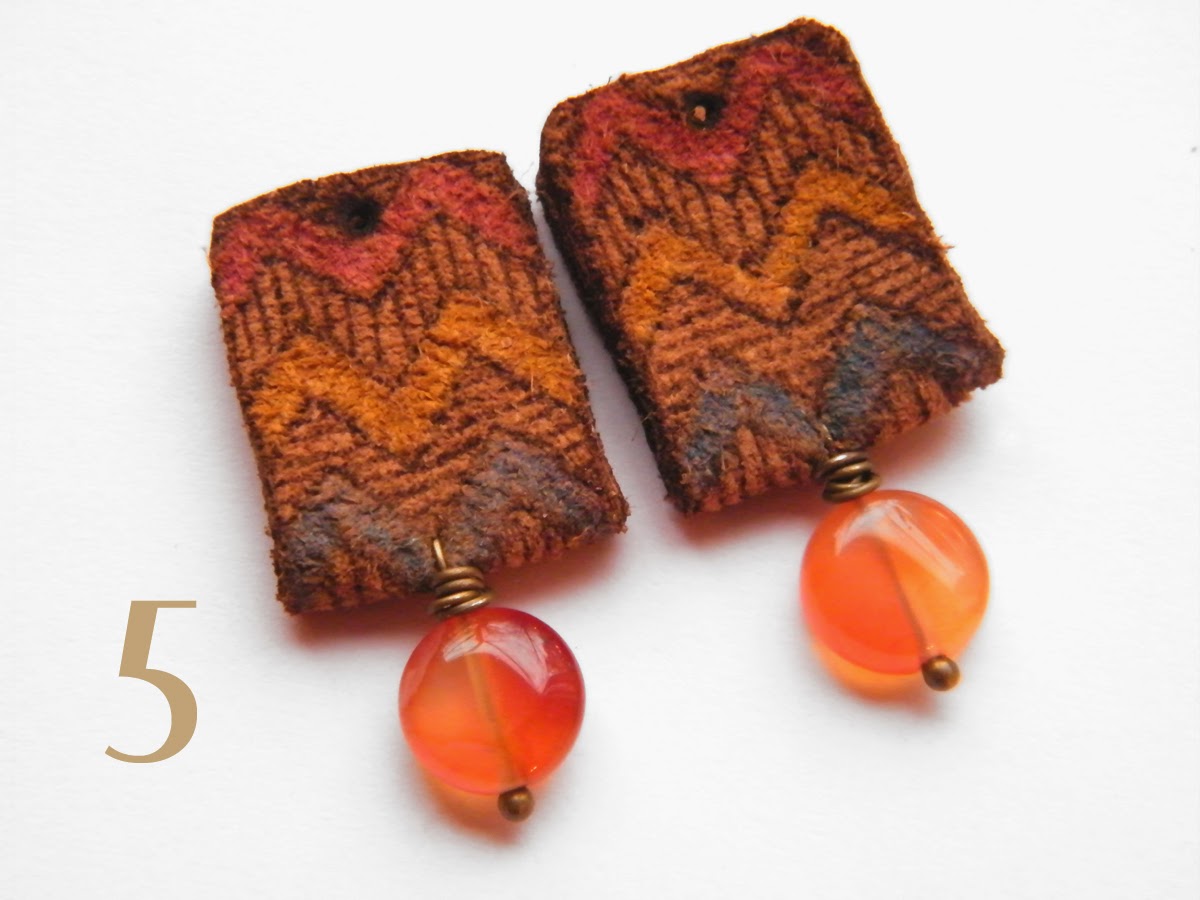
1. Put the carnelian coins on headpins.
2. Fold the chevron rectangles in half and using a large pointed needle, pierce a hole going all the way through both sides of the fold.
3. Pierce the second chevron rectangle.
4. Put the headpins through the holes and bend straight down, leaving a little space above the carnelian for wrapping.
5. Wrap both carnelians drops.
6. Cut two 14 inch lengths of 22 gauge wire.
7. Sandwich the aster wheel between the chevron rectangle and put them at the center of the wire.
8. Wrap several times through the aster wheel and chevron rectangle to secure them in place. The holes are a bit smaller on the chevron rectangle than the aster wheel, so I wrapped two times around the aster wheel first… and then through the holes of the chevron rectangle a few more times to give me enough wraps to keep everything together.
9. Bend one wire up straight and wrap the other tightly around once just above the aster wheel. Place the seabird just above the wrap.
10. Form a wrapped loop at the top of the seabird. Don't wrap the wire beneath the seabird yet!
11. And now, wrap the wire at the base of the seabird. Wrapping the top loop first makes it easier to make the base wrap tight and consistent. Do steps 7 though 11 to make the other earring… add earwires, and you're done!
Enjoy your new earrings!!
Have a fabulously creative weekend!
Rebekah Payne


Loved the earrings . Am going to make a pair for myself . Thanks for sharing this wonderful tutorial :)
ReplyDeleteThis earring looking so beautiful and your tutorial also helpful to try it... Thanks for sharing it..
ReplyDeleteJaslynn, Bizbilla b2b portal
Dang Rebekah these are some of the coolest earrings ever!! I love everything about them, lots of fantastic components put together in an unusual way. You rocked it!!
ReplyDeleteGreat earrings Rebekah and I'm loving Bethanne's new work.
ReplyDeleteBeautiful
ReplyDeleteI will not buy the components-no bead money; so will not make these absolutely gorgeous earrings. The tangerine colour is stunning....
ReplyDeletelove these, Rebekah! Especially those sweet birds!
ReplyDeleteThese are so beautiful. Rebekah! Congrats and thank youd to both you and your sister for having such lovely items and ideas!
ReplyDelete