
-Jen





If you would like to experiment with your own tulip shapes, Keirsten is very generously sharing her template with you. First, click it to open the image, then right click to save it to your computer. Print it out, and use it. Make sure you share your results!

---------------------------------------
I love metal beads and other three-dimensional metal shapes;
unfortunately it is difficult to find such ready-made items in a finish that
matches my own metalwork, and I don’t do any casting, or work with metal clay
so I can’t easily make my own. I decided to try achieving a 3D shape with
simple cuts and curves. My inspiration was tulip blossoms:
 |
| Photo by John O’Neill courtesy Wikipedia (http://en.wikipedia.org/wiki/User:Jjron) |
I just love this shape.
I used a tulip-shaped vintage brass beadcap for a starting
point, picturing it spread flat in my mind (I still thought I might use it so I
didn’t want to actually smash it flat).
 |
From Calliope’s Attic on Etsy
|
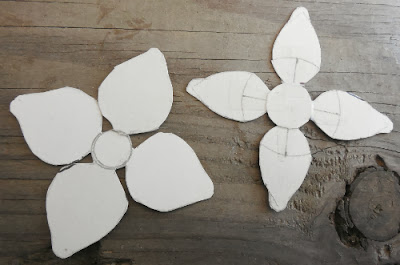
I sketched out a couple of large shapes that I thought might
work, with four petals.

I eventually bit the bullet and just smashed the beadcap I
had, thinking, “Well, I’m going to make a bunch of these from copper, so what
do I really need it for?”

I scanned it, and then made several different sizes on the
computer and printed them onto card stock to make templates from:
 |
| the actual template is included at the bottom of this post for you to save and use |
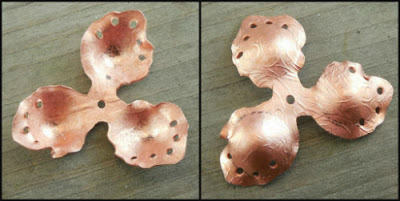
Then using my new templates I cut out several sizes from
various gauges of copper sheet—22 gauge for the very large ones, and 24 and 26
gauge for the smaller ones. I etched the 22- and 24-gauge shapes, and embossed
the 26-gauge sheets with coins and a hammer .
I punched center holes with my Beadsmith hole punch pliers, and then annealed
all the textured shapes to make them easier to work with. Just for fun I made
holes in the edges of the petals on one pair.

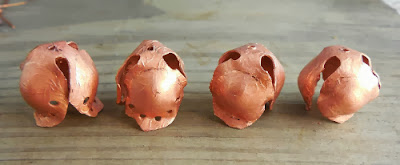
I began by using my doming set to produce slightly cupped
shapes on the petals.


Then I domed the center of each shape, first resting the
doming punch in the center of the shape and pressing the petals against the
ball with my fingers, and then hammering the punch gently into the cap.


Et voila!


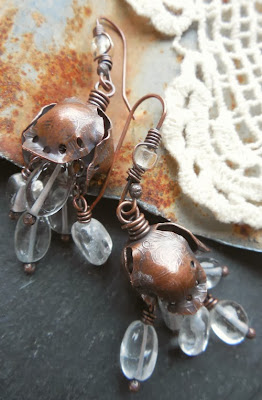
I’ve used one of the small embossed pair for earrings, with
clear quartz:

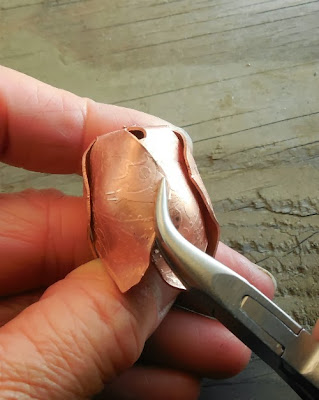
I made the largest ones from 22 gauge sheet. These required
a little more man-handling—I had to curve the edges of the petals inward a bit
with my pliers.

The large ones may be part of necklaces eventually, and maybe
I will use a pair of the larger ones for a lariat. I have to say I preferred
the three-petal bud to the four-petal. I may rework the four-petaled ones a
little bit to give them a rounder shape. All in all, it was fun!

-Keirsten Giles
If you would like to experiment with your own tulip shapes, Keirsten is very generously sharing her template with you. First, click it to open the image, then right click to save it to your computer. Print it out, and use it. Make sure you share your results!


