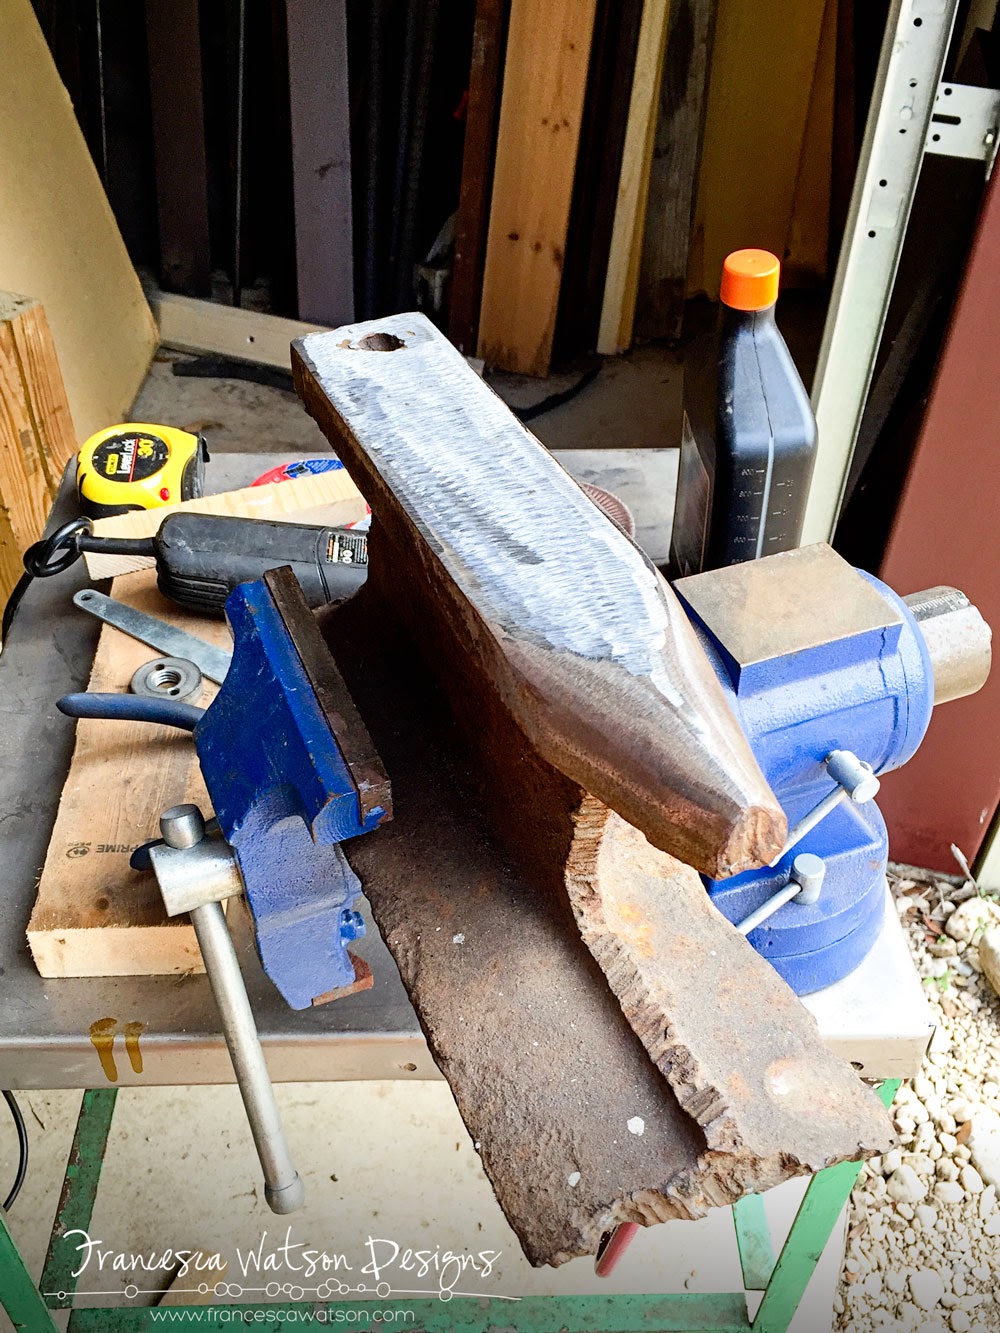
I'm not sure why this is the case, but nearly every metalsmith I know longs for an anvil made from an old piece of railroad tie. Those buggers are expensive, though, and I've never found one I could afford.
Until last fall.
I got this old anvil for a song from a jeweler friend of mine, Marcia Bell. I think she said she found it at an estate sale, and I snapped it up in spite of its condition. And then I called my friend and local blacksmith John Meyer (who also happens to be the husband of Lisa Stamper Meyer, one of my Roadhouse business partners) because I've never refinished an anvil before and because I knew he'd jump at the chance to break out the big tools.
OK, medium tools.
It turns out that refinishing an anvil is identical to finishing a piece of jewelry: start with a heavier grit and work your way down to finishing grits. In the case of a lap grinder, which is what we used, we started with 80 grit and worked down to 400.
Don't be fooled - John's featured in these photos, but he made me do my share of the work! Between the two of us, we managed to get the deep grooves out of one side of the horn in about 10 minutes.
Then we went to work on the rest of it.
It took us over an hour to get to this point, and my hands and arms were aching. The vibration from the grinder is really hard to take - even though it isn't necessary to press hard on the metal, even a short period of time working with the tool left me seriously fatigued. I have a whole new appreciation for machinists and other folks who work with these kinds of tools every day.
This first session was last October, and it was several months before John and I could coordinate our schedules to finish the project. Last week, we finally had the opportunity.
We got the whole surface down to a rough finish - thoroughly cleaned, all the grooves gone, and the shape refined. And then we polished.
It took another hour to get it to this point, and John had to do the last 10 minutes for me because my arms and hands were literally numb. It was totally worth it, though - this bad boy is going to be my main workspace for forming and forging, and now I know how to care for it properly. The next step will be to build an anvil stand for it, and then John will help me bore some holes in the base so I can bolt it down to keep it stable. I'll be sure to document that process.
Here's what I learned along the way:
- Techniques learned in one discipline (jewelry making and metalsmithing) can be translated to another discipline (blacksmithing) with a little tweaking. Finishing is finishing is finishing. Had I thought about it (and watched a lot of YouTube videos), I probably could have figured out how to do this by myself, but I was intimidated.
- That said, there are some significant differences between working with steel and working with sterling silver. The most obvious is that steel sparks when you grind it, so make sure you're working on a fireproof surface with plenty of ventilation, and have water or a fire extinguisher on hand. You'll also want to tie your hair back and wear protective gear: safety glasses for sure and something to cover your clothes so a spark doesn't catch them on fire. A couple of sparks hit my cheek at one point and they really stung, so be careful!
- Take your time! Working with larger, unfamiliar tools can create fatigue and that can be dangerous. I was grateful to have a "spotter" while I worked, to make sure that I wasn't sloppy or creating an unsafe situation.
So this was kind of a two-in-one bucket list moment for me - a railroad tie anvil and a lesson in working with large tools and steel. I love it when moments come together like that - has that ever happened for you?
Until next time -


-2.jpg)


