Showing posts with label raku. Show all posts

Sunday, October 2, 2016

An Abundance of Tree Inspiration

When Caroline chose trees as the theme for September's challenge I was thrilled! I have been in awe of trees for a very long time. I have taken countless photos and have used trees as inspiration in my jewelry and fiber art for several years.
It wasn't until I sat down to make some jewelry for the challenge that I realized just how many items I had already created using trees/leaves as inspiration.
After completing the tree challenge I wanted to do another blog post so I could share the numerous pieces that I have created over the past 8-10 years with trees as my inspiration.
As you will see trees can be depicted in any medium. They lend themselves to hand stitching, machine stitching, creating leaves from copper, creating trees from wire, stamping in clay, stamping on fabric...The opportunity to use trees as inspiration in your art is endless!
                                            A few pieces of jewelry using leaves-
Brass Etched Leaf, Agate & Acorn Necklace
                      
Hand Forged Copper Leaf & African Turquoise Necklace
Rustic Raku Leaf With Tibetan Agate & Glass Beads
And a beaded cabochon that looks as though you are peaking through hanging limbs at a misty pond.
Bead Embroidered Jasper Necklace Hanging From An Antler

You can etch copper with trees and encase in resin.
Etched Copper In Metal Bezel With Resin

                                     Trees can be embroidered by hand and beaded.
Detail Of Crazy Quilt
Fiber Collage With Ribbon/Embroidered/Beaded Tree
Felted Fiber Collage With Beaded Tree
Photo Printed On Fabric With Multiple Layers of Embroidery & Beads
Trees can be machine embroidered and embellished with jewelry type elements. These are close-ups of art quilts with trees as the central element.
"Keeper of the Woods' Art Quilt
"Can't See the Forest for the Trees' Art Quilt

                              You can use rubber leaf stamps to print on fabric or paper.
                              I used the same hand-carved stamp for both of these pieces.
"Spring Revival" Art Quilt

"Central Park Player" Mixed Media Collage
Or you can actually use leaves to paint and print onto fabrics. After I printed with the leaf I encased the painted leaf between fabric and tuille then edge-stitched it.  I attached the leaf on the printed fabric to create more dimension.
Fiber/Mixed Media Mini Quilt
And again, I used a real leaf in a mixed media collage below.
"Be Who You Are" Mixed Media Collage
Leaves can be used as a resist for sun printing with setacolor paints as in the photos below. The first photo also has leaves stenciled on the fabric. And the second photo has a screenprinted dandelion.
Dyed, Sun Printed, Stenciled, Screen Printed

Dyed, Sun Printed, Screen Printed, Machine Embroidered & Beaded
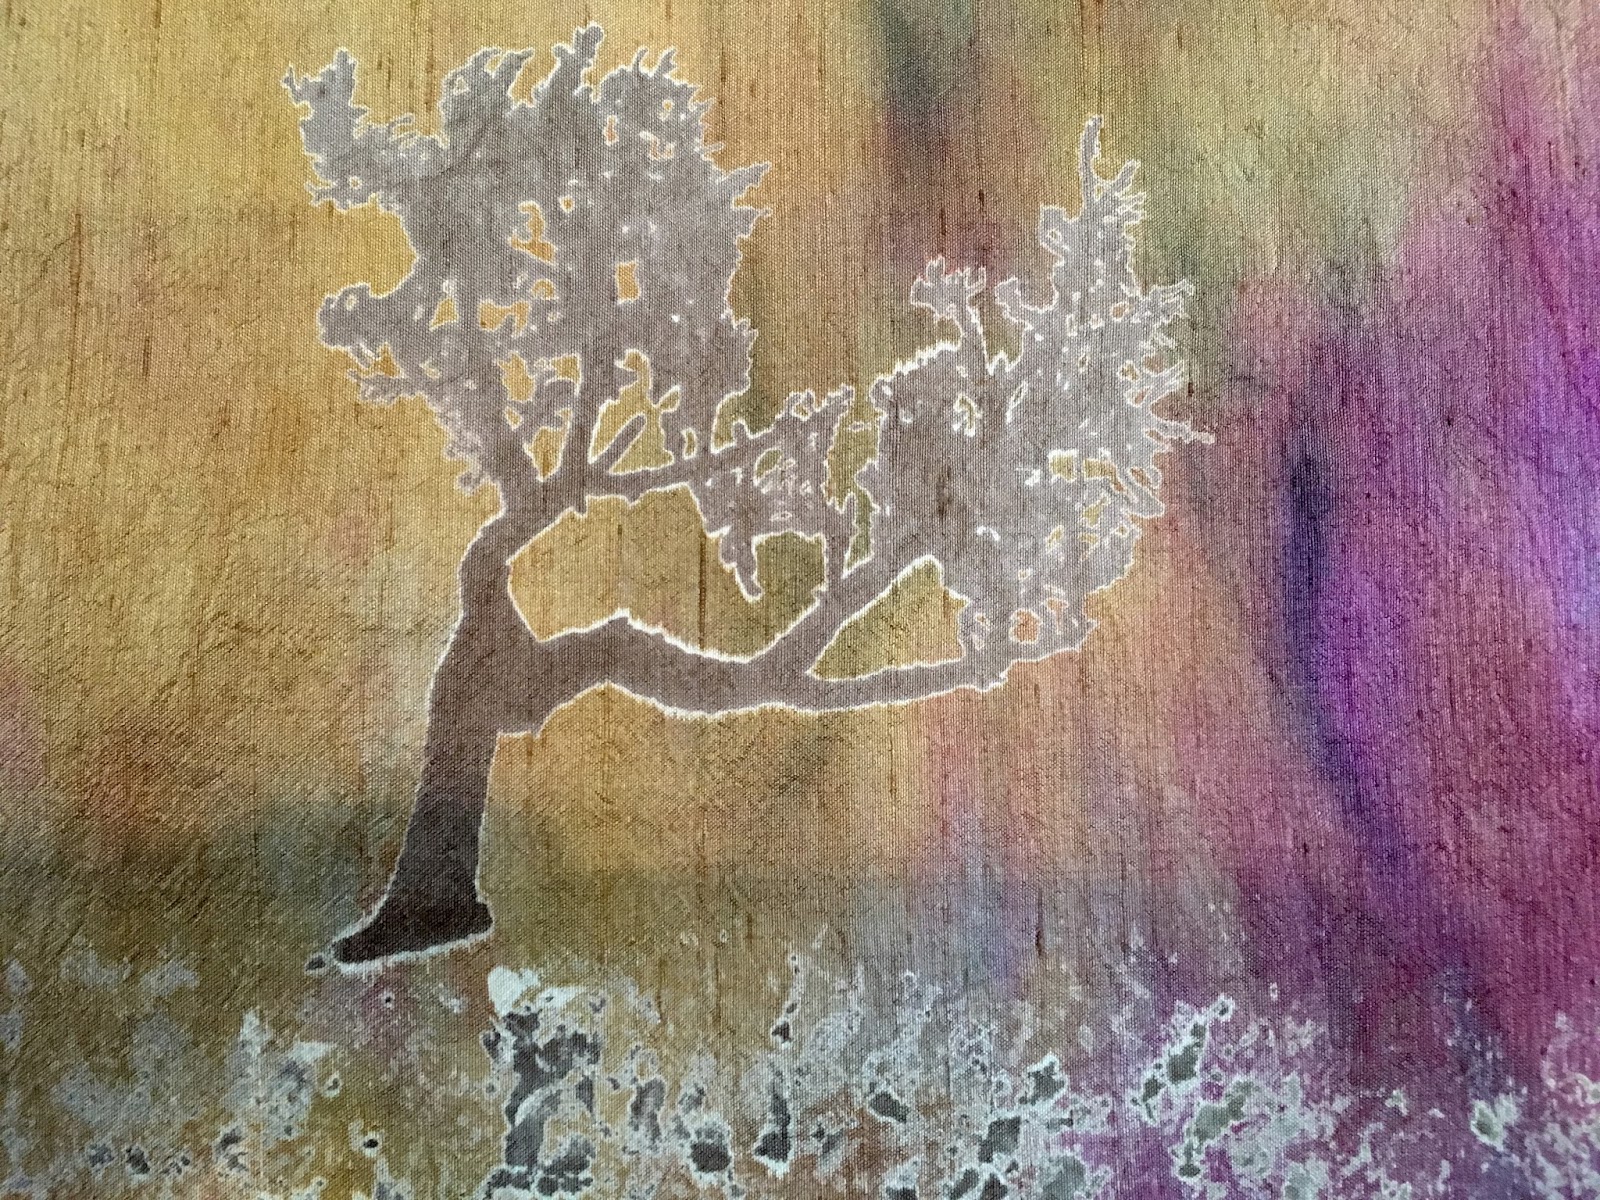
These trees were screenprinted onto hand dyed silk with discharge dyes and are just waiting for me to do something with them!
Dyed Dupioni Silk Screen Printed With Discharge Dyes

Dyed Dupioni Silk Screen Printed with Discharge Dyes

Leaves can be used to impress into clay. The one below is raku.
Elephant Ear Leaf Plate

The ones below were rubbed with oxides then high fired glazes applied on stoneware.
Hosta Leaf Plate
Hydrangea Leaf Plate

Maple Leaf Plate With Leaf Handles (I forgot what leaves I used?)
Believe it or not, there are still other ways I have used trees.  I mentioned all the photos I've taken- well, they could possibly be a whole series of blog posts by themselves so I will stop here.

Hopefully, you will be inspired by trees in ways you had never considered before. Maybe we will revisit the tree theme here again in the future. If you didn't get a chance to see all the participant's tree inspired pieces please do so. They were fabulous!

Looking forward to October's component of the month-sugar skulls.


Friday, August 19, 2016

Playing with Raku

I've hardly done anything this last couple of weeks, it's school holidays so my time has been dictated by children. So I was looking around for something to write about and I decided to have a go at a raku technique I read about ages ago.... resist erosion.

Raku Firing
I've tried this idea on porcelain once before using shellac to mask the design, but this technique uses wax. I had a bottle of wax resist and a piece of dry greenware that I made to try out slab building that I didn't know what to do with next so I started of giving it a coat of wax.

Greenware with wax resist coating
You can't see much from the photo, but it's fully covered with a coating of the resist.

After tracing around the edge of the shape, I sketched out a rough design and transferred it to paper which was wrapped around the piece.

Transferring the design
The design was traced over again with a ballpoint pen and a gentle pressure to transfer the pattern on to the clay.

Scratching the design through the wax
Using a sharp pointed tool, the design was scratched through the wax and in to the clay. I freehanded some leaves and grass to fit around the shape.

Sponging away the clay
Using a sponge and gently rubbing in a circular motion, I carefully went over the lines to wash away the clay. The wax starts to erode along the edges where the design has been scratched through to the clay leaving a shallow organic depression in the piece. 

Glazing
Once the piece had dried again, I painted over the lines with a copper glaze. The wax resists the glaze and any pools were removed by gently dabbing with some kitchen roll. Once dried, it was put in to the kiln for a single firing. 

The reduction bin
I couldn't photograph the next bit as I needed both hands for taking the piece out of the hot kiln. It was transferred using tongs to a tray of sand with straw and newspaper on top. Once alight, a metal bucket was placed over the top and pushed in to the sand to create a seal and allow the oxygen inside the bucket to burn out creating a reducing atmosphere. The lack of oxygen affects the glaze and brings the metals in it to the surface.

The big reveal
After a few minutes, comes the exciting part... removing the bucket and seeing what the flames have created. 

The finished piece 
Not so pretty on the back
The muck and carbon were cleaned off and I gave the piece a coat of clear sealant for protection. The front and back look totally different, mostly due to the fact that I messed up the cleaning on the back bit during the glazing part and rubbed it rather than dabbing, so the glaze got stuck in the wax and transferred to the parts that should have stayed black. 

Overall though, I'm pretty happy with how it turned out. It's much better than my first attempt at copper glaze where everything just came out nasty brown, and it's definitely something I will be exploring further. I think this would be a fantastic technique to try out on beads!


SaveSave

Monday, July 6, 2015

Tropical Bracelet Redo

I hopped a cruise ship to Bermuda yesterday.  Before I left I wanted to make a few extra pieces of jewelry to bring with me.  

I had made this bracelet earlier in the year to wear on the bead cruise but found that I had selected some beads that made it too heavy and the waxed linen began to stretch.  
Original bracelet
While it's a really cute bracelet, I couldn't have it expanding in size on me so I took it apart.  It turns out that it also contained some beads that went really well with a dress I purchased for my Bermuda cruise.
Dress Fabric
There were so many wonderful colors in this print to work with; aqua, cobalt, yellow, pink... I began pulling out lots of wood, lucite, shell and art beads to play with!
Messy Desk
Then I remembered I had some memory wire and thought it would be fun (and easy) to work with that.  After lots of pulling out beads, putting back beads, pulling out more beads, I had a finished bracelet!
Finished bracelet
I used art beads (bronze, ceramic & polymer), wood, brass, czech glass and shells.
Art beads
I'm really happy with the finished piece.  Although I do miss the original bracelet, this works so well with my sundress!  

Art Beads
Polymer: Humblebeads
Bronze: THEA Elements 

The next time a piece of jewelry doesn't quite work out the way you hoped, take it apart!  You'll find inspiration elsewhere...maybe even in a sundress!

Happy Beading!

Wednesday, October 1, 2014

Great Techniques I've tried - Glaze masking


A couple of weeks ago I got a great book in the post on Resist and Masking Techniques by Peter Beard. I'm not going to review the book today, I don't tend to read books properly, I skip through the pages until something catches my eye, I skim over what I need to know and go and play. But if you like what you see, here's the front cover so you can get yourself a copy.


Flicking through, the first thing that made me stop and read was a picture from my favourite Raku artists Will & Kate Jacobson. Their work is beautiful!!! They are the creators of a technique called naked Raku, where slip is applied to their pots and carved before firing. This leaves beautiful soft lines where the smoke from reduction stains the bare pot.


The accompanying text explained that to create sharp rather than soft lines in their work, they used watercolour masking fluid... that was all I needed, so I set about making raku clay beads and bisque fired them ready for testing.


I decided I was going to glaze these beads in crackle white rather than using slip, and mask areas to leave the clay bare for firing. When put in the reduction bin, the smoke from the combustive materials would colour them in black.

I dug out my masking fluid and painted the veins in the leaves. 


I found when using it, it was easier to pool fluid and drag it to where you wanted it, rather than the usual dip and paint which left too thin a coating of masking fluid. 


And always looking for a way to use my Cameo for anything I try, I cut a couple of simple designs in vinyl and stuck them on to some of the bisque.


The beads were glazed and while the glaze was still wet, the masks were removed.


This is the result from the vinyl mask.


And this is from the masking fluid.


On first impressions, the vinyl mask left a cleaner line when removed. I think because when removing the painters mask it stretched and flaked the edge of the glaze.

They went in to the kiln and were pulled out at 950oC and transferred to the reduction bin full of straw and sawdust.

After cooling down and cleaning, they were ready for a first look. I'm really pleased with how they turned out.


The smoke did exactly as I'd hoped and really blackened the bare clay. After drying, it turned to a beautiful smokey grey. I'm going to use the vinyl mask in future beads as I like the nice crisp edge to the glaze, and the fact that you can get more detail with the cutter than my splodgy painting!


I'm really excited to keep experimenting with this technique and will be mixing lots of glazes and cutting new designs for more, I also plan to try this out with my commercial glazes in the electric kiln. It's a really easy technique that gives fantastic results! If you work with ceramics and haven't already, you should give it a try!

Thanks for reading!