Saturday, May 31, 2014

Friday, May 30, 2014

Freeform Friday: ovals, rings, links... Oh my!


So there has definitely been a theme here on the blog...  Many of us hear the clock ticking down to Beadfest. I know, its months away... but clay takes time! I was back in the studio yesterday after a hiatus that involved shows, travel, and a bit of vacation... I have two weeks until I start teaching summer classes and then the days REALLY fly by. I need to make them count.

Today - white stoneware. 

Stamped and textured. 

circles cut... 
Centers cut... 

Diverse piercings. You never know what the shape and configuration might inspire... 

I decided to save the center piercings and make tiny charms. Perfect for earrings.
I may loathe glazing them, but for now it seemed like a great idea. 
 So I made a huge pile of pieces: approximately 200 because I counted over 100 little tiny charms! Seems fast? Sure - but there is SO much to do to each piece before we get close to "finished". 

Sponge, sand. Dry. Bisque fire. Glaze and stain. Glaze fire... Its going to be weeks until all the stages in the process are complete! ( For more information on the kiln and ^10 reduction firing - see this previous post. ) 

When I first made these large ovals and links, it was on a whim, test them out and see how they were received. I did some in high fired stoneware ( ^10) - very earthy, rustic. I did others in my low fired earthenware with a diverse, more colorful palette. 

Stoneware on left. Earthenware on right. 

This is what I imagined their future to be when I created them: 


Hi fire stoneware oval pendant by Staci Louise Originals. 

Low fire earthenware pendant. Also by Staci Louise Originals.  Smaller charm by Barbara Bechtel/Second Surf. 
 This happened at the Bead Soup Blog Party this year. I am blown away! It shows how versatile these links can be - more so than I imagined! (Thanks to Sally Russick for sending this link in her soup! )
Hi fire Stoneware as toggle, created by Rose Rushbrooke

Hi fire Stoneware as toggle, created by Rose Rushbrooke

I am still excited to see my components used in such fabulous pieces. I suppose that never gets old! I admire the creative use of the oval as a link, and the presence of the negative space as a design element. It helps me see things with fresh eyes! 

This year will be my third Beadfest exhibiting and my first teaching. While I don't want to wish the summer away - I need time! I have things to do! - I am super excited... 

Hope you have a creative weekend!
Until next time... 

Jenny

www.jdaviesreazor.com


Thursday, May 29, 2014

China Painting

I have recently been exploring the world of china painting. I was first introduced by a friend, Jill Egan, who creates the most incredible designs on porcelain. I’d always thought it was an old fashioned technique, used for painting flowers on plates, but if you take a look at Jill’s work you will see it can be used to create contemporary designs and beautiful scenes.

Boxing Hares


Zentangle Pendant

I’m always looking for new techniques and ways to add another dimension to my work, and china painting hits the spot. It’s a huge subject, which I have only dipped a toe in to, but in a nutshell, china paint powder is ground and mixed into paint with a mixing medium 


The paint is then used to colour your fired and glazed work. 


Blank glazed cabochon


After painting

The piece is fired again to fuse the paint with the glaze and make it permanent and waterproof.


I’m not a very skilled painter, but I really enjoy painting simple designs on my beads. Usually, designs are painted in layers with a firing between each one, but I’m far too impatient for that, and I like the rough finish of the single layer of paint… I call it rustic!


Just a single colour can really make your designs pop!

While glaze painting is unpredictable, with china paints, the colour doesn't bleed, so you get a good idea of how your work is going to look before you fire it to make it permanent. You can use tools to wipe any paint away that gets where it shouldn't before you fire, and you can paint detailed lines and know that they are going to stay put.

The colours do change slightly once they’re fired and become a bit deeper and more glossy, so I’ve created a palette of all my colours from a cheap white plate.


It’s a fun technique to try out and can open up a whole world of design possibilities, but as with all ceramics related techniques, observe the proper health and safety rules. The powder is very fine and should not be inhaled or ingested, and your kiln should be properly vented while firing.

If you’d like to learn more about the tools and equipment needed for having a go, Jill has a blog with loads of helpful information. Here’s one of my favourite posts on how she does pen work to create her beautiful zentangle designs.

http://kilnfiredart.wordpress.com/teaching-pages/overglaze-painting-tutorials/penwork-on-ceramics-the-basics/


And here’s a little more inspiration to finish off…


Thanks for reading!

Caroline

Wednesday, May 28, 2014

How funky is your creative funk?

Mine is pretty funky. I have absolutely no desire to head to the studio. I'm not inspired by anything. My brain is in 5 billion different places the last few weeks (lots going on here)...none of which includes bead making. Oh, sure, I've participated in a waxed linen challenge and blog hop, and the April AJE design challenge. But other than that? Not really much of anything happening.

Over the long (United States) holiday weekend, I realized a couple things. My brain is now officially on vacation at the lake house. And second, that needs to change because I have three months to prep for Bead Fest Philly.

And while I spent very little time on Facebook this weekend, this photo of ceramic pendants made by Natalie McKenna (Grubbi Ceramics) immediately caught my eye when it showed up in my feed.


I can't find the original comment she made regarding the pendants, but it was something like they were based off photos she took in Scotland. (I would ask her directly, but it's like 5am her time as I write this. I highly doubt she's going to respond in the next 15 minutes or so that my eyes are going to stay open to finish this post.)

Hello? DING DING DING!!!! Remember my lake vacation brain? How about combining my love of the lake and love of making beads? I'm sure you're thinking "Duh, Jenny. How slow are you?" 

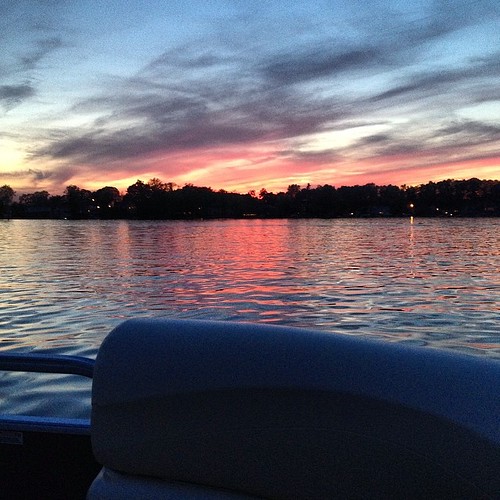
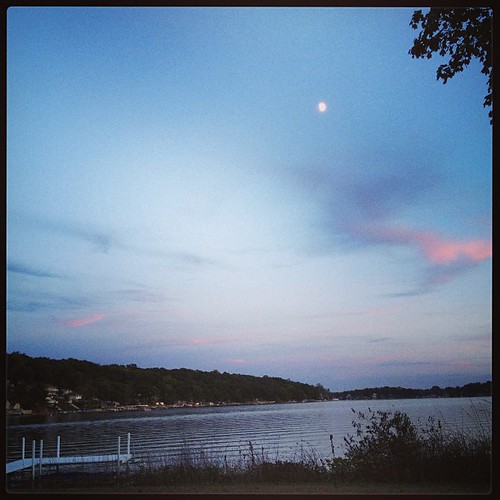
Sunset cruise.


But I've never been someone who makes beads based on something. I'm more inspired by color and reactions than anything else. 


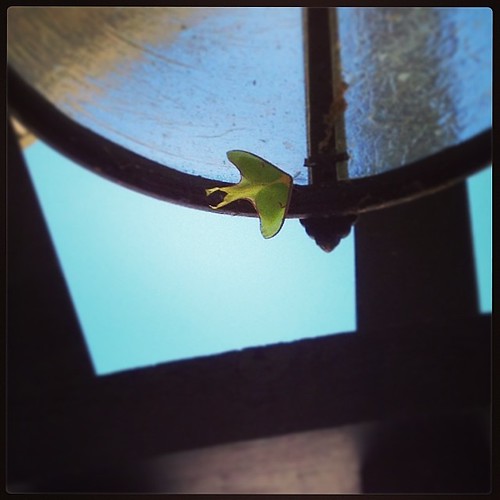
Luna moth. I've never seen one in person before and thought a leaf was stuck in the porch light fixture at first glance. #lunamoth


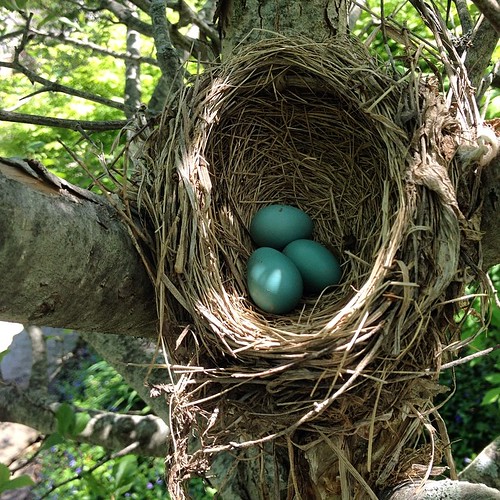
Found hiding in the Hawthorne tree.


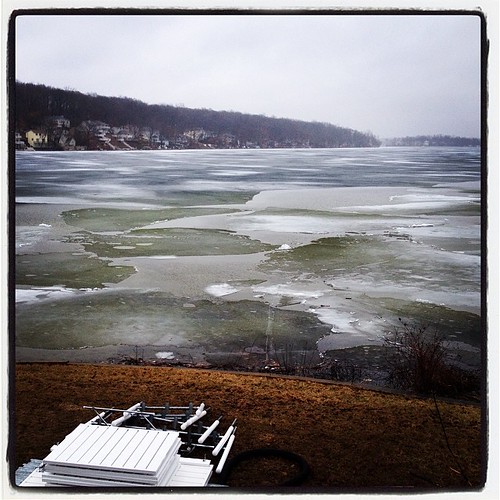
Sheets of ice shifting, moving, crashing together on the lake today.

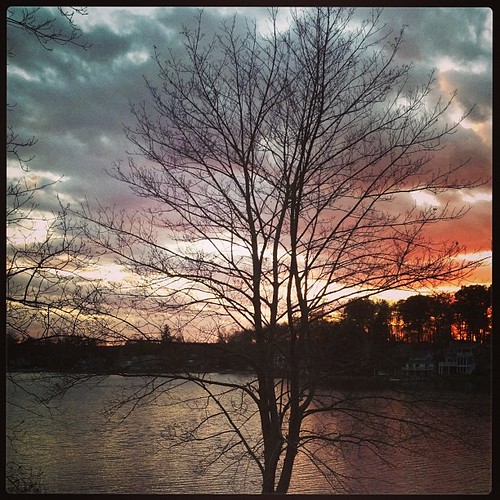
Sunset


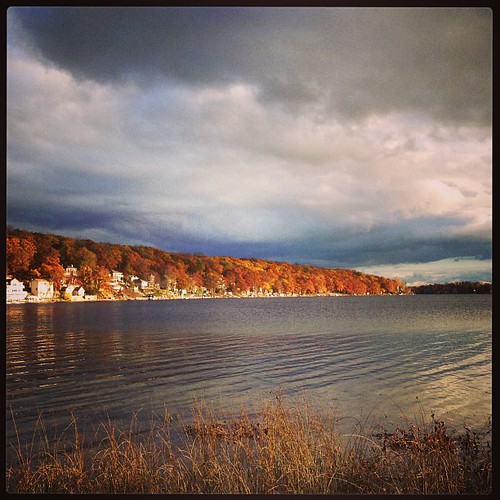
Autumn at the lake  house


Just arrived at my happy place.


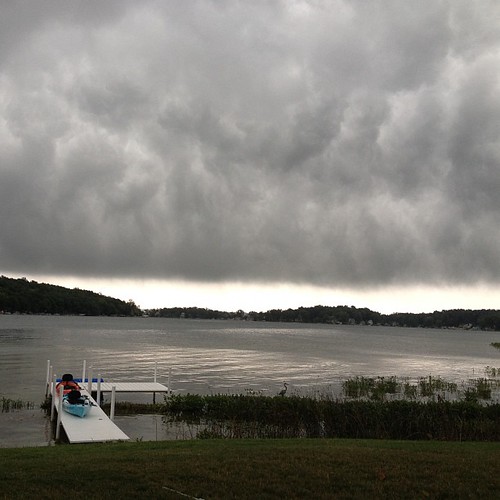
Ominous clouds moving in. #nofilter #lakejamesindiana

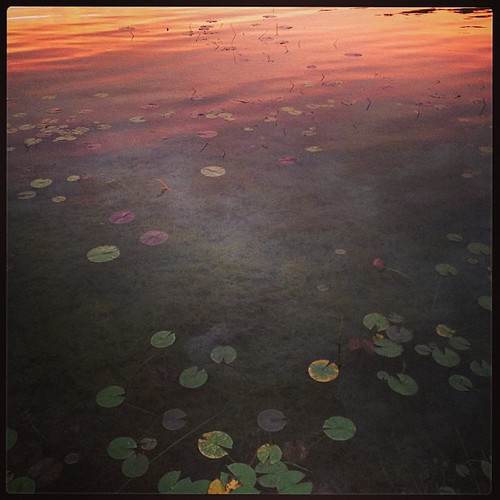
Lily pads in sunset


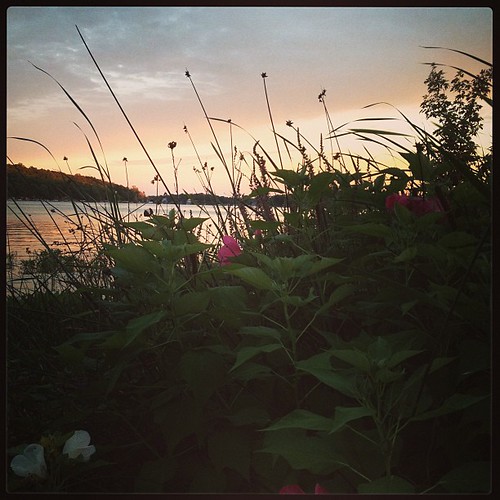
Lake "weeds"


The Sandhill crane couple (aka the alarm clocks) surprised us yesterday with two teeny fuzzy brown bundles of joy. The cranes are super skittish and won't let me get very close to get a good iPhone shot. One of the babies is at the bottom of this pic, abo

Even my AJE teammate, Rebekah, was inspired to create this set of beads for me based on photos I took at the lake. And I absolutely treasure them. 


I think it's time to create my own "lake series" beads based on my own photos. Next thing you know, I'll be sketching bead design ideas too. That would just be plain crazy...

Hopefully I'll have something worth showing for my next post in two weeks. 

Have a creative week! 

-Jen Cameron

Monday, May 26, 2014

Let the Bead Fest Games Begin!

It's that time of year!  Time to start prepping for vending at Bead Fest Philly.  Yes, the event is not until the end of August but it does take me about 3 months to get ready.  I like to have a nice assortment of stoneware and porcelain with me.  This year I'd also like to see my raku return.  What does this mean?  Well, I need to get my stoneware and porcelain work finished up by the end of June so that I can have July to do 2-3 raku firings and hopefully 1-2 more in August before the show.
Right now I'm working on some new designs,  samples for the bead cruise (one of my cabochons is being used as the focal for Beverly Herman's "Star of the Sea" class), inventory for Etsy, swaps I promised people AND inventory for Bead Fest.
It can be difficult finding a balance to do all these things and sometimes I feel like the funny face in the photo.  
I keep it all straight by making lists...LOTS of lists!  At the end of the day, I know I'll pull it all together and be ready for the show in time.  I've already done this twice before so it's just a matter of staying organized (again, lists) and eating a lot of candy (yes, that's my big not-so-secret).  

Now excuse me while I go hide in the bead cave for the next three months....

Diana P.

Sunday, May 25, 2014

Rolo-Chain-Style Links for Larger Holed Beads

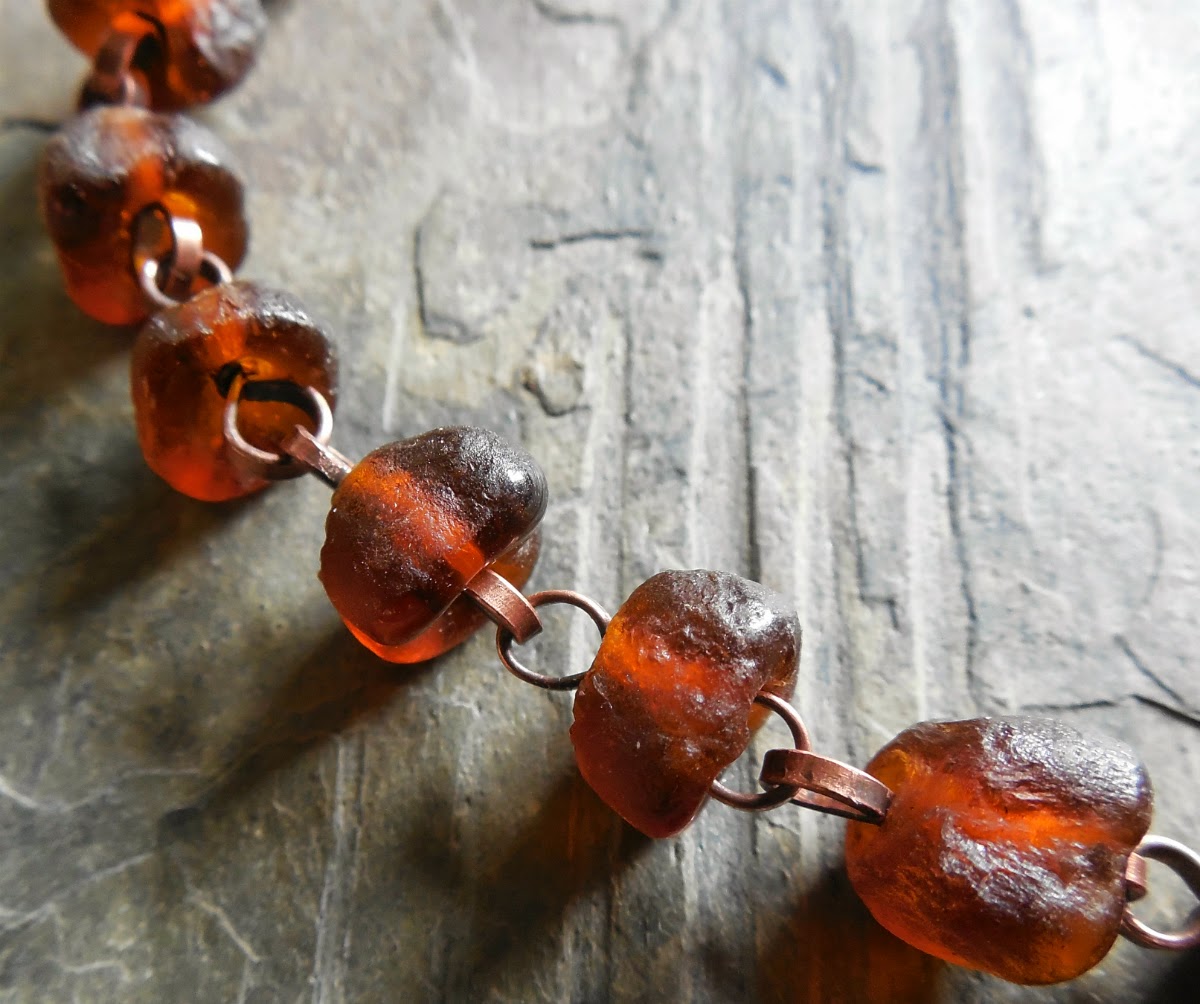
Sometimes beads with large holes are a challenge--lampwork beads, crow beads, recycled glass beads. If I'm wire linking them, I usually just do wrapped loops with heavy gauge wire, but sometimes I don't want all the wire wrapping (it's too busy-looking for some designs), and I want the links to be shorter, so I do something like this:
Ceramic cube beads.

Recycled glass beads

They're basically just simple loops, but hammered flat. Hammered flat, they seem to stay in place better and the whole link feels more stable to me. I also like how they look like rolo chain (one of my fav chains.)

It's really easy to do. First I cut a piece of wire that's about 30mm longer than the width of my bead hole-to-hole (for the beads above I used 18 gauge, but you could also use 16, or even 14 depending on how large your beads are. I wouldn't go smaller than 18 though, because it will get too fragile when you hammer it flat--if you use super heavy gauge you might want to anneal before you go any further), and then I hammer it flat to the width I want:
Then I make a loop at one end with my step-jaw pliers (I used the 3mm barrel here):
Then I "broke the neck," as they say:
Then I wrapped it with a little 24-gauge wire to make it fatter so it wouldn't wiggle around inside the bead:
Slid the bead on and bent the wire down:
Trimmed the tail to about 10mm and rolled that side up too:
You might need to use your round-nose pliers to snug it up. Et voila!
You can flatten the wire out as wide as you want (for like a giant nasty bead hole), as long as it's a heavy enough gauge so that it doesn't become too thin. The wider it is, the more stable the whole link seems to be. Also be sure that you make your links big enough to accommodate a wider, flatter piece of wire. This doesn't work as well when using beadcaps, unless the beadcap also has a very large hole.
Keirsten