Showing posts with label etching. Show all posts

Sunday, October 2, 2016

An Abundance of Tree Inspiration

When Caroline chose trees as the theme for September's challenge I was thrilled! I have been in awe of trees for a very long time. I have taken countless photos and have used trees as inspiration in my jewelry and fiber art for several years.
It wasn't until I sat down to make some jewelry for the challenge that I realized just how many items I had already created using trees/leaves as inspiration.
After completing the tree challenge I wanted to do another blog post so I could share the numerous pieces that I have created over the past 8-10 years with trees as my inspiration.
As you will see trees can be depicted in any medium. They lend themselves to hand stitching, machine stitching, creating leaves from copper, creating trees from wire, stamping in clay, stamping on fabric...The opportunity to use trees as inspiration in your art is endless!
                                            A few pieces of jewelry using leaves-
Brass Etched Leaf, Agate & Acorn Necklace
                      
Hand Forged Copper Leaf & African Turquoise Necklace
Rustic Raku Leaf With Tibetan Agate & Glass Beads
And a beaded cabochon that looks as though you are peaking through hanging limbs at a misty pond.
Bead Embroidered Jasper Necklace Hanging From An Antler

You can etch copper with trees and encase in resin.
Etched Copper In Metal Bezel With Resin

                                     Trees can be embroidered by hand and beaded.
Detail Of Crazy Quilt
Fiber Collage With Ribbon/Embroidered/Beaded Tree
Felted Fiber Collage With Beaded Tree
Photo Printed On Fabric With Multiple Layers of Embroidery & Beads
Trees can be machine embroidered and embellished with jewelry type elements. These are close-ups of art quilts with trees as the central element.
"Keeper of the Woods' Art Quilt
"Can't See the Forest for the Trees' Art Quilt

                              You can use rubber leaf stamps to print on fabric or paper.
                              I used the same hand-carved stamp for both of these pieces.
"Spring Revival" Art Quilt

"Central Park Player" Mixed Media Collage
Or you can actually use leaves to paint and print onto fabrics. After I printed with the leaf I encased the painted leaf between fabric and tuille then edge-stitched it.  I attached the leaf on the printed fabric to create more dimension.
Fiber/Mixed Media Mini Quilt
And again, I used a real leaf in a mixed media collage below.
"Be Who You Are" Mixed Media Collage
Leaves can be used as a resist for sun printing with setacolor paints as in the photos below. The first photo also has leaves stenciled on the fabric. And the second photo has a screenprinted dandelion.
Dyed, Sun Printed, Stenciled, Screen Printed

Dyed, Sun Printed, Screen Printed, Machine Embroidered & Beaded
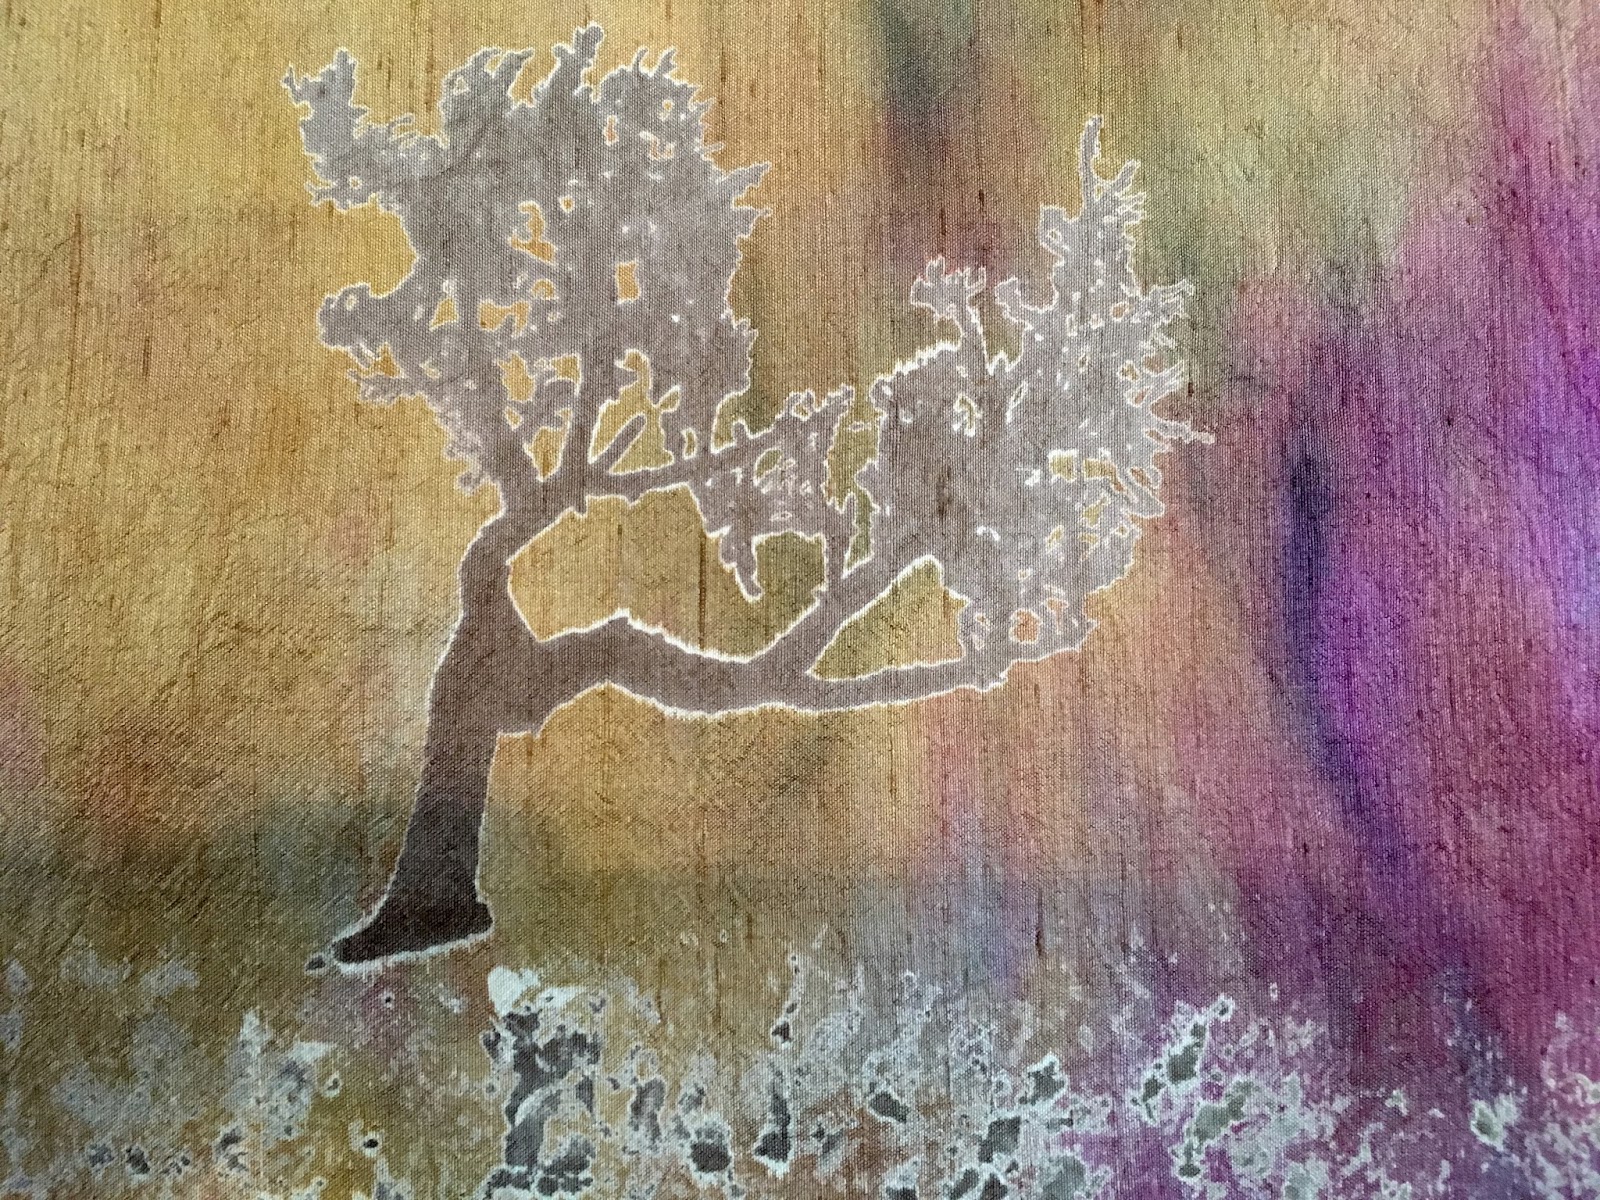
These trees were screenprinted onto hand dyed silk with discharge dyes and are just waiting for me to do something with them!
Dyed Dupioni Silk Screen Printed With Discharge Dyes

Dyed Dupioni Silk Screen Printed with Discharge Dyes

Leaves can be used to impress into clay. The one below is raku.
Elephant Ear Leaf Plate

The ones below were rubbed with oxides then high fired glazes applied on stoneware.
Hosta Leaf Plate
Hydrangea Leaf Plate

Maple Leaf Plate With Leaf Handles (I forgot what leaves I used?)
Believe it or not, there are still other ways I have used trees.  I mentioned all the photos I've taken- well, they could possibly be a whole series of blog posts by themselves so I will stop here.

Hopefully, you will be inspired by trees in ways you had never considered before. Maybe we will revisit the tree theme here again in the future. If you didn't get a chance to see all the participant's tree inspired pieces please do so. They were fabulous!

Looking forward to October's component of the month-sugar skulls.


Friday, March 13, 2015

The Good, the Bad and the Ugly - Redux


I was delighted to read Jenny's wonderful miniature book post yesterday. I love collaborating with other artists and love the way it creates a chain of inspiration. Jenny's use of my etched pieces was very original and now has me thinking of other ways to incorporate this technique in new ways. With this in mind I thought it might be appropriate to re-visit the post I wrote in 2013 when I first started etching while I plan my progress.

Using packing foam to float copper blanks in Edinburgh etch (ferric chloride and citric acid)
Well my new studio has been up and running for about six weeks now and it's finally beginning to feel like a real creative space...yep, despite having all that storage space - it's a mess! I am trying to be good though and tidy up a bit more but it's such a luxury to have so much space to work in that I can't help flexing my creative muscles and spreading out all over the place.

 Aside from the space, the biggest joy is that the studio has a dedicated water supply (rather than the bathroom I was using and wrecking before) which means that I can now get down to some of the things that were just impractical before.

Back in October of 2012 I went on an etching course and last week I finally got my kit set up and spent many hours playing to my hearts content. The picture above is some of my pieces floating in their etch bath attached to pieces of packing foam - one of the tips picked up on the course and a great idea as the floats double up as handles too.

I decided the best way to get my hand back in was to just go over what I'd learnt in October and I started off with one of the easiest resists - craft outline stickers...

Commercial craft stickers
These are cheap and so simple to use and they produced really strong well defined edges. These were etched for just 45 minutes although I didn't stick the top one on its float properly and it fell off, but even so it produced a pretty good etch sitting on the bottom of the bath.

Sticker resist etching
The only  down side to these is that there is a limited subject matter available - for me anyway but this is not really a problem when you have a die cutting machine just waiting to be put to work making your own vinyl stickers...next on the list and another post I'm sure.

After that I moved onto PNP (Press and Peel) photo transfer paper as my resist. With this you photocopy your designs onto the blue paper or film and then press it on to your metal using an iron.

Image transfer with PNP paper
There is a bit more guess work with this in getting the timing and heat right and making sure you don't get lint or bubbles between the two. If you can get that right though you can also get some really good clean etches...

Original French Art Deco design
Japanese heron
One of the things I like about PNP is that you can etch very intricate and pictorial designs and I've been collecting images for this ever since the course and couldn't wait to use them but, this is where I learnt some new lessons. While I was merrily photocopying my images it completely escaped me that when they were transferred from the PNP they would be reversed and that when the copper was etched  would be negatives of the original image - doh!

That's not necessarily a disaster though as with this piece for example... although the original black and white image is very strong I still like the way it has come out in reverse and for a jewellery piece I think it works well - I love the fine detailing.
Original French Art Deco design
I've also used alcohol ink in my work for the first time on these pieces. I wanted there to be a differentiation between this and my bronze clay work and I like the subtlety of the finish the inks give.

On this next piece - an illustration by Aubrey Beardsley (not the Lone Ranger...) the negative image had a more, shall we say interesting effect...
Aubrey Beardsley royalty free image before and after etching
 It's rather odd and this 'oddness' has been exacerbated by the fact that I decided to go for broke and see what it looked liked domed. The reflection in the photograph has given is a three dimensional effect and while it's rather strange there is something about it that draws me to it and who knows...it may well generate ideas of it's own in the future.

And then of course there are some images that just don't work like this lovely image of a group of mermaids (apologies for poor quality) which is just too detailed to see clearly in the negative.

Royalty free mermaid image from Dover Books

Negative etch
However, even this has a silver lining and since the etch is clean and deep I am hoping that I can use it as a texture plate with metal clay - much as old illustrations were made from etched plates.

Fortunately for me photo editing software allows me to flip images and invert them to negatives before I transfer them so in future, I can choose how I want them to be - note to self to do just that!

So all in all I had great fun with this, learnt a few lessons and continue to broaden my knowledge and skills base. There may even been a little collaboration between myself and another AJE colleague coming out of this but you'll just have to wait and see what that is.


Back to 2015 

Well now you know what that collaboration was and just how successful it was and many thanks to Jenny for that. I've also used the etching technique to use for our current spring COM theme to produce these hare pieces transferring this image to the copper using the PNP method.

Running hare silhouette

Etched running hare
With this piece I transferred the image using PNP but the added the simple moon and ground detail with a sharpie marker so you can achieve more detailed and original images by combining resist methods.

Chasing the Moon
I hope you found this interesting and if anyone has any etching tips they'd like to share, as always they will be gratefully accepted.


Thursday, March 12, 2015

A Page From My Book...

I have Lesley to thank, really...

It started with a discussion of William Morris, the Arts and Crafts Movement designer from the UK. He has always been one of my art/design heroes. His creative genius spanned art, illustration, textiles, furniture design, graphics design... A contemporary and friend of the Pre-Raphaelites, he is famous for his philosophy on art, and the place of it in everyday life. He respected the maker, the craftsperson, and sought to recognize them in the increasingly Industrial Age...
"Have nothing in your house that you do not know to be useful, or believe to be beautiful." William Morris
Lesley was etching, and using some copyright free Morris images. I thought they were very exciting!  She had a vision and imagined them as book covers. Did I want to collaborate? Uh... is the sky blue?!?!!? She sent me a batch, some Morris designs, some others.
Raw images, etched on copper - William Morris images
I started with this small Day of the Dead skull image, saving the Morris images for now. As the image is close to the edges - I wanted to engineer a closure for the book that wouldn't encroach on the image. In this case its three coiled wires, inserted through the covers, and folded as staples to stay secure. ( Shows clearly on back of book, with text) The book, measuring 1.25" x 1.5" is bound with a Coptic stitch binding. It had been years since I tackled that stitch, but it comes back rather quickly with needle in hand.
Muertos book: "Love is stronger than death"
For the etched hare (well, it is a Hare themed month!) I sawed and riveted an additional piece of copper to the cover. This will form the closure. If these small books are going to be worn... I wanted them to close securely.

Here is the hare book assembled! It has leather "endpapers" that also fold around the text block to create a leather hasp for the closure. There is a toothpick in place now - I plan to fabricate a decorative pin - copper? polymer? and attach it via a small chain. I have left the tails of the waxed linen here, perhaps for an embellishment.
I think my first foray into miniature book binding was a success. I can see myself wearing one of these; would you? I look forward to more mixed media books, and would love to create one with images and text inside... Think that will fill the sketchbook the next few days...

I would love to hear your thoughts on these new test pieces!


And less you forget: the theme this month is hares. I am glazing these as we speak, and will post them next week!  Have a great week, until next time... 

Thursday, May 9, 2013

Frustration and Consolation...


Remember all those weeks ago when I was really excited about converting my garage to a shiny new studio...Well if things had gone according to plan this would have been the week I moved into said studio and had a wonderful time getting everything set up and organised. But things didn't go to plan...

In England internal alterations to buildings are usually done under 'permitted rights' regulations which means you have to notify the local planning department but you don't need permission...unless of course you live where I live that is! My particular development has no permitted rights covenant and therefore any and all alterations have to have full (and more costly) planning permission which of course takes a lot longer to get.

Even though there was no suggestion that I wouldn't get approval I was not a happy bunny but there was nothing I could do other than follow procedure and wait. The consultation period ended last week so a decision should be imminent but at the moment all I have is a 3D plan of what the studio 'should' look like when finished but I'm sure there will be tweaks and the perspective does make it look longer than it really is.


Whilst I've been planning the studio I've also been adding to a long list of new tools that I don't currently have room for but am itching to get my hands on and it's been unbelievably frustrating not to be able to buy any of these yet. Well, last week it all got too much and I decided it was time to treat myself to something as a little consolation for having my plans disrupted and this is it...a lovely shiny Silhouette Cameo Die Cutting machine.


If you don't know it, this high tech tool has a multitude of uses from paper crafts to sign making but it was first brought to my attention for jewellery making by the multi talented Caroline Dewison of Blueberri Beads. We were chatting about an etching course I'd just been on and the beautiful etched pieces Caroline was making when she told me she was using the Cameo to cut vinyl resists. These were giving her much crisper results than she was getting from the sometimes tricky (for me anyway) PNP (press and Peel). Well, see for yourself - she wasn't kidding...

Caroline has even written a tutorial for this process which will certainly be my starting point...thanks Caroline!

This alone would probably have been enough to convince me to buy a Cameo but it is also being used by the amazingly talented metal clay artist Wanaree Tanner to create intricate bezels and cut outs in sheets of dry metal clay with stunning effects which I can only dream of achieving.

Earrings by Wanaree Tanner
Check out Wanaree's blog for more of her amazing designs as well as information on teaching and design tools.

I'm bursting to be able to try out both these techniques but just don't have the space to do it safely at the moment so I'm going to have to start off with something a little more straight forward first - probably no bad thing considering I'm not very technically minded. I will be sending my first consignment of components off to a bricks and mortar bead shop in a few weeks and need some hanging display cards so that seems like a good place to start my learning curve - I'm sure there will be much trial and error so better with card than clay!

Hopefully in a few months I'll be able to update you on how I'm getting on but in the mean time, if you have a Cameo let us know what you're using it for and if you want to share any hints and tips - please feel free...

Lesley
The Gossiping Goddess