Showing posts with label bead embroidery. Show all posts

Sunday, October 2, 2016

An Abundance of Tree Inspiration

When Caroline chose trees as the theme for September's challenge I was thrilled! I have been in awe of trees for a very long time. I have taken countless photos and have used trees as inspiration in my jewelry and fiber art for several years.
It wasn't until I sat down to make some jewelry for the challenge that I realized just how many items I had already created using trees/leaves as inspiration.
After completing the tree challenge I wanted to do another blog post so I could share the numerous pieces that I have created over the past 8-10 years with trees as my inspiration.
As you will see trees can be depicted in any medium. They lend themselves to hand stitching, machine stitching, creating leaves from copper, creating trees from wire, stamping in clay, stamping on fabric...The opportunity to use trees as inspiration in your art is endless!
                                            A few pieces of jewelry using leaves-
Brass Etched Leaf, Agate & Acorn Necklace
                      
Hand Forged Copper Leaf & African Turquoise Necklace
Rustic Raku Leaf With Tibetan Agate & Glass Beads
And a beaded cabochon that looks as though you are peaking through hanging limbs at a misty pond.
Bead Embroidered Jasper Necklace Hanging From An Antler

You can etch copper with trees and encase in resin.
Etched Copper In Metal Bezel With Resin

                                     Trees can be embroidered by hand and beaded.
Detail Of Crazy Quilt
Fiber Collage With Ribbon/Embroidered/Beaded Tree
Felted Fiber Collage With Beaded Tree
Photo Printed On Fabric With Multiple Layers of Embroidery & Beads
Trees can be machine embroidered and embellished with jewelry type elements. These are close-ups of art quilts with trees as the central element.
"Keeper of the Woods' Art Quilt
"Can't See the Forest for the Trees' Art Quilt

                              You can use rubber leaf stamps to print on fabric or paper.
                              I used the same hand-carved stamp for both of these pieces.
"Spring Revival" Art Quilt

"Central Park Player" Mixed Media Collage
Or you can actually use leaves to paint and print onto fabrics. After I printed with the leaf I encased the painted leaf between fabric and tuille then edge-stitched it.  I attached the leaf on the printed fabric to create more dimension.
Fiber/Mixed Media Mini Quilt
And again, I used a real leaf in a mixed media collage below.
"Be Who You Are" Mixed Media Collage
Leaves can be used as a resist for sun printing with setacolor paints as in the photos below. The first photo also has leaves stenciled on the fabric. And the second photo has a screenprinted dandelion.
Dyed, Sun Printed, Stenciled, Screen Printed

Dyed, Sun Printed, Screen Printed, Machine Embroidered & Beaded
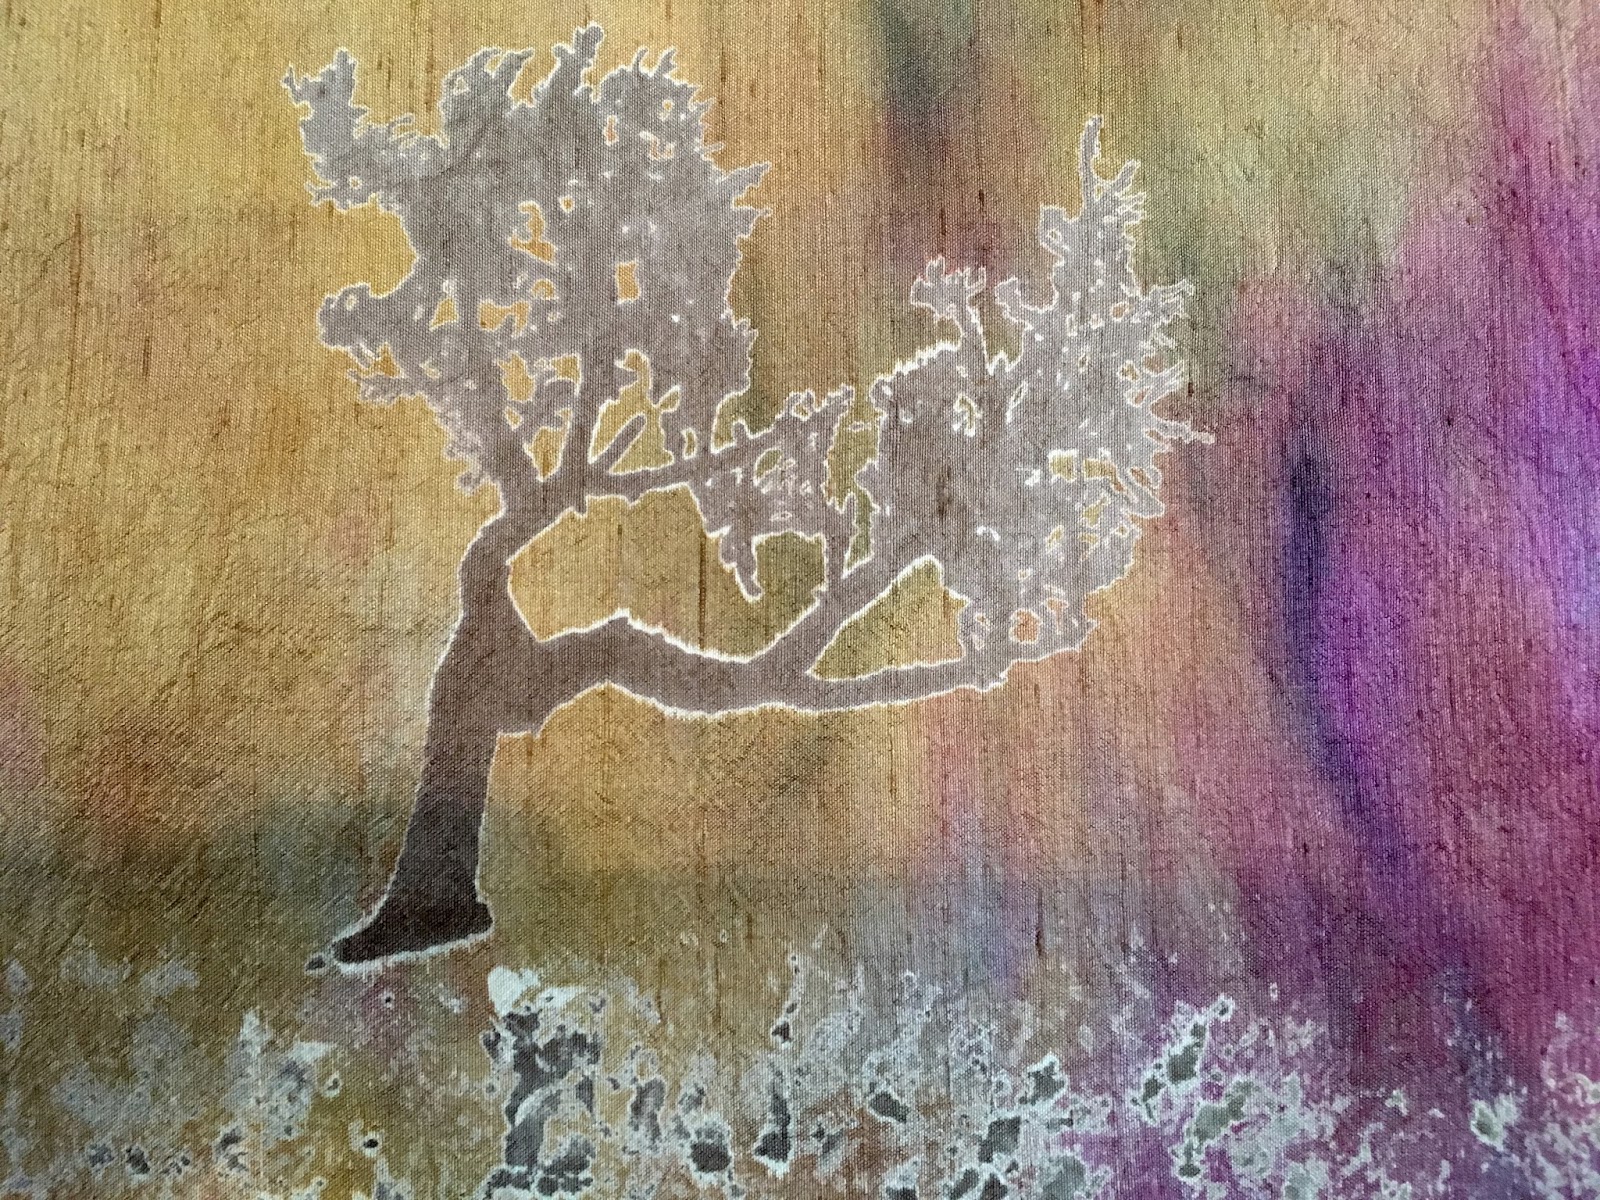
These trees were screenprinted onto hand dyed silk with discharge dyes and are just waiting for me to do something with them!
Dyed Dupioni Silk Screen Printed With Discharge Dyes

Dyed Dupioni Silk Screen Printed with Discharge Dyes

Leaves can be used to impress into clay. The one below is raku.
Elephant Ear Leaf Plate

The ones below were rubbed with oxides then high fired glazes applied on stoneware.
Hosta Leaf Plate
Hydrangea Leaf Plate

Maple Leaf Plate With Leaf Handles (I forgot what leaves I used?)
Believe it or not, there are still other ways I have used trees.  I mentioned all the photos I've taken- well, they could possibly be a whole series of blog posts by themselves so I will stop here.

Hopefully, you will be inspired by trees in ways you had never considered before. Maybe we will revisit the tree theme here again in the future. If you didn't get a chance to see all the participant's tree inspired pieces please do so. They were fabulous!

Looking forward to October's component of the month-sugar skulls.


Friday, September 30, 2016

Painting with.... Fiber? Felted Tapestries!

Felt. Fiber... Not my usual materials...but its so much fun!

I am always looking for ways to evolve my work, and creatively challenge myself. And as an artist/business person I am also thinking of ways to offer my pieces to consumers in a new and enticing format. These felted tapestries hit on all marks, in my opinion. My pendants are the star, yet showcased in a non jewelry fashion. I can satisfy my Muse's love of color and touch on my painting background - in a fast and immediately satisfying genre. Here - let me show you...

I often start with a shape cut from an up-cycled felted sweater. It's a great cost-friendly canvas. Here I am needle felting with wool roving, onto a navy sweater piece. I plan to pair this with my mermaid ceramic pendant... and a few curly locks were the right "splash" of accent color.
Felting, finishing edges, and embellishing... 
I also use "pre-felt" as a canvas. I like to use the focal as the starting point for the wool palette. Here the focal is a polymer and resin mixed media piece with a vintage Art Nouveau illustration. (Please note: I am not going into the HOW of needle felting here. That could be a topic in the future. I will list resources below.) 

Felting the tapestry, folding and felting the edges. 
The joy to me is adding beads! But hang on - lets get the focals in place... I use waxed linen and a tapestry needle. A few simple stitches and done. They disappear into the felt texture... Or you can leave the waxed linen ends on the front of the piece and embellish with a few beads there too!

Waxed linen to attach the piece to the felted tapestry. 
Here is this batch ready to go - but the larger rectangular pieces need something else...

Waiting for bead embellishment... 
Excellent! Stamping blanks from Nunn design are the right size and scale.
A little word play... 
Alright - time to bead. I'm off. What no bead pictures? Here let me tide you over with this one until next time - when I will talk beaded embellishments and framing/presentation for these lovelies.
Stay tuned for beads and framing next time! 
Stay tuned for next time: beading! Framing! Secrets exposed! (Or at least happily shared...)

Resources: 

Wednesday, September 14, 2016

When Your Muse Takes an Extended Vacation without your Permission

Big plans. That's what I had for the year. Except I've spent a good chunk of the year stuck. As in, my muse went on vacation without turning in a vacation request or bothering to return.  Except it's been worse than that. In the past, when I couldn't torch my way out of a wet paper bag, I could switch gears for a while: wire work, chainmaille, knitting, or SOMETHING. My hands were always busy while watching tv, in the car, etc. However, soon after the dawn of 2016, I lost the desire to do anything creative. I didn't have the drive to keep my hands busy, which is completely outside the norm. I was (still am) taking a yearlong online class in mixed media and didn't feel like trying any of the new techniques because once I got everything assembled, it was too much bother to actually MAKE something. 

This was all so far outside my norm, and I almost didn't even care that it was happening. Until I did. And then I knew I needed to make some changes. 

Maybe you have experienced something similar? The following are some of the steps I've taken to try to lure my muse home. 

"Art" journaling

Ok...there is absolutely nothing artistic or even mildly appealing for what I'm labeling as art journaling. However, I'm not exactly sure what one calls this...thing...I'm doing. Nearly one year ago I explained my planning and organization system, which includes a bullet journal. I still use this as my go to for to do lists, planning, tracking, and more. Over the summer I decided to start journaling in it too, even though I hate to journal. It's a super simple basic journaling. It may be a couple sentences, a word, or even a couple pages. It is whatever I need it to be so I don't forget every single thing that happens in my life, but also so it is a manageable task to accomplish each day. However, it's blah. And the daily calendar and to do lists are blah. Around the same time I was doing some reading about how important it is to just play without expectation and keep a super basic art supply in a location where you will journal and paint or draw. 

As you can probably guess by now, if something isn't easily accessible, I lose interest quickly. So I decided to accomplish two tasks and use the bullet journal as my "art" journal too. So now I use a waterproof Sakura Pigma Micron 05 marker to do all my writing. I keep a travel set of Winsor Newton watercolors and a couple water brushes pre-filled with water on my nightstand so it's easy to access last thing at night or first thing in the morning. 


Just so you understand, there is no thought involved. I pick a color that appeals to me and just start making marks. I have had zero contact with watercolor paints since I was in elementary school, so I mostly play with the colors and how they run together, intensity of color, etc. It isn't pretty. It doesn't make sense (usually). I just let go. If I were to try to sketch in this journal rather than just mess with color, I would feel too much pressure. This process I've adapted requires exactly 0% pressure on myself to make it look good. And I also don't worry whether all the words can be read afterwards. The fact is, my handwriting is atrocious anyway. 


Finish WIPs


There are so many unfinished projects in several different media laying around my studio and home. Sometimes I feel guilt about starting something new when I have so many others to finish. So I've started making my way through them. Interestingly I've discovered I love to do bead embroidery until it's time to finish the project. Then it just gets too tedious for words. This may explain why I finally just stopped doing bead embroidery altogether...I had about 6 projects in different stages of completion. 

For example, here's a cab by Caroline Dewison that I finished everything but a way to hang it as a pendant. It's gorgeous and I love it so much I don't know if I could sell it. However, until about two weeks ago, it was a very pretty dust collector because there was no way to wear it. 


This was the first WIP I tackled in an effort to restart my creativity. As you can see below, I created this copper bail contraption that I sewed to the back of the cab, and will attach to a weathered brown leather cord. 


The next project I decided to tackle is this gorgeous ammonite cab by Lesley Watt. Below you can see what it looked like January 31st when I took a photo of it for the Use Your Stash challenge. It continued to look like this until September 5th. 


I worked on several unfinished projects over the Labor Day weekend, and the ammonite now looks like the photo below. I didn't have additional beads or ultrasuede with me to progress any further, but I'm still happy with getting closer to being done. 


I think I've decided to add a row of the Czech glass beads in the photo below, then finish it off. 


I could show SO MANY unfinished projects, but thought I'd show this gorgeous donut by Kristie Roeder of Artisan Clay. I had this thing glued onto the stiff stuff fabric for MONTHS and never added a single bead to it until Labor Day weekend. I literally forced myself to sit and bead even though I didn't feel like it. However, as I worked, I could feel the excitement for the craft coming back. 


As I mentioned previously, I love to knit. It is definitely something I do in waves, often knitting obsessively for a while, then not knitting for months. Again, I have a ridiculous number of unfinished projects that feel like they are weighing me down. For example, the wrap in the photo below? I've picked it up off and on for the last SIX YEARS!!!! I finally finished it except for adding the buttons. To be fair, I had planned on using different Lisa Peters handmade buttons, but they didn't work. So I'm considering these instead, also made by Lisa Peters. 


These socks? They were completely finished except for grafting the toe of one sock and weaving in the ends. Why do I procrastinate the final details of a project? I drive myself nuts! And I also keep myself from the enjoyable process of digging into the next project. 


A Clean Studio

I totally should have taken a before photo. My jewelry making area was piled high with tools, supplies, findings, mangled wire, garbage, new art beads, etc. just a few days ago. When I find myself avoiding the studio because the idea of working in the mess is too much for me to bear, it's time to clean. Now you can see counter space AND the beading board thing that I mostly use to store small bits and pieces. Whenever there is a clear space, I want to make a creative mess again. 


Keep a Visual Record


This one might be a bit outside the box. Let's say you have 1 hour to create 5 days a week. That's it. Take a photo of what you made that day. Post it to Instagram or Facebook or wherever you want to share it. At the end of a week, a month, a year, you can see how much you have actually accomplished with what felt like very little time available. 

About a year ago I discovered Chatbooks, which is a super easy app to use. Basically you download it to your phone and it uploads photos from whichever source you choose, like your phone, Instagram, or Facebook. You select which photos, pay, then they print it. I've ordered two of these books so far and they are fantastic! 


I started the beginning of 2016 with the intention of doing a single photo each day. Except eh, I decided to break that rule because it's my Instagram account and my favorite method of journaling. Each chatbook can have up to 366 images. Because there are some days I post more than one photo to Instagram, I had the first half of 2016 printed as soon as June was over. I keep it out in the living room and just about everyone who comes over looks through it. 


Seeing my photos printed in this album got me thinking about how having a hard copy visual record of one's work could provide motivation and inspiration for those days when it feels like drudgery. 


Community

Do not underestimate the power of spending time with your people. If you haven't read Lesley's blog post about art camp yet, do yourself a favor and read it and also the one she wrote last year about her visit. I know when I am able to spend time with creative people, I leave with more energy and ideas and passion than before. I haven't taken the time to benefit from community in quite a while and that is next on my creativity reboot list.

What are some of your favorite tricks for pulling yourself out of a creative slump? 


Friday, July 22, 2016

Take a Walk on the Wet Side...

Take a walk on the wet side - wet felting that is... 

A month or so ago now... I know - its been that kind of summer - I decided to take a Sunday "off". My husband was at the beach and I stayed home, house to myself, heaven. What do I do with my time off? Make art of course! 

Joke's on me actually. I am a full time artist and part time art teacher, so while it WAS time off from production, custom work, replenishing inventory... it was still art/job/doing what I love. 

I took over the kitchen and made a mess:
Dive in, such rich colors... 
Sorry for the yellow kitchen lighting... first piece ready to begin! 
I had a plan to wet felt some ocean themed landscapes. The image above is the first one laid out. I "thought" it would shrink by a third... But I was using some lovely ivory batting from Sarafina Fiber Arts as my base 'canvas' for the first time and wanted to test it out. The landscape is built up with loose wispy layers of brightly dyed wool roving, and a few "curly locks". Here are the results of the first piece:

Can you see it? Beach, waves, ocean!
So it felted together wonderfully! The process involves soap, water, bubble wrap and much repetitive rolling of the piece on the counter. Roll it like 100 times, turn 1/4 turn, roll it 100 times... I used Sarafina's You Tube videos as my basic instruction manual. 
 
I love the way the colors blend as the fibers lock together. I am visually drawn to the curly locks simulating breakers in the waves; they need a little needle felting to secure them fully, but I like the accent of texture. And the shrinkage? Ummm. nope. The batting felted my top coat colors and did not shrink much at all. Hmm. This piece is rather large at  app. 12". Lets do another... 
Trying to go smaller: 2 before and after comparisons. 
My supply of wool  plays to my preferred palette, so I had a variety of teal and turquoise and not much for a light sky. I lone the purple stormy sky and the teal water together though. The second pictured here is a bit more abstracted, and I am pleased with that too. I WAS playing after all - experimenting with the materials, and not having any hard set expectations. The process is actually good for me - its nice to have some control at the start and then leave it up to the process and be pleasantly surprised at the end. 

Working most all of the day, I made 10 tapestries. The largest 12 x 12" and the smallest 4" square. My plan is to embellish them in some way, using beads and found treasures from the beach. I can't walk on the beach and slip at least a shell or 3 in my pocket... 

I imagine the long shell beaded on with 2 'ropes' of small seed beads... 
That saturated color thrills my eyes. 
Over the course of the afternoon I was able to size the pieces much better! I have some shadowbox frames I will use for the smallest pieces and fashion hangers/dowel rods of some sort for the larger pieces. I am not in a hurry - I did many and have time to play and experiment!

These 2 are the smallest at 4" - but they will fit into frames I have once they are completed. 
At the end of the day I threw a few more colors into the mix, breaking away from the landscape format... This was not planned, but after the felt dried, I saw the kelp... the polymer mermaid was made for my monthly goddess seed bead project, but was a little too large. I think she will settle comfortably here, don't you?
a few deep sea palettes? 
I'm sorry that they aren't finished yet for today's post - I have been teaching clay camp since mid June - and very much look forward to getting back to my work in the studio next week! Great kids, great times, great energy... but I have Bead Fest to prepare for.. 

Until then - I hope you get your toes in the sand!