After the whirlwind of new beads that came out last year I was honestly wondering if there would be anything new to strike my fancy this year. Well the folks at Starman and Toho have truly blown my mind.
Demi beads.
The Demi™ is more than a shape; it is a new concept in seed beading. Developed by TOHO in collaboration with Starman, the Demi Round™ is a thinner version of the traditional round seed bead with the same hole size and diameter.
This exclusive innovation is made possible by the quality glass cane and precision cutting of TOHO manufacturing.

Look at just one page of the amazing colors available.

I had to break my fast. Let me tell you that as soon as I opened my package this Dainty Beader truly gasped! I was expecting them to be a fun element. I was expecting them to challenge me. What I was not prepared for was just how tiny and precious they would be. Any of you that have followed me know I am, for lack of a better term, obsessed with the tiniest of seed beads. for me the smaller the better. Of course maybe that is why I need yet another prescription change in my glasses. This time I was very picky and very smart when ordering.
And just for a bit of perspective here is a picture of the size 11/0 Demi right next to the regular size 11/0 rounds.

There are a few patterns out for them from the Starman Trendsetters.


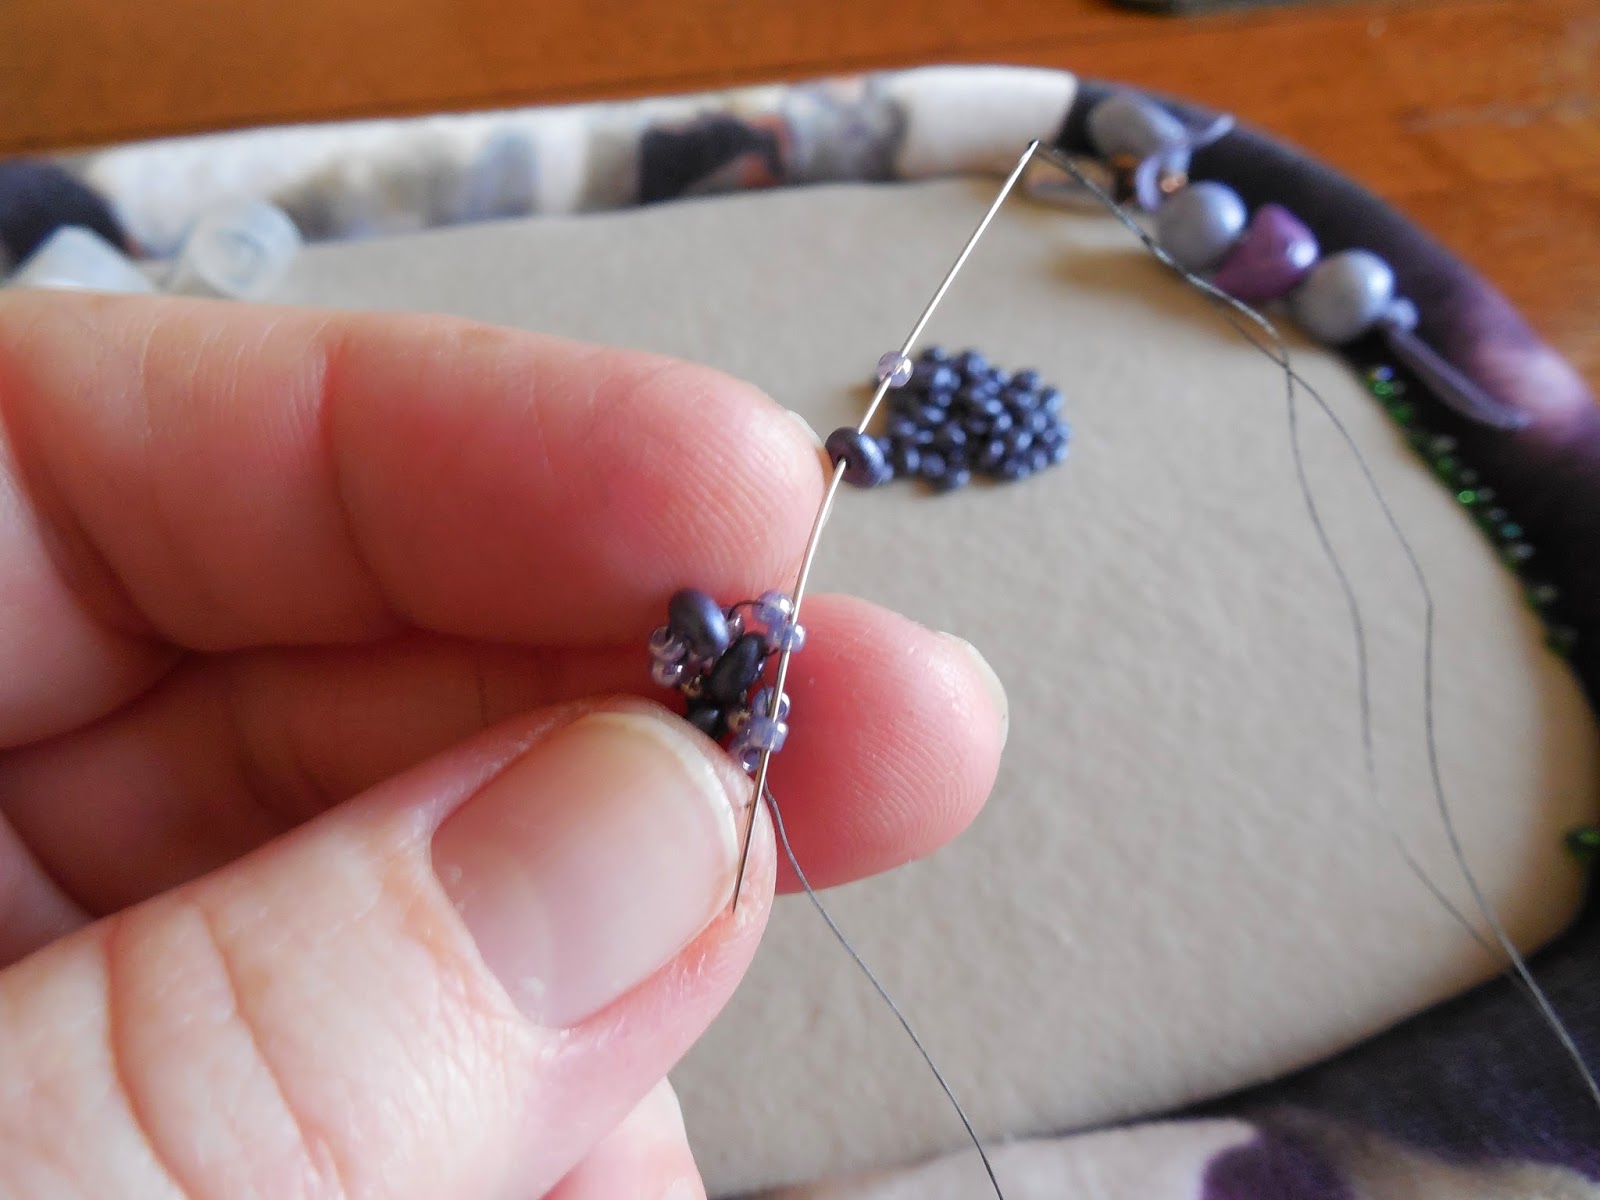
I began to play first by using Nichole's pattern.

I plan on making this into a memory wire bracelet with two of Caroline's amazing birds I have been hoarding for awhile.

At first I was a bit wary of the delicate nature of these beads. As I began working with them I am overly pleased with their durability. They may be tiny but they are also very strong I have not broken one yet. I also started playing with a couple other of my favorite stitches and have found that I really like the possibilities.

As I was working with them I saw yet another potential use. When I am bezeling a cab there are times when I need a bead bigger than a 15/0 but not as wide as an 11/0 and this surely fills that need. I also have a few attempts at a pattern where I have found myself needing something bigger than an 11/0 but not as wide or as tall as an 8/0( which as you can see in the diagram above they also make them in 8/0 size which I have not tried yet). I cant wait to test this theory out.
In short my opinion on these new Demi beads is that they are going to quickly become an important addition to my weaving stash. I will be saving to get as many colors as I possibly can.

Demi beads.
The Demi™ is more than a shape; it is a new concept in seed beading. Developed by TOHO in collaboration with Starman, the Demi Round™ is a thinner version of the traditional round seed bead with the same hole size and diameter.
This exclusive innovation is made possible by the quality glass cane and precision cutting of TOHO manufacturing.


I had to break my fast. Let me tell you that as soon as I opened my package this Dainty Beader truly gasped! I was expecting them to be a fun element. I was expecting them to challenge me. What I was not prepared for was just how tiny and precious they would be. Any of you that have followed me know I am, for lack of a better term, obsessed with the tiniest of seed beads. for me the smaller the better. Of course maybe that is why I need yet another prescription change in my glasses. This time I was very picky and very smart when ordering.
And just for a bit of perspective here is a picture of the size 11/0 Demi right next to the regular size 11/0 rounds.

There are a few patterns out for them from the Starman Trendsetters.

I began to play first by using Nichole's pattern.

I plan on making this into a memory wire bracelet with two of Caroline's amazing birds I have been hoarding for awhile.

At first I was a bit wary of the delicate nature of these beads. As I began working with them I am overly pleased with their durability. They may be tiny but they are also very strong I have not broken one yet. I also started playing with a couple other of my favorite stitches and have found that I really like the possibilities.

As I was working with them I saw yet another potential use. When I am bezeling a cab there are times when I need a bead bigger than a 15/0 but not as wide as an 11/0 and this surely fills that need. I also have a few attempts at a pattern where I have found myself needing something bigger than an 11/0 but not as wide or as tall as an 8/0( which as you can see in the diagram above they also make them in 8/0 size which I have not tried yet). I cant wait to test this theory out.
In short my opinion on these new Demi beads is that they are going to quickly become an important addition to my weaving stash. I will be saving to get as many colors as I possibly can.