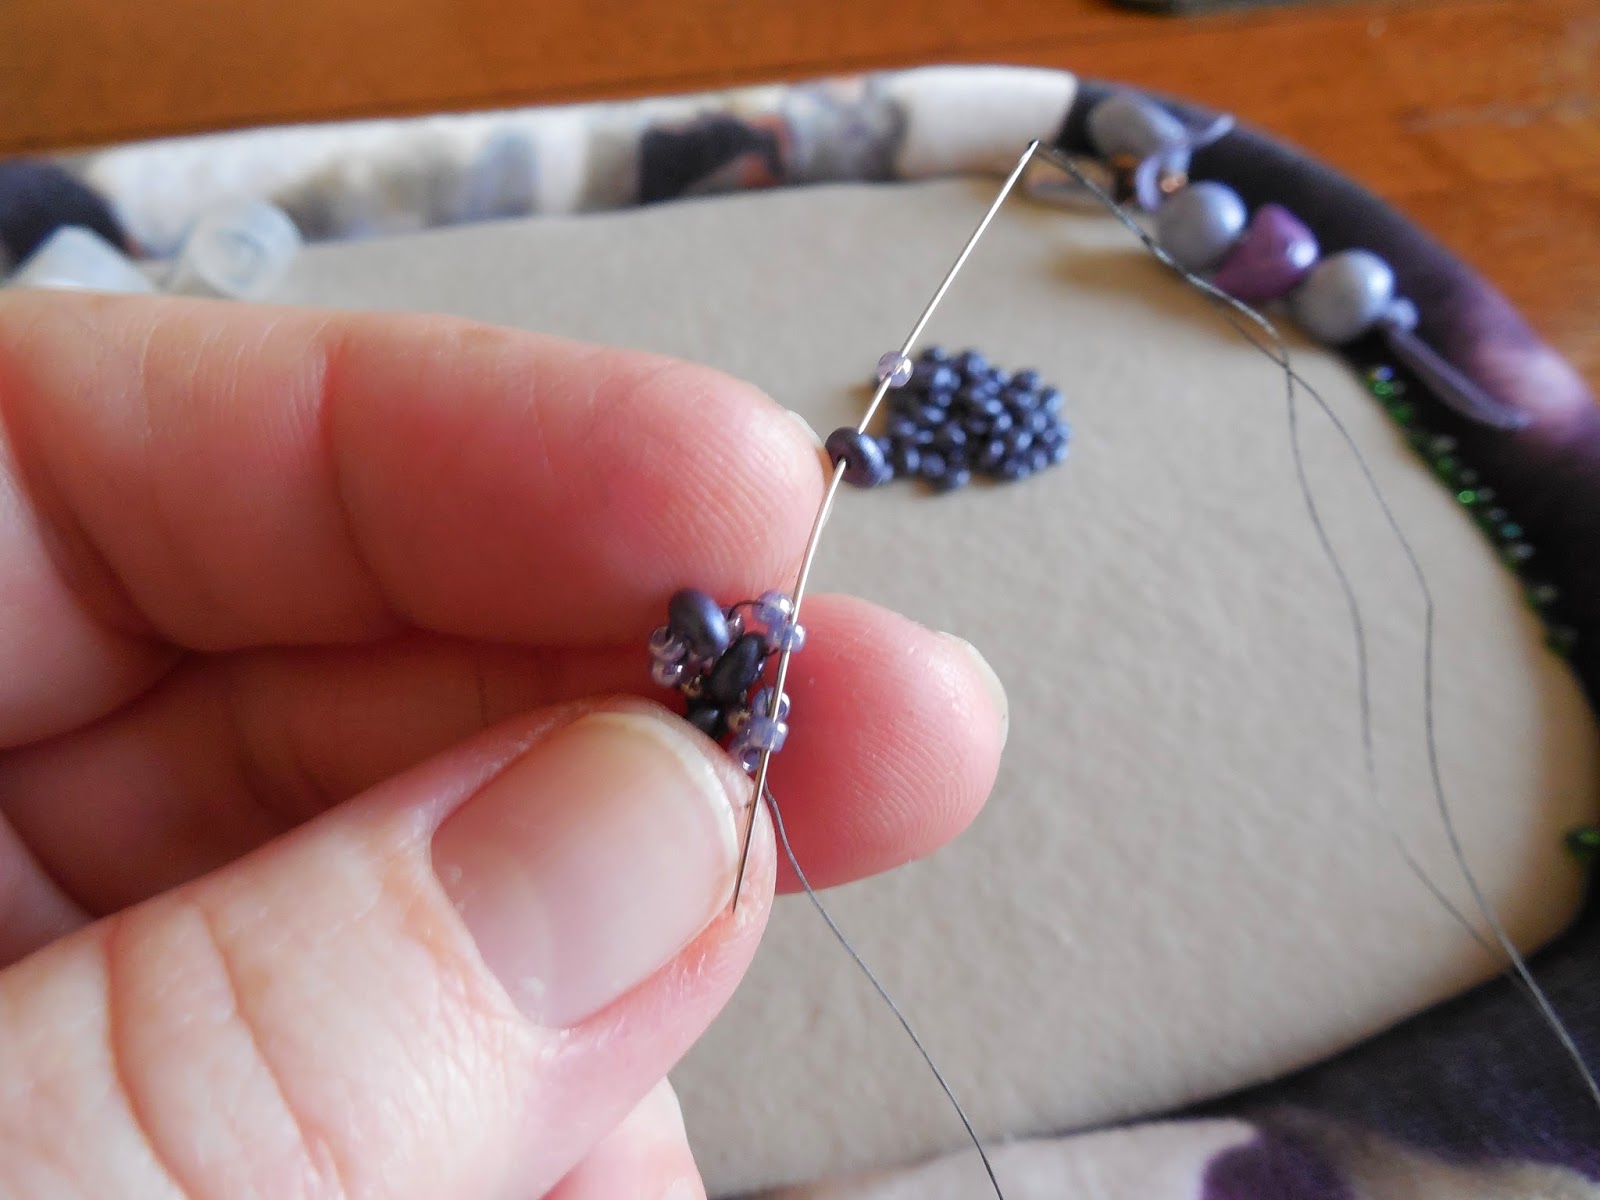
I had so much fun creating this piece I just had to share it. And for those of you who read through to the bottom there is a surprise announcement. So without further ado I present you all with my Crescent Flower Tutorial.

 1) Pick up 8 11/0 seed beads. Form a circle by passing though only the first bead added. You will be making several passes through.
 2) Pick up 1 11/0 seed bead and pass through the next 11/0. Continue all the way around for a total of 8 beads and exit through the first bead added in this step.
 3) Pick up 11/0, 15/0, 11/0 and pass through the next up bead creating a picot. Pass through the next three beads and repeat all the way around.

 5) Weave through beads to exit top 11/0 in top picot.
 6) Pick up 15/0, Crescent and 15/0. Depending on which way you are stitching will determine how the crescent sits you want the points facing inwards. Go through the 11/0 in the bottom picot.
 7) Pick up 15/0, go up through crescent
 8) Pick up 15/0 and pass through top 11/0 at the beginning of step

 10) Weave through to exit bottom 15/0 of picot.
 11) Pick up 2 11/0 and pass through 15/0, 11/0, 15/0 of next picot.
 12) Repeat step 11 and exit first 2 11/0 added.
 13) Pick up Rounduo pass through 2 11/0 on opposite side

 15) With thread exiting rounduo pass through 2 11/0 beads on the side and repeat to reinforce.
 16) Weave through to exit second hole of round duo and repeat step 15 on opposite side.
The next steps are for attaching the flowers.

17) Weave through beads to exit back side of crescent 15/0. Pick up 3 11/0 creating a picot, weave through to exit middle 11/0
 18) Pick up 8 11/0 and pass through starting 11/0 and next two 11/0
 19) Pick up 11/0 and pass through next 2 11/0

 21) Pick up 11/0 pass through the 15/0, 11/0, 15/0 in next flower.
 22) Pick up 11/0 and pass through "point" 11/0 in first flower. Reinforce and knot as desired.
 I hope you enjoy this tutorial. I have decided that I love playing with beads so much that I will be making and sharing more of my original designs with you all. Let me know what you think of this design and if you would like to see more. I would like to get you as addicted as I am to weaving with cool beads.
So I promised a surprise. I was approached by the folks over at Potomac Bead Company and they will be making a YouTube video of this design. I can not wait for that and as soon as it is up I will let you know or you can click the link to subscribe.


Materials list:
- Czechmate Crescent beads
- Rounduo beads - Potomac Beads
- 15/0 seed beads
- 11/0 seed beads


4) Exit the next three beads in base circle. Repeat step 3 adding picots on top of first picots.


9) Go through all the beads just added to reinforce. Weave through beads to exit top 11/0 in next picot set.


14) Pass through second hole of rounduo and through first 2 11/0 beads. Repeat to reinforce.


The next steps are for attaching the flowers.

17) Weave through beads to exit back side of crescent 15/0. Pick up 3 11/0 creating a picot, weave through to exit middle 11/0


20) Repeat step 19 adding 3 new 11/0 as "points" pass through the last 2 11/0 skipping the "point beads" weave through to the top 11/0


So I promised a surprise. I was approached by the folks over at Potomac Bead Company and they will be making a YouTube video of this design. I can not wait for that and as soon as it is up I will let you know or you can click the link to subscribe.