Today I'm re-posting a tutorial from a little over a year ago. I love making these button closure bracelets and people are always so delighted to discover how easy it is to fasten them!
~~~~~~~~~~~~~~~~~~~~~~~~~~~~~~~~~~~~
I love using button closures on bracelets and necklaces. Customers are always surprised and enchanted by this type of clasp and when they discover how easy it is to fasten a bracelet with a button, they are delighted!
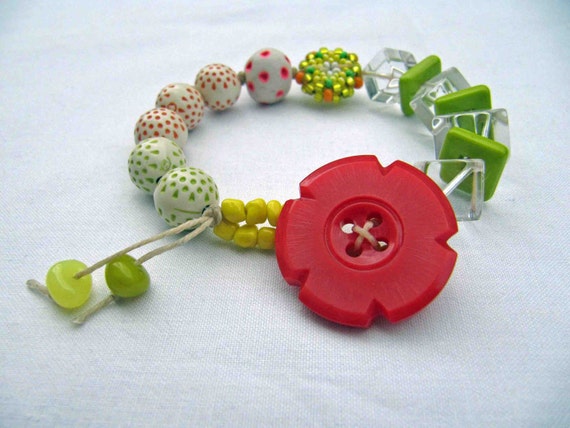
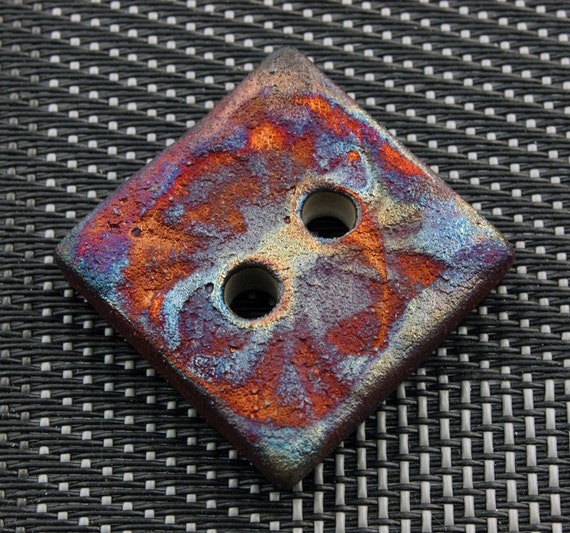
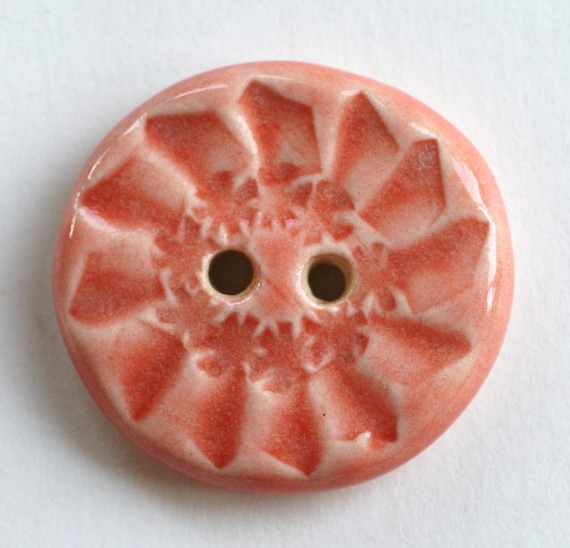
So today I thought it might be fun to share a tutorial on how to make a 2 strand bracelet with a button and loop clasp. You can use any button you want. I especially enjoy using artisan buttons or vintage glass buttons. For this tutorial I used a handmade ceramic button by local artist, Terry Nokell, (no website).
Cuppa Joe Button Closure Bracelet
Materials
- 20 inches (51 cm) beading wire, (I used Soft Flex, medium)
- About 3 inches (7.6 cm) of scrap beading wire or thin cording
- 2 sterling silver crimps. At least 1 of the crimps must be wide enough to accommodate 4 passes of the beading wire
- 1 crimp cover or a small bead that has a hole large enough to fit over a finished crimp
- Assorted beads of your choice in different sizes and shapes, including some seed beads or other beads that are 4 mm or smaller
- 1 button, 1 inch (2.5 cm) or smaller.
Directions
1. As you can see in picture #1 below, a shank finding has been glued to the back of the ceramic button. Button and loop closures can be made with either shank buttons or 2-hole buttons.
2. Measure out 20 inches (51 cm) of your favorite bead stringing wire. Set aside. Cut or find some scrap beading wire or thin cording.
3. Using the short piece of scrap stinging wire or cording, thread the button to the center of the scrap wire. You are going to use this short wire to grasp onto the button in step 7, when you are sizing the loop.
4. Set the button aside for a moment and string seed beads or other smallish beads to the center of the 20 inch (51 cm) piece of stringing wire.
5. Pinch the wire into a loop, as in picture 5, to estimate if the loop is large enough to fit over the button. Don't worry, you can adjust the loop size in step 7, if needed. When you think the loop looks like the right size, string a sterling silver crimp bead over both wires, (base metal crimps don't hold well and break easily). Slide the crimp up next to the beads. Do NOT crimp it yet!
6. OK, here's my trick for getting the right sized loop every time: With your dominate hand, grasp both ends of the wire that you threaded through the button shank, leaving a little slack. The scrap wire enables you to hang onto the button, yet it allows the button to move naturally, as though it were attached to a bracelet.
With your non-dominate hand, hold the beaded loop, next to the crimp. See if you can pass the button through the loop. The best way to do this it to turn the button perpendicular to the loop, as shown in picture 6. The button should slip through without any struggle or resistance. Adjust the number of beads in the loop, if necessary and re-check it for size. The loop should be a little larger than the perpendicular button, but not much larger. The great thing about doing it this way is that nothing is crimped yet. You can adjust things as needed before you go on.
7. When the loop is sized correctly, crimp the crimp bead.
8. Either cover the crimp with a crimp cover or cover it with a small bead, as I did here. I had a seed bead with a large enough hole. Pony beads work well, too.
9. Now for the fun part! Start adding on the beads you have chosen for your bracelet. Start out with some smaller beads closest to the crimp. This allows the 2 strands to lay nicely there, without being too bulky. You can make both strands the same or different. You can use patterns or not. You can play with colors or go monotone. Just have fun!
10. Keep adding beads until the bracelet is about half an inch (1.2 cm) shorter than the final length that you want. I wanted my finished bracelet to be 7.5 inches (19 cm) long, so I stopped adding beads after the bracelet reached 7 inches (17.7 cm). Check to see if both strands are the same length. Add or subtract beads as needed. I had to make some minor adjustments to even out both strands, as you can see in photo 10.
11. Thread the crimp onto both beading wires. This should be the crimp that can accommodate 4 passes of the wire. Then string on 3-4 small beads, the button shank and 3-4 more beads.
12. Pass the wires back through the crimp and gently snug the crimp and beads, but not too tightly. See how mangled my beading wires are? My crimp bead was barely large enough to squeeze all 4 wire strands through it. I had to wrestle them through the crimp bead with my pliers! Crimp the crimp bead and trim the excess wire.
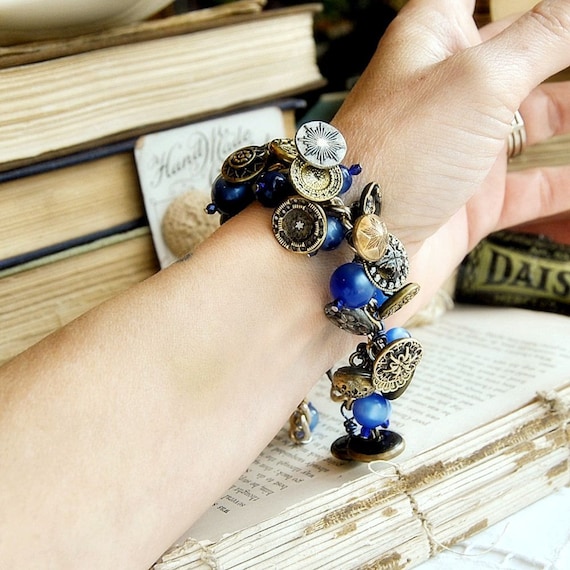
13. Wear your bracelet proudly. It looks equally pretty with the button on the bottom or top of your wrist. Wear it anyway you like!
If you'd like some resources for wonderful artisan made buttons, visit my previous post,
Button, Button, Who's Got The Button.
If you use this tutorial to make a button closure bracelet or necklace, I would very much like to see it! Please either leave links in the comment section here or post pictures of your button and loop closure creations on the
Art Jewelry Elements Facebook page.
If you have any questions as you use this tutorial, just ask. I'd be glad to help.


