Showing posts with label free tutorials. Show all posts

Tuesday, July 7, 2015

Jellyfish Earring Tutorial

Over at Earrings Everyday, they have a monthly Inspired By Challenge.  June's challenge was Tide Pools!  I was all over that!  You can see my post here on my blog. Here's what I made:

I thought I'd post a tutorial for these earrings.  They were a little fiddly, but fun to make.

Supplies you need:


  • 2 Lampwork Disc Beads
  • 6 Enameled Head Pins
  • 2 Ear Wires
  • 2 Jump Rings
  • 4 Daisy Spacer Beads
 Tools you need:

  • 2 Sets of Chain Nose Pliers
  • Wire Cutters
  • Round Nose Pliers

First, twist your headpin around the round nose pliers to make what would resemble a tentacle! You'll have three lengths, one short, one medium and one longer. 

This is what it looks like after you twist it a couple of times.  Make sure you make the end at a 90 degree angle - this will help when you put the daisy spacer bead on the wires.
Do the second short headpin in the same way, and compare them to make sure they are relatively the same.
Finish all the headpins, making sure that the pairs are about equal in size.

Next, you'll start putting the headpins in the opening of the daisy spacer.  This is where it might get a little fiddly.

Just work the headpins through the hole and make sure the daisy spacer will stay and not slip through the headpins.  You'll just have to work through this a little!
Then add your disc bead and the second daisy spacer.  You can adjust the tentacles after you finish your wrapped loop.
 Take all three wires in the chain nose plier, and make a 90 degree angle with them.

 Then take your round nose pliers and make your wrapped loop.


When you're done with the wrapped loop, use your wire cutter to cut the excess wire as closely as you can.  You may need to use your chain nose pliers to push the wires in, and make sure there are no sharp ends sticking out.

When you are satisfied with your wrapped loop, and you adjust your tentacles to look the way you like them, add the jump ring and ear wire to the loop.


And there you have your finished earring.  Make the other one, and you have a pair!  These don't have to be earrings either, you can make one and use it as a pendant on a cool ocean themed necklace!

I hope you enjoyed this tutorial!  You can find disc beads and enameled headpins in my SueBeads etsy store right now!

Susan Kennedy

Tuesday, June 2, 2015

Stick a ball on it!

I have a mixed media friend who has a simple go-to whenever she can't figure out what comes next in one of her designs: she says, "Stick a bird on it!" The first time I heard her say it, I realized I have a similar go-to in my arsenal: "Stick a ball on it!"

Balls in a nest
Balls on rings
Balls everywhere! (I cheated - everything except the big one was pre-formed)
Hidden balls (in 18k gold)
I realized, as part of the design intensive retreat we did with Connie Fox earlier this year, that I really - REALLY - like using balls in my designs. The "why's" of it are complicated, but the "how's" aren't, so I thought today I'd share how to make sterling silver balls so you can use them your own work. It's a super simple way to use up scrap and add some dimension without a lot of effort.

You'll need:
  • Sterling silver scrap
  • Charcoal block or solderite board
  • Butane torch (any size works)
  • Small gram scale (completely optional)
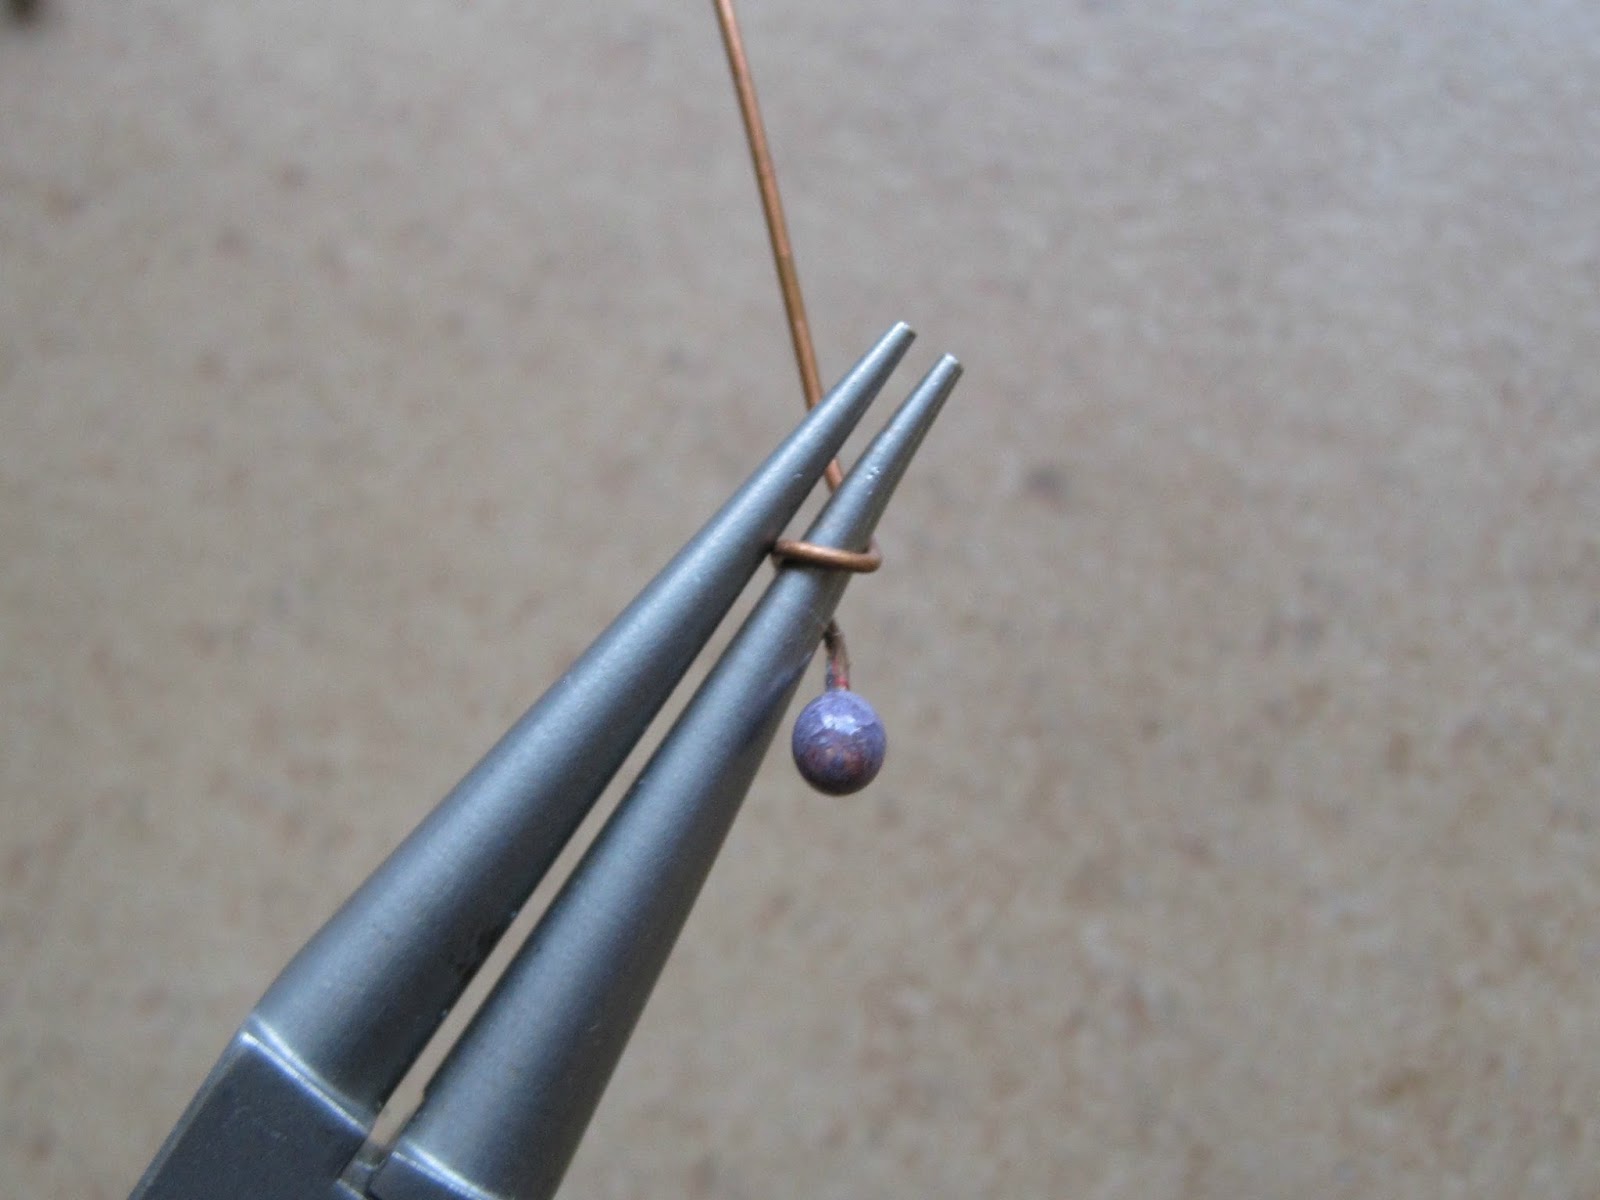
Start by laying out a small pile of sterling silver scrap on your charcoal block. If you want all the balls to be the same size, weigh your scrap on the gram scale. (Usually, I just eyeball it.) Light your butane torch and start warming up the first pile of scrap. Do this by circling around and over it, making sure to keep the block warm immediately around the scrap. The block will glow and the silver will start to melt, pulling together into a ball. Watch the silver closely - there's a "skin" of impurities that will form around the ball, when it's still a dull orange, and then burn off as the silver turns glossy and shiny. As soon as you see the ball turn shiny, start pulling the torch away.... slowly! The goal is to let the ball cool down very gradually so that the surface of the ball doesn't wrinkle up.

Wait. Let me just show you.


(As an aside, I had fun making that video. Sorry about the sound quality and editing - we'll get better at it!)

A charcoal block works best for this, though you can use a solderite board if that's what you have. The charcoal helps to retain the heat, which helps with slower cooling. And you can see that I've used this block a lot, so the center of the top has been slightly burned out. This is actually a good thing, because as the silver balls up it has a tendency to roll off the edge of the block if you aren't careful. (Ask me how I know!) That little dip helps keep it from happening.

Once you've made the ball, you need to make the bottom flat enough to solder onto your piece. Here's how I do it (thanks Melissa Muir for showing me this technique!):


(Yeah, yeah... I'm a goofball.)

One of the things I like about this technique is that once you've sanded the bottom of the ball, you can solder it in place without having to pickle or clean it further, since sanding the bottom takes off any impurities that might keep it from soldering. This means you can pickle it later with the whole piece, making cleanup much easier and reducing the number of steps in your fabrication process.
 That's a win for me. The other win - and this is a big one - is that I am using and repurposing every single bit of sterling silver scrap and "waste" on my bench.

So that's how I make the balls I use in my designs - and I do it a lot! I hope this inspires you to hang onto all those little bits and pieces left over from your larger projects. And I hope you like the videos - they're kind of an experiment, so I'd love to know what you think!

Until next time -


Saturday, May 24, 2014

Make Your Own ~ Beaded Drop Feather Earrings

Hello again! I don't know about you, but certainly for me, every time I have a lot of work that needs doing, I find there are so many other things I'd like to do instead. That "lot of work" right now is a big heap of beads that's waiting for paint. Not that I don't like painting—I absolutely love it! But it's a big job and involves many hours of meticulous work. And while I'm busily painting away, my mind wanders on to all those other ideas I have for new beads and jewelry.

One thing is for sure, I really want to make more jewelry! Happily, I've been able to consistently work towards that goal this year and it's been so wonderful to get back into it again… but equally as fun, is sharing how I make my new jewelry with others!

So… here you go! Another tutorial for you—this time for earrings…


Supplies you'll need:
- earwires (a very minor ;-) detail that I left out of my photo!)
- 24 gauge wire
- 11/0 beads (I used iris gray)
- two 6mm round beads (I used turquoise howlite)
- two 8/0 beads (I used oxblood)
- two tiny brass spacers
- a pair of painted leather feathers


Tools you'll need:
- tape measure
- wire cutters
- round-nose pliers
- flat-nose pliers
- bent-nose pliers
- glue


1. Start by cutting a length of 24 gauge wire about 10-12 inches long. Make a wrapped loop on one end and string on a 6/0 bead, a brass spacer, and a 6mm round.

2. Cut a second length of wire and repeat step 1. I like to work my earrings simultaneously to keep them matching.

3. Decide how long you want your finished loop to be and string the 11/0 beads onto both wires. I went 2 inches long with the 11/0 beads, but you can go whatever length you prefer, just be sure to cut a long enough wire to complete the next steps.

4. Bend the wire at a right angle about 5mm from the last bead—this will give you some wiggle room to form a nice loop without the beads looking all bunched up.

5. Bend the wire around to form a loop and wrap a few times.

6. Using the same wire, wrap down over the top of the beads about halfway down the loop.

7. Wrap back over the top, creating two layers of wire wrappings. Cross over to the other side, again wrapping down halfway and then back up. Finish off by wrapping tightly beneath the 6mm round and trim.

8. Follow steps 4 through 7 to create the second beaded loop.

9. Add the feathers—put a dot of glue on the tip, fold over and wrap tightly with 24 gauge wire. Hang from earwires and your done!


Wishing you a happy and creative Saturday!


http://www.treewingsstudio.com/

Wednesday, March 19, 2014

Quick Stack Disc Stack with Double Ended Lampwork Headpins.

Lately I've been using my murrini headpins as the centerpiece to a stack of enameled discs. I love the vibrant colors and kinetic energy that results from the discs twisting and twirling around.

Working on components for a new line, which is a challenge when the family tries very hard to distract me from getting any work done. I had hoped to have several at the IN art fair this weekend. That's probably not going to happen  #glassaddictions #lampw


Seriously loving this color combo using one of my murrini headpins and a couple of copper discs I enameled. #nofilter #lampwork #glassaddictions #thisartistslife

 The one thing I don't love is using the single wire from the headpin to assemble the stack together AND as the loop for hanging the resulting stack as a pendant or earrings. It was too wobbly for my taste. I mean, I like wobbly for this particular design, but it was just a smidge too wobbly. So I started considering how to get around this issue. That's when I thought about making the headpins double ended.

First, for disclosure, I "thought" of this idea all by myself while brainstorming. But when I actually started creating the headpins, I had a nagging feeling I had heard of something similar before. As I worked, I tried really hard to remember where I had heard of double ended headpins before. And then it hit me after I shut down the kiln for the day. Duh Jenny, it was on your own collaborative blog called Art Jewelry Elements. Written by Melissa Meman. Facepalm. You can click here to read her post on fusing the folded end of the wire into a ball for a double ended headpin. Just make sure you come back to read my post (pretty please?).


Double ended headpins #lampwork #glassaddictions

To start, I knew I couldn't use the typical 18g copper wire I use for headpins. I would have to make the holes in the discs much larger than I wanted to (18g fits tight in the disc holes after they are enameled) and I thought 18g might be too much of a challenge to manipulate for my needs. I decided to try 22g, but I didn't have copper. So I used bronze instead, cutting 4" pieces then making the folded end really tight together.


Double ended headpins on bronze wire. #glassaddictions #lampwork

In Melissa's tutorial, she twisted the two ends together. Because of the way I was making my headpins, I didn't need to do that. I simply added some glass to the folded end.

I selected a couple enameled discs to stack.


Enameled discs. #glassaddictions

And started working.

After stacking the discs, stick both ends of the headpin through and open the ends in opposite directions, making sure to pull snuggly to pick up any slack.


Double ended headpin and enameled discs #glassaddictions  #lampwork

Enameled disc stack and double ended headpin #glassaddictions #lampwork

Then cut the wire you want pointing towards the floor to about 1-1.5" long


Enameled disc stack and double ended lampwork headpin #glassaddictions #lampwork

Start spiraling the cut end and gently (very gently) tap it with a rawhide hammer.

Leave the other end full length (if you don't have a separate hole to hang the assembly from...if you do, cut the other end the same length and spiral in the other direction). Select an area on the wire to make a small wrapped loop. I wanted my wrapped loop to be hidden behind the discs. But this is a personal decision.

Make a small loop, then 2 tight wraps at the base of the loop. I squeezed my loop so that it is a flat loop rather than a round loop.

Enameled disc stack and double ended lampwork headpin #lampwork #glassaddictions


 Spiral the remainder


Enameled disc stack and double ended lampwork headpin #lampwork #glassaddictions

Again, tap with rawhide ever so gently while resting the assembly on something soft, face down.

Repeat as many times as you want until you run out of headpins, discs, or patience

Enameled disc stack and double ended lampwork headpin #lampwork #glassaddictions

Enameled disc stack and double ended lampwork headpin #lampwork #glassaddictions


Enameled disc stack and double ended lampwork headpin #lampwork #glassaddictions

I will be offering some of these double ended headpins in my shop within the next week or two if you're interested in playing with some double ended glass headpins. 

Have a wonderful week!

-Jen Cameron