Showing posts with label polymer clay beads. Show all posts

Monday, August 31, 2015

Making Wild Horse Beads: The "Hole" Story

This weekend I had a mess of various polymer colors scattered over my worktable (in addition to some leftover leather scraps from another project)—I've been working on a few new color schemes for my Flying Arrow Horses.

These little horses are currently my most favorite bead to make. Okay, yeah I have to admit that my favorite bead to make changes quite a lot… but there's really nothing wrong with that—I love making what I love making most and enjoy going with that flow.

For all my Wild Horse beads the most tricky part of their making is piercing the hole, or at least it was and for the longest time I put off making them because I didn't like doing the holes. If you've ever tried to pierce a nice, long straight hole through a long, thin piece of squishy polymer and actually get it to end up where you want it at the other side, and without damaging the detail you have so carefully created, you know what I mean! It wasn't until one of my lovely customers asked me about making horses that I started to consider it more seriously and finally I made my first batch of Wild Horses and in the process figured out how to make piercing easier and nearly fool proof. I highly doubt if I'm the first one to do holes this way, but whatever… I just love that it works for me!

So today… you have my Wild Horse "Hole" Story…

They all start out in a mold that I made from my original sculpture. Yes, I use molds for many of my beads—they make it SO much easier to make dozens of the same shape without the annoyance and extra time of trying to match them up. I only cast for the most simple details, and then add the rest by hand. Right before I remove the horse from the mold, I use a large needle to create the hole channel—the key to my easy hole!

I do all the detailing with the little horse resting on the needle, this fills in the hole and keeps it from collapsing while I work.

Once the details are all applied and I'm happy with them, I test each horse to ensure they can stand. I love that these beads would also be perfectly happy living in a shadow box!


They then must pass inspection from my sweet little cat Grapenut, aka Mr Fluffy. He often sits in my lap while I work, chin resting on my table, watching the beads take shape. He takes is job very seriously and was bugged by the fact that I wanted to take his photo!

After a short trip to the oven for the first curing, I fill in the hole channels with raw polymer.

I add a thick layer of polymer to the back, trim…  

… and finally pierce! The piercing runs smoothly through the raw polymer filled channel giving you a nice clean and straight hole!

And lastly, I carefully trim away the back to give it a more finished carved texture. 

One horse completed and ready for final curing… time for another cup of coffee and more horse making!

And here's the finished result… after a few washes of paint and polishing…

These are my russet brown horses… the palomino horses that I was working on in this post weren't quite ready for a photo shoot, but will be following after into my shop in the next few days!


The End.


Rebekah Payne
Tree Wings Stuido

Friday, May 1, 2015

All Abloom

"It’s spring fever. That is what the name of it is. And when you’ve got it, you want — oh, you don’t quite know what it is you do want, but it just fairly makes your heart ache, you want it so!" ~Mark Twain
 My heart yearns for warm sunshine and blossoms at this time of year.  And nature fulfills that longing with abundance.  Tulips, daffodils and hellebores.  Lilacs, cherry blossoms and crocus.  A walk through the garden brings such a feast of color and beauty!

For many of us this outpouring of color translates into the urge to create.  I have gathered some jewelry components here to help you fulfill that urge.  Set one of these beauties out on your work table, find out which beads in your stash are clamoring to join the party and let your designer's heart blossom!  

I'm also offering up some finished jewelry that you might enjoy for yourself or perhaps for a Mother's Day or Graduation gift.


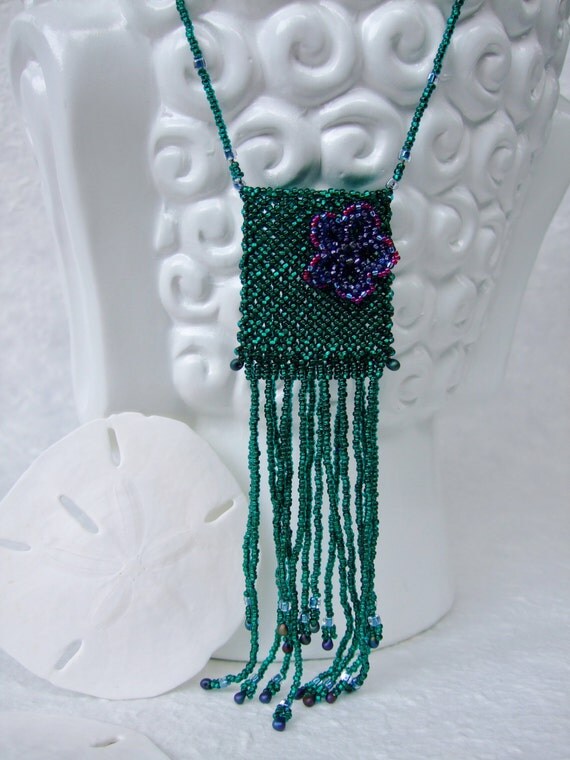
This Emerald Amulet Bag with a Stitched Flower would make a great ready-made Mother's Day gift.  It was made by Lindsay Starr of Phantasm Creates.
 
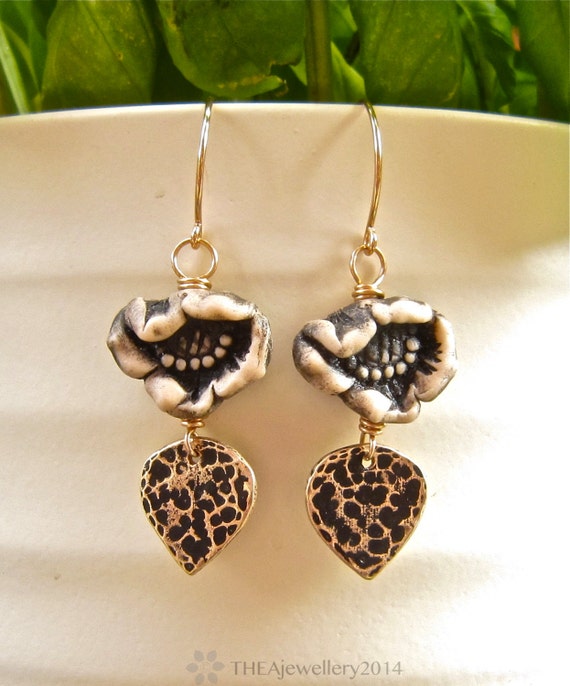
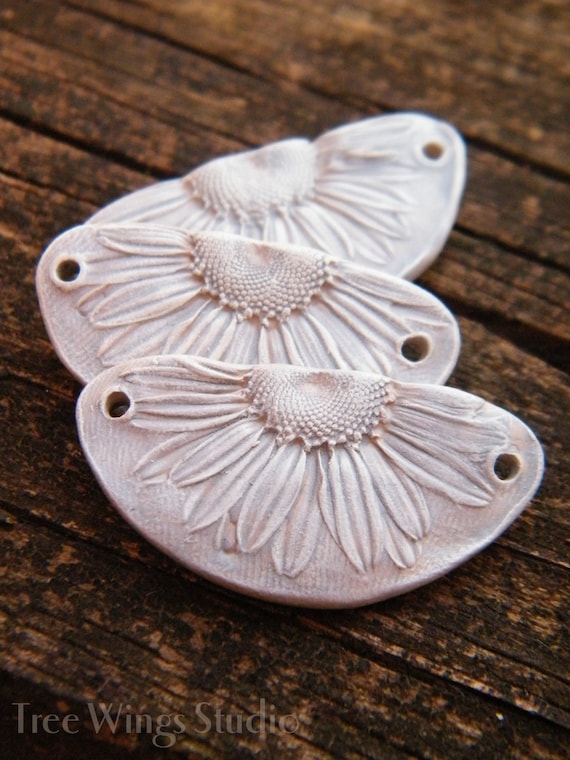
These Dogwood Flower Earrings by Lesley Watt of TheaJewelry features polymer clay flowers by AJE team member  Rebekah Payne.
 
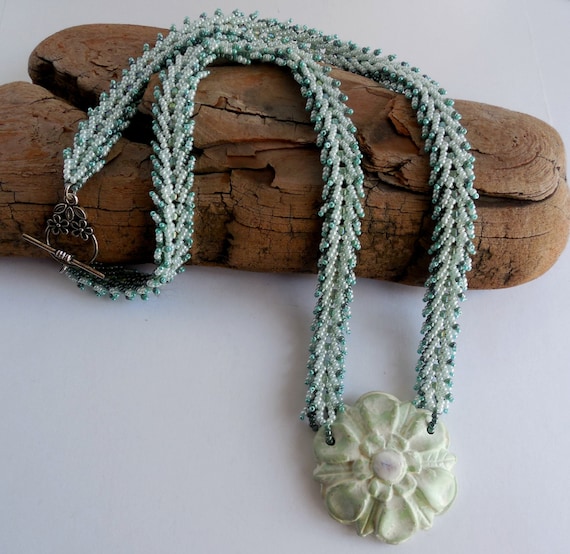
Turquoise and Peach Flower Earrings by yours truly (Linda Landig Jewelry).  These earrings feature bronze flowers by AJE member, Lesley Watt.
I hope you feel inspired now!  If it is warm enough where you live, try sitting in the sun while you are beading.  Wishing you sunshine, blossoms and happiness!  Till next time-
Linda Landig  
Linda Landig Jewelry

.

Saturday, April 11, 2015

Making Simple Polymer Clay Silhouette Stamps

I'm sure you all know about Jenny's Themed Challenge for March: the Hare. Of course I signed up right away with a mind full of new hare bead ideas… and then I ran out of time and for the reveal only had a work-in-progress to share… but now I'm finally making new beads! Thank you Jenny for a challenge that pushed me to create something new!

These first beads are one of a kind focals made with my brand new hare stamps that I made specially for the challenge. For today's post, I thought you'd enjoy a little peek into my stamp making process. And maybe you'll be inspired to make some for yourself with your own designs!

Every one of my stamp designs starts out as a simple drawing in pencil. Pencil transfers beautifully to polymer! For these little hares, I did a google search for a bit of help on hare poses (I can sculpt stylized animal shapes, but drawing isn't really my thing!) and then drew my own shapes freehand.

And here's how I turned them into stamps…

1. After drawing my designs, I shaped the stamp bases in polymer, making sure they would fit my hare designs and then I popped them into the oven to cure for 15 minutes.

2. Next I rolled a thin sheet of polymer (#4 setting on my Atlas pasta machine) and transfered my design by burnishing the back of the paper over the polymer sheet.

3. The transfered design!

4. Then I cut the design to fit my stamp base.


5. I used a small amount of liquid polymer clay to stick the design to the stamp base. Not too much or it slips around when trimming!

6. Using an X-acto knife I trimmed away the bulk of the polymer. And then with a needle, I carefully traced around the design for a closer trim.

7. Next I applied liquid polymer to edges of the design—this helps hold the design in place and softens it just enough to let me smooth the edges.

8. All smoothed and ready for baking!


With these stamps you don't need any release agent—just dip in water and stamp away! You may find that after a lot of use they start to stick to polymer—this is because raw polymer will soften baked polymer over time. I just pop the stamps in the oven with a new batch of beads every so often and they're good to go again and again.

The thing I love most about making silhouette stamps is that a simple design like this can be used to make so many different style beads and pendants! 

I don't know why really, but I just adore jackalopes! These are still raw—once baked, I'll add some washes to give them a more rustic feel.

And of course, I had to make lunar hares! I used another stamp for the moon motif and a wild grass impression. These too will get some paint washes.

Lots of painting will be happening this weekend and hopefully the new focals will hop into my shop later next week! :-)

Wishing you all a very creative weekend!

Rebekah Payne
Tree Wings Studio

Saturday, March 28, 2015

April Component of the Month Giveaway!

Hello everyone! It's time for another Component of the Month giveaway and I'm so excited to be hosting for April's challenge! Up for grabs are my brand new little wood heart beads!

I hand shaped each heart in polymer clay and carefully stamped both front and back with a weathered wood impression that I made a while back.

On the side, to make them extra special, I carved the word "love".

I painted them in my favorite rustic copper brown color and a brand new color: sea-washed grey, to mimic the look of driftwood. Perfect to add a touch of woodland charm, sea-worn shabbiness, and rustic beauty to your new jewelry creations! Each one is about 18mm by 23mm long.
Want to play along? Here are the rules…

  • I will giveaway 1 heart bead in the color of your choice to each of 3 winners selected randomly from those who leave comments below this post. Your comment must included your EMAIL address so we can contact you should you win.
  • Please — only leave a comment if you can commit to creating a finished piece and blogging about it on the reveal date.
  • The names of the 3 winners will be announced on Wednesday, April 1, 2015.
  • This giveaway is open to US and international countries, but please be aware that international addresses will have longer postage times… sometimes up to 3 weeks.
  • The blog reveal will take place on Thursday, April 30, 2015.

Good luck and happy creating!

Rebekah Payne

Saturday, January 17, 2015

Struggling with Creativity


Happy New Year everyone! Is it still okay to say that, now that it's 17 days into the new year?!… it just felt wrong not to since this my first post of the new year. I do hope you each had a most wonderful holiday!

The beginnings of a shop restock.

I'm now about two weeks back from a very short, but much needed break over the Christmas holiday and things are once again starting to look much like they always do: I'm packing molds and shaping fine details on dozens of beads, and next week I'll be starting my first paint batch. One of my very favorite things! Here's a bit more of what's taking shape on my work table right now…


If you would like to know what I did during my break, the answer is simple: I made things! In other words, I swapped out bead making for other kinds of making. I made pies, cookies, and my mom and I spent many hours in the kitchen preparing all the other homemade goodies my family loves. I do love to bake! And then I made a few gifts—jewelry, a vase (I was still working on it on Christmas morning!) and some little tiny plant pots. And I started another couple gifts that weren't finished in time and had to be given as work-in-progress gifts. Have I convinced you that I really have no clue how to take a real vacation?

This was my work table 3 days before Christmas! You would have never guessed I wasn't making beads.

My heart is so very happy when I'm creating, especially if it's something special for someone I love. And I truly believe that what talents I have are a gift meant to be used and shared. So anyhoo… when Caroline asked us all about our goals for the new year, I came to the full realization that I really didn't have much planned. I had been pondering things for the past few months and even though there are so many things I want to do, there was nothing really solid, and it finally hit me hard.


A little tiny air plant pot! I made three of these little guys.

What I've realized most, is just how much my creativity has consumed me—filling up every last moment of my days. I joke that if I'm not working, I'm working: it's either my day job or my studio job, but I'm always working. I actually feel sad that some of it kept me so busy that I missed out on time with my family and friends. It's no longer a hobby, but a second job. One that I do love, for sure! I mean, who can complain about doing something that has been a life long dream? But when you miss out on the simple things like dinner and movie night with family. every. single. time. It's time to step back and rethink things.


This vase, for my mom, was my Christmas morning project. I finished just in time to open gifs… actually gift opening was delayed on my behalf. :-)

I do have a very good excuse for being so late: the gift I purchased for her arrived late and was not quite what I had expected. Handmade gifts win every time!


I know some of you might ask why I am complaining at my success. But no, it's not that at all! I'm overjoyed and am so very thankful for each and every success that comes my way. It's not at all success that I am struggling with, but how to rein in my creativity. Just a little bit.

It's the struggle on how to feel okay about a particular bead being sold out for a few weeks while I fiddle with new ideas that might come to nothing. Or when to clean up and turn out the lights in my studio early some nights. Or even for a weekend. It's about the struggle on how to handle not doing it all, all the time. For a person who thrives on organization, schedules, and lists it's an alarming thing to discover just how unorganized I've become! Take for example me editing this post at 2:58am because I was too busy making beads earlier. See what I mean?

I always laugh when someone who doesn't understand what I do comments on how nice it must be to work for myself, because it means I can take breaks whenever I want and do what I want… really!? That certainly wasn't in my business manual.

Does this all mean that I'm burnt out or should take a long vacation? Not yet and no. I think there will probably always be beads coming from Tree Wings Studio. I am often exhausted, but know I'm not burnt out when new ideas are constantly flooding into my mind. Yes—what about all the new beads that I hint at every so often? I do want to finally make them!

I really can make new beads, if I make the time for them—nothing quite like a Secret Santa gift swap to push me to create something brand new!

So, for this year, my one and only true goal is to live life just a little bit more, to stop working so hard, to actually stop creating all the time… to breath a little and relax, and be inspired by more quiet time and time with family. I hope that this will in turn fuel my determination to work more efficiently. I think it may prove harder than any other goal I've ever set…


Okay, now it's your turn! Do you ever struggle with too much creativity? Does it ever get in the way of other things you love doing? Or maybe you have found that happy balance? Do share!


Rebekah Payne


Thursday, November 20, 2014

Holidays Are Coming....

Christmas day is five weeks today. Eek - five is that all... surely not?! Despite the fact that it happens at the same time every year and we know it's coming it always seems to catch some of us by surprise. Well if you're one of those and you still need some inspiration for some Christmas makes there are plenty of bead and ornament goodies around and here's a little round up of some of my favourites...

Whimsical bulb and bird bead set from Gaea...


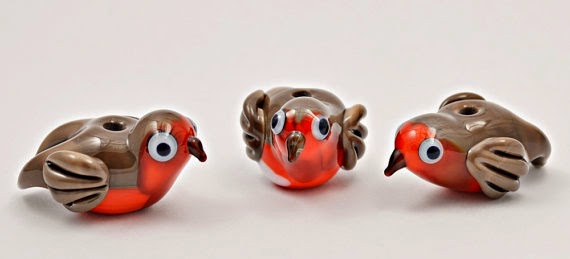
Adorable lampwork Robin focals from Izzy Beads...


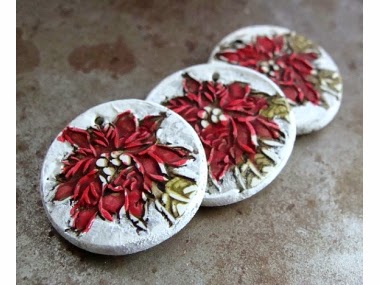
Pretty  Poinsettias from Humble Beads...

http://www.humblebeads.com/product/poinsettia-pendant

I just love these original and inspirational ornaments from Second Surf which would also make great keepsake tags for your special gifts...

 https://www.facebook.com/secondsurf/photos/a.386269463514.165209.168725313514/10152597437863515/?type=1&theater

Fabulously detailed frosty holly beads from Donna Millard

https://www.etsy.com/listing/113136894/handmade-lampwork-holly-glass-beads?ref=favs_view_11

For a more rustic feel how about this pretty cut out snowflake from Suburban Girl Beads...

 https://www.etsy.com/listing/206675994/dark-blue-stoneware-snowflake-pendant?ref=shop_home_feat_1

I just love the icy winter feel of these Polymer Clay Queen Anne's Lace pendants from Tree wings Studio - you can almost hear the ground crackle underfoot...

https://www.etsy.com/listing/207166341/new-color-gossamer-white-queen-annes?ref=hp_mod_rf

Some more lovely holly leaves from Serena Smith Lampwork...

https://www.etsy.com/listing/209038283/christmas-holly-lampwork-glass-leaf?ref=shop_home_active_6

What's not to love about this adorable little beaded owl ornament from Meredith Dada...

 https://www.etsy.com/listing/96507081/snowy-owl-christmas-ornament-beaded-clip?ref=shop_home_feat_1

A gorgeously rich and opulent lamp work focal from Sue Beads...


And because you can never have too much snow at Christmas another ceramic option from Linda Landig Jewellery...


So have fun with your Christmas bead shopping and I hope you're more organised than I am!

Lesley
The Gossiping Goddess