Showing posts with label patinated metal. Show all posts

Tuesday, April 23, 2013

Chestnut Brown Copper

I love, love, love the deep chestnut brown patina that is possible with copper... but it took me a long time and a lot of experimentation to perfect the process so I could get it consistently. The thing I love best about this is that the resulting patina is very dimensional, which may be hard to see in these photos - but give it a try yourself and you'll see.

Start with a copper piece that has been pickled, neutralized, and brushed clean with a brass brush. The "neutralized" part of that is really important - use baking soda in solution with tap water. Un-neutralized pickle on a piece of metal can react to the patina and sealants over time.

This piece is really clean - what you're seeing are reflections on the metal.
Place the piece on your soldering block (choose a clean spot!) and gently heat it with your torch until it darkens. Make sure it's completely dried off before you do this, since the water can leave mineral deposits on the metal as it rapidly heats and evaporates.


Quench the piece, then use a green scrubby and running water to clean it. Don't use soap! Just the green scrubby and a little elbow grease will be enough to brush back the patina on the high points and even out the color. Be sure to dry the piece thoroughly before moving on to the next step - any water left on the piece will dilute the patina as it comes in contact with the metal.

Sorry this is a little out of focus!
Get your work area set up with the darkening liquid patina of your choice and either running water or a water bath nearby. I use Novocan Black in this demonstration, but liver of sulphur gel works great too. Then, quickly submerge your piece in the liquid and take it right back out, putting it in the water bath or rinsing it under running water. Really: just dip it in and take it out, then rinse it thoroughly.


Repeat this step several times - dry off the piece, dip it quickly into the patina, then rinse thoroughly. Every other dip in the patina, use the green scrubby to even out the color - no soap or cleanser, just the scrubby and some water. After anywhere from four to six dips in the bath, you'll have a beautiful, even deep brown patina with highlighted texture.

Sorry this one's out of focus too!
Put the piece in a tumbler for at least an hour - if you have a vibratory tumbler, you can get the same effect in 20 minutes or so. You're looking for a deeply burnished surface that glows, and you'll start to be able to see the dimensionality of the patina.


Toss in a piece of large link copper chain to tumble with your piece - it helps create a random organic texture.

After an hour of tumbling, these pieces have mellowed to a beautiful, deep chestnut.
Use your fingers to rub a little bit of Renaissance Wax (I love that stuff!!) into the surface of the piece. A little goes a long way, but you want to make sure you get thorough coverage. Set the piece aside and allow to dry for at least 15 minutes - longer is better. Then buff with a soft cloth.


All of these pieces have had Ren Wax applied, but only the center one has been buffed. Note the matte appearance of the other two?

The Renaissance Wax will continue to harden over several hours - this is my favorite finish of all because it is so durable and imparts such a pretty glow - not too shiny, just right.

All the pieces buffed.
So that's how I do it - I get consistently deep, rich, dimensional color and beautifully highlighted textures with this technique, and the finish is extremely durable and stable.

Do you have any tips to add? How do you add patina to your copper?

Until next time!


Tuesday, December 18, 2012

All Things Considered...

2012 has been pretty good to me but as it closes out I find myself thinking more and more about what I've done and what I want to do in 2013 to stretch my creativity and keep things fresh.

This time last year I was selling my jewellery with reasonable success and was idly pondering whether or not I should try to sell some of the metal clay components I use in my own designs. It took another couple of months of procrastinating and prevaricating before I finally bit the bullet and went for it. It's well documented elsewhere how delighted I am with the positive reception they've received which frankly is just as well, because selling finished jewellery online has been a whole lot harder this year. 

So, for the last nine months I've been pretty heavily focused on developing my components and inevitably I'm now feeling the need for a change, to shake it up a bit by trying something new or revisiting some things I've dabbled in in the past.

In the summer of 2011 I attended a kiln enameling workshop and just the other day I came across some of the pieces I made following that.


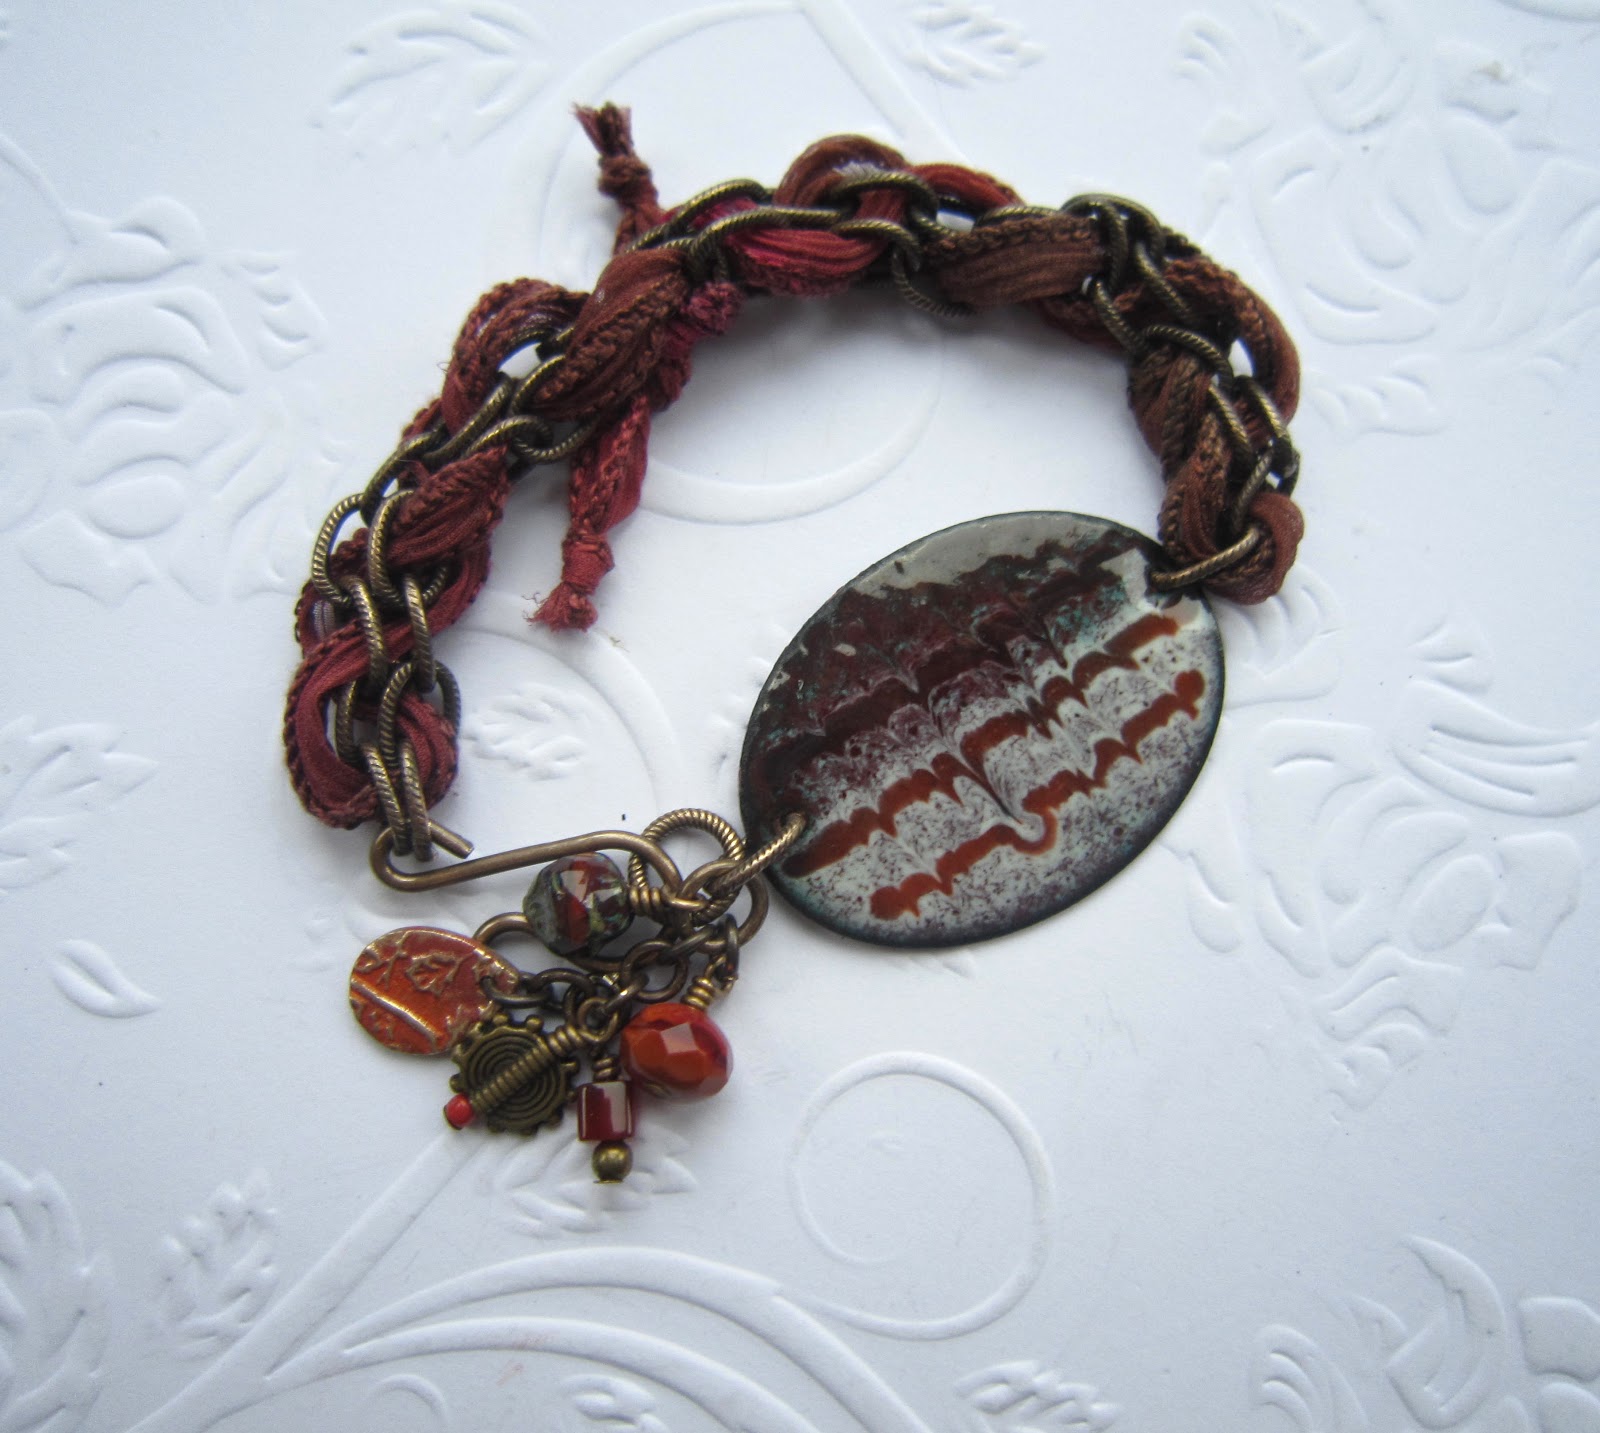
This Scraffito cuff connector has been sitting around for over a year so I finally decided to do something with it...


I also had a go at torch firing enamels and set up a makeshift area in my garage, but this didn't come quite as naturally to me as I don't seem to be very co-ordinated when it comes to working with mandrels. But in fairness I think it's one of those things that needs consistent practice and once I started on building up the metal clay components there wasn't really much time left.


Now that the bronze production is running pretty smoothly though, I want to go back and improve these techniques with the aim of adding an enameled range to the shop - a nice complement to the metal clay I think.

Back in November I treated myself to another workshop, this time etching and I  LOVED it! I worked with copper and used a ranged of methods including PNP (press and peal) paper, Aquatint, stickers and Shelac. PNP was by far my favourite and I got some great results with some art deco images.


The butterfly here was done with a sticker and the other two pieces were done using PNP. Not everything came out as well as these as you can see on this next piece where fine grains of the  pumice used to clean the copper have got under the PNP causing the blotches.


Still that's what workshops are for aren't they! 

I have a 'slightly' addictive personality so it was all I could do to stop myself from going out and buying all the kit straight away but I've promised myself that this is something I will definitely be trying again early in the new year.

There are lots of other things I could put on my technique 'to do' list but by limiting it to just a couple I think I have more chance of actually achieving them rather than just being overwhelmed. Besides which, I still have a lot ideas to try out on my metal clays.

I've been working a lot with patinas lately, especially the new ranges of commercial metal patinas which can produce great instant colour effects like these...


It's also possible to get some great patinas on bronze which occur naturally as part of the firing process....


I love it when this happens but sadly it's very unpredictable and I'm very bad at keeping records of the conditions that pieces like this result from. I really have got to be more scientific about this. One thing I really want to do is try out some of the other popular patina techniques to see how they work with bronze. Ammonia, Vinegar, Potato crisps (chips)...most of the tests I've seen have been done on copper or brass so I'm planning to do some comparisons on bronze and will share that with you when I have some results.

Obviously bronze has a long and distinguished history when it comes to jewellery. How great would it be if I could reproduce some of these effects on my own jewellery and components....

Bronze jewellery from the Neolithic settlement of Vinelz on Lake Biel, Switzerland, c. 2700 BC. Wiki Commons


English: German National Museum ( Nuremberg / Germany ). Bronze armlet with sun symbol, late Bronze Age ( 16th-13th century BC ), Hesse. Wiki Commons

Without having to wait thousands of years of course - well a girl can dream?!

So that's what I've got my sights set on for 2013, how about you...what are your jewellery related ambitions for the year ahead? I'd love to hear about them.

Now, since this is the last post I'll be doing until after the New Year I'd just like to wish you all a very merry festive season and a peaceful and happy new year. See you all on the other side!

Lesley
The Gossiping Goddess


Friday, July 6, 2012

Being brave with your Design- Pushing the limits of your materials- "Siren's Song" necklace

Hello friends!

I am excited to share one of my newest designs! I got brave and pushed the limits of my materials so I wanted to encourage you to do the same. After all, some of the best designs come from doing things that may not turn out. My art teacher used to say "No Risk, No Art!" Wow, who knew that would stick?! ;)

This design was just one of those things that kind of stuck me as I looked through my bead box. A long while back I received the beautiful patinated wings from my friend, Staci Smith of SL Artisan Accents. I remembered having this gorgeous Mermaid charm from Green Girl Studios and thought that the two would go beautifully together. I was in a really sea inspired mood. I blame that inspiration on Karen, Staci and the new Creation is Messy glass color, Poseidon.
Here was the hideous messy of my desk with my lone design in the center lol. 

Here is a closer look at my pattern I had laid out. See my mermaid in the center with the wings? Here she was just layed on top. Now to figure out how the heck I was going to assemble her! The hole for the mermaid was at the top of her head. The wings hole was in the center of the wings and on the wing tips. I tried EVERYTHING to get them rigged together. I tried cording, wire working, NOTHING was working :(

Then.... I had a thought.... What if I made a hole in her back with my dremmel? *GASP* Was this a good idea? Well pewter was soft, right? Her design was nice and solid and there was a nice thick spot I could drill inbetween her back and hair. *Inhales deeply* Ok, I'm going to go for it.

I pulled out my dremmel and attached the smallest rounded drill tip I had. I held my breath(literally. Yeah, you may not want to do that part ;)) and gently drilled into her back on one side.  Then I moved her to the other side and began gently drilling.....
I felt the drill release as I had hit the other side! SUCCESS! I moved my dremmel away and peered into her back. Yep, light! I did it! There was still enough of her hair over the hole I created to be substantial! *WHEW*

I typed in with text where the hole is since it's a little hard to see.

Here you can see the holes in the wings and if you look really closely you can see a little mark on her left arm where the hole is. Now to get her together.

I took my c-lon cording and genly wove through each wing and through her back about 3-4 times. I then pulled tightly and tied a knot. I then tied a knot in each loose cord, snipped them a little past the knot and gently melted the ends to prevent fraying.

Look how perfect she looks! The wings look like they were created especially for her! :D I was so delighted that not only did my bravery pay off, but at the exquisite design I had just created.


I went to work stringing, and wire-wraping, knotting, crimping. I added in a wonderful nested loop connector that I had received from Karen.

I tied on some sari silk in some watery colors and used one of my new watery sea anemone ruffled discs.
I added a string of my Sea Opal wing dings, a beautiful podish clasp from Bokamo designs, some patinated chain from Karen, and a Lichen spacer from Staci.


Here you can see the whole necklace design :) I just adore this new piece!

I was in my pajamas while I was busily making my necklace, so when my sister showed up I ran to her to model my newest master piece! She arrived  in a pretty black dress with her beautiful olive skin and sparkling blue eyes. I drug her outside in the sunlight and clicked some photos.


Here you can see her wearing my necklace along with the earrings I created with the gorgeous earring bases I received from Staci in my happiness box :)

Here is a pic of the earrings.
 
 I encourage you to be brave with your designs and push the limits the next time you sit down to design. 

Anything is possible!

xo Genea