Showing posts with label metalsmithing. Show all posts

Monday, November 24, 2014

Inspired By A Trip To The Desert

Yesterday I landed in Las Vegas.  My parents came and picked Colin and I up and drove us out to their home in Southern Utah.  We visit them once a year out there and I LOVE it!  I always come home from this trip filled with inspiration.  Let me show you why...
My parents live in the desert.  This is a short drive from their house.  

We usually go out for one or two hikes while we are there.  My parents took some rockhounding classes at their local community college and so we search for petrified wood, fossils and various stones.  
Sometimes we get lucky and find one!  You've probably noticed that spirals and fossils are a recurring theme in my work.
About 45 minutes away from their home is Springdale, Utah.  Springdale sits outside of Zion National Park.  Two of my favorite places are located in Springdale.  The first is The Worthington Gallery.  Located inside a historical home, this gallery is FILLED with amazing local pottery and art. I always select a few pieces to bring back with me.  
Also located in Springdale is this fabulous rock shop.  I go nuts in here every year.  Do I need more cabochons?  That's a ridiculous question!  Of course I do!
I created this ring using a septarian nodule cabochon I purchased from that shop.  The shop owner is  a lapidary. He uses septarian nodules local to Utah and a variety of other stones, including a few local jaspers.
And of course, if you drive through Springdale you end up in Zion National Park.  It's kind of hard to not be inspired by this place!  Look at those layers of color and all that texture!
And speaking of Zion, I'm heading out there today.  Going to stop at the rock shop first, then Worthington Gallery and then head into the park!  I wonder what kind of inspiration I'll come back with this time.

Happy Beading and Happy Thanksgiving!

Diana P.

Monday, November 10, 2014

Faerie Finery: The Handcrafted Jewelry of FaerieCon

I just got back from spending my weekend at FaerieCon East.  What is FaerieCon? "FaerieCon is a fantasy convention, featuring artists and authors working in the genre.  It's known for its Masquerade balls and marketplace of artist/makers."~Jenny Davies-Reazor

Yesterday, the last day of the show, I took a final walk through the vendors and chose several to share with our readers.  I hope you enjoy a peek inside this fabulous world...

One of the first booths I stopped at was Crafty Celts.  Crafty Celts creates historically inspired Irish and Viking-style jewelry out of sterling silver, bronze and copper.  Their work was featured on the History channels "Vikings".  I'm considering a Viking costume for next renfaire season and this shop will certainly be on my mind for accessories. 

The next vendor that caught my eye was Twisted Bliss Designs.  Twisted Bliss Designs specializes in sterling silver wire-wrapped jewelry.  I was very impressed by their wire-wrapping skills.  Incredibly detailed, especially the fabulous headpieces. Unfortunately, many of my photos came out blurry so you should check out their Etsy shop to see more of their beautiful work.

Seeing Vagabond Metalworks in person was a true gem.  I was blown away and very inspired by Kest Schwartzman's metalsmithing.  Organic and eccentric, I just loved this work.  In addition to amazing metal jewelry, Kest also creates spectacular metal masks...
I wish I could've come home with all of them!


For those of you that love polymer and resin, Art of Joanne Schempp had these wonderful dragon egg pendants for sale.  Joanne carved the original dragon egg and cast a mold. Then she used polymer clay to create the eggs and set and domed them in gorgeous blingy metal pendants using resin.  

My friend Lithia, owner of Lithia's Creations, was vending again this year.  Lithia recently started creating pretty soldered pendants by upcyling broken plates and tea cups.  She also had some art bead jewelry this year including those pretty dragonfly necklaces featuring pendants from Round Rabbit.

And for our metal clay fans, the stunning work of Silvan Arts was on display.  Silvan Arts features nature-inspired jewelry crafted from metal clay, with many of the pieces incorporating gorgeous gemstones.  If you'd like to see more of their work, visit their Etsy shop.


And last, but certainly not least was AJE's own Jenny Davies-Reazor.  How else did you think I knew about this event?  Jenny has been vending FaerieCon for several years and she had a wonderful display with her pendants, necklaces and tiles.  

I hope you enjoyed this little peek inside FaerieCon's jewelry vendors!  I can't wait to enter the realm of magic again next year!

Happy Beading!

Diana P.


Monday, October 27, 2014

Soldered Wire Prong Bezels

On Saturday, I went up to Sue Sachs studio to take a bezel workshop.  This wasn't just any bezel workshop, it was on setting stones that were unusually shaped.  I asked specifically for this workshop because I have a large collection of cabochons and flatbacks that aren't round or oval.
Sue had a selection of samples laid out for us, including this massive wire prong bezel pendant.  Right away I knew I was going to make a bezel using this technique.  
I brought my entire collection of crystal and fossil cabochons with me but ultimately decided I would set this pretty quartz piece.  I also used the sterling silver wire I already had on hand, which included 16 gauge and 20 gauge (I would not use 20 gauge in the future though as it would need to be work-hardened to be secure).  I do plan to add 18 and 14 gauge to my supplies in the near future.
The first step was to create a base that I would then attach all the prongs to.  I used the 16 gauge wire for this.  Once the ends were filed, I soldered the wire together.
I then cut several lengths of 20 gauge wire and created balled headpins to use as the prongs.
I eyeballed the length of the headpins and cut them down in size and soldered the first two onto the base.
Then the final two prongs were measured and soldered on.
I noticed along the way I must have goofed and I had to flip the base around.  Oops.  But it was still going to work!
I went with a simple arch for the bail.  I also realized at this point that the bezel looked kind of like a baby reaching out to be held.  Hehe.
I gave the bezel a Liver of sulfur bath and then I slid the quartz in and folded the prongs over.  

This was an easy and fun way to set a stone!  Colin is going to finish getting my torch set up in the workshop so that I can begin making these at home.  

What's your favorite way to set unusually-shaped stones?

Happy Beading!

Diana P.

Monday, August 18, 2014

Metal+Colored Pencils=Fun

Yesterday I had the pleasure of taking a workshop on using colored pencils with metal.  Now let me start by saying that I am extremely exhausted and overwhelmed right now by all things Bead Fest prep related.  This workshop was probably not the best timing for me and as such, I did not go crazy and make a project.  I kept it real simple and just played with the technique.
When working with colored pencils (we used Prismacolor) you want the metal to have raised and recessed surfaces.  You can achieve this through a variety of ways: repousse and/or chasing, etching, using a rolling mill, etc...  

I cheated and used patterned copper I purchased from Metalliferous several years ago.
I applied gesso to my copper blanks and heated them after each layer.  
After the gesso was dry, I applied the first layer of pencils.  Always start light with your application.  After I was happy with the first layer, I heated the piece again, let it cool and then sprayed a fixative on them.  Then I rubbed steel wool over the piece, applied more pencil and continued repeating this process.
These were the four samples I made.  I wish I had felt better as I could see myself having a lot of fun sawing out various shapes, soldering or using cold connections and making all sorts of fun things with this technique.  I'm sure once Bead Fest is over I'll have more time to experiment.

Now I'm off to the airport to pick up fellow AJE contributor, Lesley Watt at the airport!  

I hope you'll come see us at Bead Fest!  Lesley will be with me in the Suburban Girl Studio booth (#471A).  We'll have lots of beads for sale and we'd love to meet you!

Happy Beading!

Diana P.

Sunday, June 8, 2014

More Fun With Chain

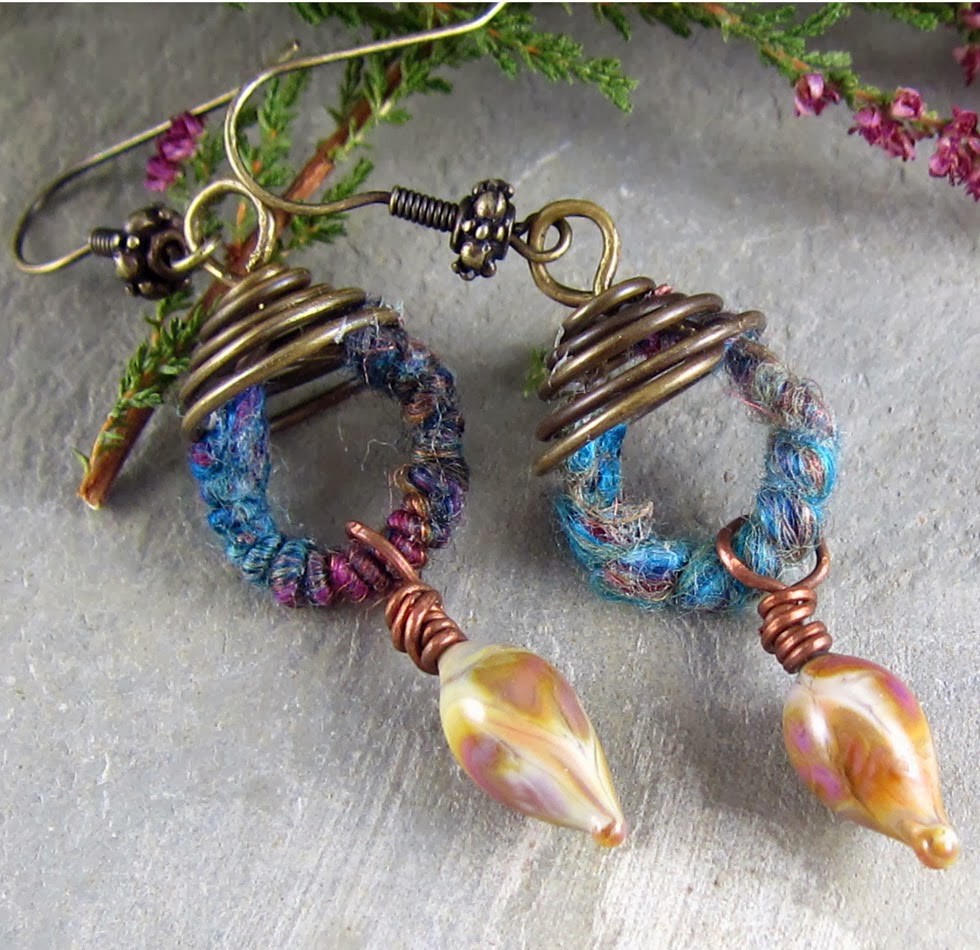
I've wanted to make some elongated chain for a while. I finally sucked up my nerve and gave it a shot:
I hadn't soldered in a while. I had a new torch this time, a propane EZ Torch. This one is configured for a disposable tank. You can get one for a refillable tank too. Just one fuel tank, with a baffle on the torch head to adjust the amount of room air that feeds the flame. Simple! It's not a super tight flame, even with the smallest head, but I don't do tiny fiddly work anyway so it works fine. It melted my hard solder in a flash.
EZ Torch kit (minus the propane tank of course)
Here's my setup:
I put the propane tank (the blue cylinder there) in a bread pan and velcroed it to the wall to keep it from tipping over. The bread pan keeps it from sliding around when I move the hose. You could put some rocks in the pan too to make it even more stable but it seems fine the way it is.

I used My-T-Flux for these, a liquid flux, from Rio Grande and it worked great.
I like to put my little solder bits in a tin can lid, pour in a tiny bit of flux (you don't need much), and coat them that way before I solder. (I learned this from a metalsmithing teacher at Glacier Metal Arts in Kalispell, Montana, Karen Chesna). Then I can just pick the bits out of the flux, as I need them, with my soldering tweezers. I use a cheap paintbrush to coat the join on the ring with the liquid flux. I like a charcoal block for my soldering surface.
For copper, I have been using copper-color solder wire that I get at Monsterslayer. The 20 gauge is easy to cut in very small pieces (don't use your good cutters though, get some burly hardware store wire cutters.) It isn't really coppery looking after you've soldered it (it's pretty much silver), but it takes liver of sulfur nicely, unlike silver solder, so at least you can darken it to make it "disappear."
(Nancy Hamilton has a great page and video about making jump rings (including oval rings)-->CLICK HERE. Here's the video. I am all kinds of excited about the dowel/saw technique, so easy! You have to watch the video for that. Plus Nancy is a NUT, you will crack up! I highly recommend her YouTube videos.

I won't go into the torching part here, let's skip to the shaping part.

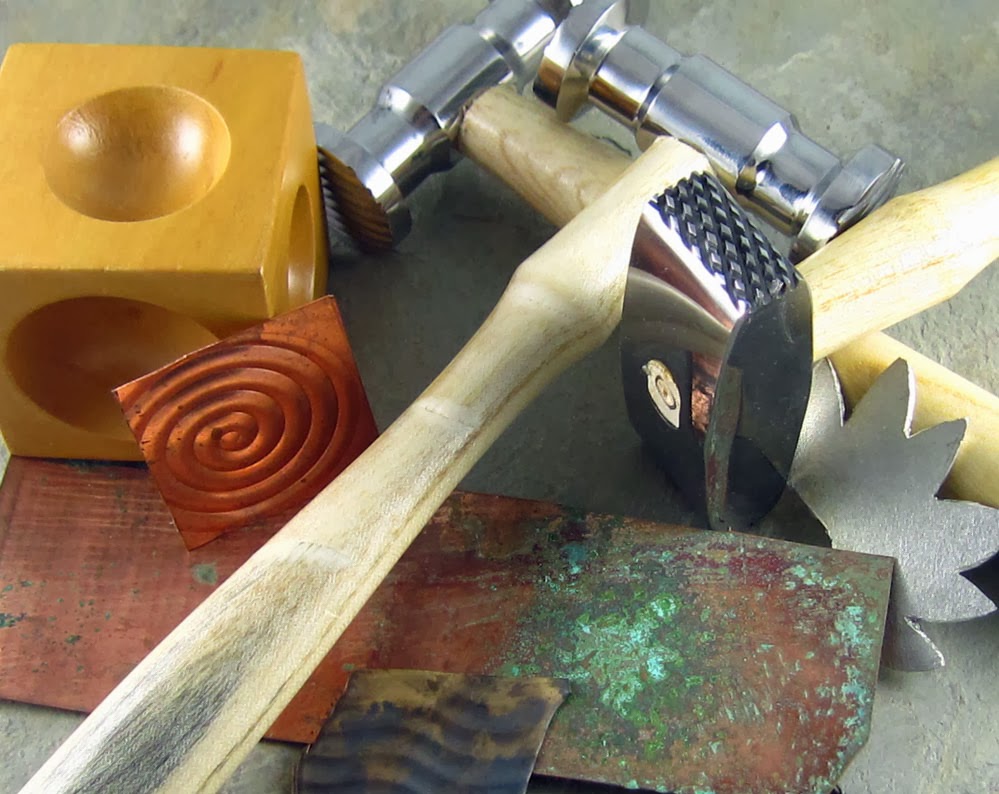
After soldering, I make the ring into an oval with a couple pair of round-nose pliers. I just pull it apart, keeping the join on the side:
Then I make the curves tighter, forming a more capsule-like shape, with my round nose pliers and square nose pliers. I squeeze at both ends with the square nose pliers, using the round nose pliers as a form:
Then I hammer it, and I like to put a decorative stamp over the soldered join if the solder is visible--the liver of sulfur settles in the pattern nicely, camouflaging the solder. (My inspiration for this came from the incomparable Cindy Pack--check out her gorgeous metalwork HERE):
I joined my links with open, hammered figure 8s (I'm not quite ready to solder all my links together--I need to grow some more patience for that.) I start with short lengths of copper wire--these are 15mm lengths of 18 gauge wire, hammered flat:
Then I make the figure 8 with my round nose pliers:
Twist each end of the figure 8 open like a jump ring to attach it to the links, et voila! (I did some round link chain too):
I was pleased that the soldering went so well. The last time I tried it I was really frustrated but I got lucky this time. Starting with an easy project was helpful. I'm inching my way toward a bezel...

And in other news, here are the winners for the June Component of the Month drawing:

Mischelle of Micheladas Musings
Ann Schroeder of Bead Love
Therese Frank of Therese's Treasures

Congratulations, ladies! Linda Landig will be in touch with further information.

Keirsten

Saturday, January 4, 2014

Learning To Play in 2013 And Beyond

When you are reading this post on Saturday, my husband and I will be busy taking down the Christmas tree and returning our living room to its normal, everyday appearance.  And while packing away the ornaments and the Christmas stockings, it seems appropriate to reflect upon the past year and to think about where my life journey might lead in 2014.
Preparing to write this post was a good exercise for me.  It made me realize how much exploration I did this past year.  I kind of surprised myself!  I started 2013 with Kerry Bogart's month-long  "Aspire To Wire" e-course.  I learned a lot from Kerry and it boosted my wire working confidence.  Since then, I have been making more of my own clasps, earwires, bails etc. and I plan to do even more in that direction in 2014.  Lately, I have been pushing my wire work skills even further, while working with Cindy Wimmer's new book, "The Missing Link".
Chris, (a local friend), and I started playing with enamels this year.  She has an awesome studio set up and she helped me get started and gave me pointers on how improve my technique.  I discovered that it is fun and inspiring to have some shared studio time with a friend!
I also got together with fellow AJE member, Kristi Bowman, several times this past year.  Kristi lives about 1.5 hours north of me.  We shared a booth at a couple of shows.  We work well together when vending and we have fun joking and talking shop.  We are planning some shared studio time in the upcoming year, also!
Kristi & I in the center, with lampwork artists Lara Lutrick (left) and Lori Bergaman (right).


Kristi and I also attended a metal retreat together, hosted by AJE member Francesca Watson and Melissa Muir.  I had a pinched nerve in my back and missed about half of the week-long retreat, but I am grateful for the time I could be there.  I became more confidant with the torch, and experimented with pewter casting, the use of a hydraulic press and a rolling mill.  I also made a bunch of wonderful new friends.  Kristi and I are already looking forward to the 2014 metal retreat!
Recently I've become intrigued with polymer clay.  I'm not much interested in "traditional" cane work, but rather in textures and surface decoration.  Kristi gave me an old pasta machine of hers and some 2 part mold.  I purchased a toaster oven and am anxious to give it a go in 2014.  I even collected and pressed ginkgo leaves (see below) when I was in Germany this past October.  Won't they make cool impressions for a polymer clay pendant?
The last 2 months of 2013 saw me experimenting with WoolyWire.  I love the texture and rich colors this hand-dyed wool brings to jewelry.  I know I'll be incorporating it in my work in 2014, as well.
The most recent development has me completely baffled.  I've begun doodling.  My mother sketched and painted and my brother has done illustrations in magazines and newspapers.  He has had his cartoons published in the New Yorker, and has illustrated 3 children's books.  I could never draw worth beans and just assumed that my brother got the total allotment of painterly DNA available for my parent's offspring.
Suddenly I've wanted to draw.  I was scared at 1st, because there's a strong line of perfectionism in my family and that trait can be both a blessing and a curse.  It is a curse, if you feel you have to somehow measure up to some imagined standard set by your mother and brother's gifts.  So I doodled secretly....don't laugh!  Then a couple of weeks ago, I just decided to h*** with feeling like I had to  excel at everything I do.  Its more than okay to just play and have fun for the sheer joy of it.  I'm not even drawing bead designs.  Just playing with shapes, colors and shading.  I have no training in art and no clue about techniques.  I don't know if this will be incorporated somehow into coloring polymer clay or if it is just an amusing diversion. And wonder of wonders, I no longer feel the need for this to be leading to a "productive" end-point.  Its is not a competition.  Its healthy to play and explore. My mind and heart are open and I'll see where 2014 takes me.

Linda
Linda Landig Jewelry – ArtFire 
Linda Landig Jewelry – Etsy