Showing posts with label leather suede. Show all posts

Saturday, May 23, 2015

Behind the Scenes in Leather Feather Land

Hello again dear bead loving friends! Welcome to Leather Feather Land… er… I mean my little corner of the world: Tree Wings Studio!

Today you find me buried under a heap of hundreds of leather feathers in progress! Yeah, I'm that crazy… I can't stop making them!

I can't remember if I've said it before now, but last year I finally stepped into the realm of wholesaling and these particular feathers are a result of that. Funny how just a couple years ago, I was pretty sure I'd never do wholesale and now here I am! I know wholesaling is not for everyone and there are some who wonder why I'm taking this path. It can be such a hard strain on an artisan to do so much of the same thing over and over and over and over… and over. Not to mention the potential cut in pay. For me, there was a lot of planning involved, numbers crunched again and again, long chats with friends and family, and of course, input from the lovely ladies of AJE. And now, I have to say I'm really happy I made the decision to go for it—it's hard work, yes, but it's all part of getting me closer to my dream job: making what I love full time.

One day I promise to share a bit more about how and why I decided wholesale was right for me, but for today, I'm giving myself a little break from thinking and am giving you a tour of my studio mess instead… I hope you enjoy it!

For these big orders, I pull out my biggest table to keep this mess separated from my regular mess so I'm not over crowded when I go to work on the regular stuff. It's actually half a Ping-Pong table… it would be the whole Ping-Pong table if it would fit!

I love making tools and whatnot to make my job easier! Each of my feather designs has a series of stencils I made to ensure patterns are consistent.

Each feather starts with a stenciled layout and then every single detail is "drawn" on carefully by hand with my wood burner.

I always have a few design inspirations nearby and while my hands are busily working away, my mind muses on new ideas. During coffee breaks, I'll sometimes do a little experimenting too. That's actually one thing I really love about large orders—the work becomes very methodical when you've got hundreds of the same thing to make and there's so much time to think!

I like to break things up a bit, to keep it from getting too dull—especially when I'm working extra long hours. I'll divide my work into smaller batches and rotate between them throughout the day so I'm only doing the same thing for a couple hours max. Nothing worse than a bored artist! It also helps prevent hand cramps.

And blisters—wow yeah! Even the most calloused, over worked, outdoor loving (oops, I forgot my gloves!), horse petting, bead making hands can get blisters if you don't take a break! And then there was the time I got poison ivy… okay, I'll stop with all the details!

It's many hours of work before I can begin painting the feathers, but it's always a happy moment when I start mixing and applying layers of color!

Painting remains my very favorite part of whatever I make! There's something so magical in the way that color brings life to a creation.

Still lots more feathers to go—and now, it's time for me to get back to work! I hope you had fun joining me in my studio today!

Wishing you all a wonderfully creative weekend!

Rebekah Payne
Tree Wings Studio

Friday, February 6, 2015

Searching for the Perfect Supplier


Hello again, dear readers! It's my turn again to share all my latest happenings. Today you won't find me shaping polymer beads, painting, or even making jewelry. Today, I'm testing. Testing to find my new perfect supplier of suede leather…

This journey has been more than 2 months in the making… and I'm so very happy to finally see the end coming into sight!

I never really thought when I first started making my Leather Feathers that my stock of suede leather would run out. But then, I also hadn't envisioned making hundreds of feathers either… and then wanting to make more feathers and other designs too!

My Leather Feather story actually starts about 40 years ago when my mom purchased several suede hides directly from a tannery in Benicia CA (since closed down), she had planned to make soft luggage. For one reason or another she never did. Growing up, my siblings and I enjoyed using the hides for building tee-pees and dressing up as Indians every Thanksgiving. Years went by and then they were packed into a box for the move to VA. After that, they were mostly forgotten. And finally several years ago they started to make their way into a few of my projects… and at last they became my Leather Feathers! Now I'm down to only a few small suede pieces left.


In my search for a new supplier, I have discovered what I considered to be a "normal" natural-looking brownish color is incredibly rare (at least right now… I suspect that has a lot to do with color trends) and have spent endless hours searching for it.

Little by little the swatches have trickled in…

There's such excitement when a new swatch packet arrives. I sometimes open it fresh out of the mailbox—a 1/2 mile walk from the house! Beautiful colors of course, but many times the joy is followed by a sigh of disappointment at not receiving the color I need so badly!

More searching, more ordering, more phone calls, more emails written, more snippets of my dwindling stock mailed off for a potential match… And lots of waiting…

There were a few other leathers that caught my eye and I couldn't resist snatching up a few extra swatches…

New designs can't help but start to take shape in my mind when I have new textures and colors in front of me!


At last all the swatches are finally in and the testing is nearly complete… 

So many contributing factors—color, thickness, body, texture, length of nap, paintability, burnability—yes, I think I just made that one up! All are essential, but many of the leathers don't meet all. I'm a perfectionist and will only be satisfied with the very best—I want my next leather to come as close as possible to perfection.

So, this is what my weekend is going to look like. Paint testing is next. And of course there will be a few bead batches getting my attention too. Busy, busy!!


Tell me about you! Have you ever spent countless hours searching for a crafting supply or jewelry component? What was it and did you find it? Did you find something better or maybe discover something entirely new? Do share!

Rebekah Payne

Saturday, November 8, 2014

Make Your Own ~ On Wild Autumn Winds Earrings


It's no big secret that autumn is my very favorite season! I love everything about it—the bright colors of the changing leaves, the grey skies, the first frosty mornings, the bright starry night skies, and… even the bitter cold winds. For me, one of the most magnificent wonders of autumn is seeing the trees swaying in the gusty winds and watching their leaves take wing. Oh! And don't forget the flocks of migrating birds flying in the wild winds. Yes, the name of my studio was inspired by those gorgeous moments!

Today I'm making earrings again—care to join me? Good! And today, I'm working with a brand new component in leather made by my uber talented sister, Bethanne. If you don't know already, she joined my shop and the ranks of art jewelry element creators just a few months back—such exciting times!!

Okay, lets get creating…


Supplies you'll need:
- 22 gauge bronze wire
- 2 headpins
- 2 earwires
- 2 10mm carnelian coins
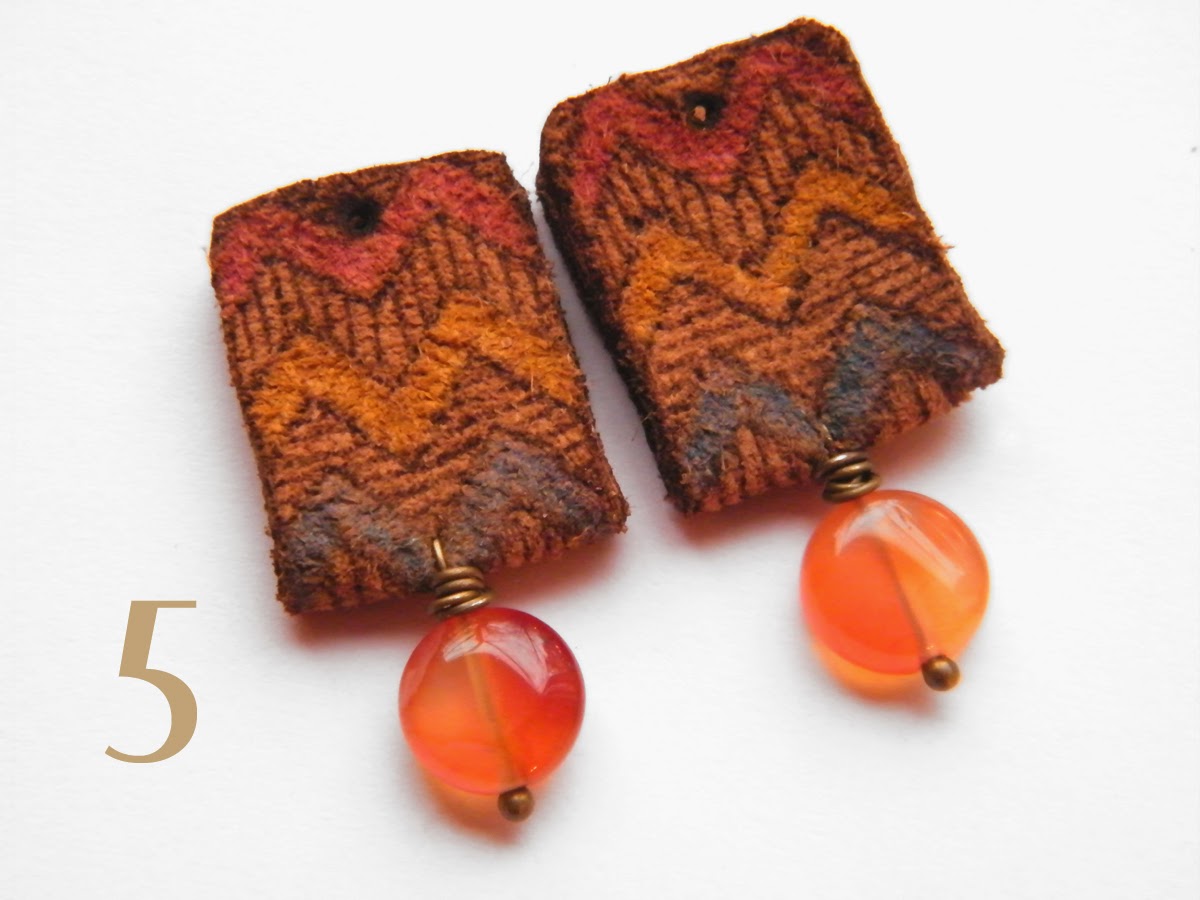
- 2 rustic chevron leather rectangles
- 2 raven black aster wheel disc beads
- 2 rustic tribal white seabird beads

* The chevron rectangles, aster wheels, and seabirds are available in my etsy shop.

Tools you'll need:
- tape measure
- wire cutters
- round-nose pliers
- flat-nose pliers
- bent-nose pliers
- large needle


1. Put the carnelian coins on headpins.


2. Fold the chevron rectangles in half and using a large pointed needle, pierce a hole going all the way through both sides of the fold.


3. Pierce the second chevron rectangle.


4. Put the headpins through the holes and bend straight down, leaving a little space above the carnelian for wrapping.


5. Wrap both carnelians drops.


6. Cut two 14 inch lengths of 22 gauge wire.


7. Sandwich the aster wheel between the chevron rectangle and put them at the center of the wire.


8. Wrap several times through the aster wheel and chevron rectangle to secure them in place. The holes are a bit smaller on the chevron rectangle than the aster wheel, so I wrapped two times around the aster wheel first… and then through the holes of the chevron rectangle a few more times to give me enough wraps to keep everything together.


9. Bend one wire up straight and wrap the other tightly around once just above the aster wheel. Place the seabird just above the wrap.


10. Form a wrapped loop at the top of the seabird. Don't wrap the wire beneath the seabird yet!


11. And now, wrap the wire at the base of the seabird. Wrapping the top loop first makes it easier to make the base wrap tight and consistent. Do steps 7 though 11 to make the other earring… add earwires, and you're done!

Enjoy your new earrings!!


Have a fabulously creative weekend!


Rebekah Payne

Saturday, July 26, 2014

August Component of the Month and Giveaway!


Hey everyone! It's time for another Component of the Month giveaway! Our CoM is such a fun challenge and I'm so excited to be hosting for August.

So, what's up for grabs this time? My newest obsession—my handpainted leather feathers!

Each one is carefully cut in soft leather suede, burned, and painted in acrylics.

I make them in mirrored earring pairs…

… and longer single feathers.

So, for August's CoM I'm letting you choose between an earring pair or a single focal feather.

Earring pair feathers are each about 3 inches (7.62cm) long.

And the singles are about 4 7/16 inches (11 cm) long.

I'm giving away 3 pairs or singles (your choice!) to 3 lucky guests!


Want to play along? Here are the rules…

  • I will giveaway 1 feather pair OR 1 single feather of your choice to each of 3 winners selected randomly from those who leave comments below this post. Your comment must included your EMAIL address so we can contact you should you win.
  • Please — only leave a comment if you can commit to creating a finished piece and blogging about it on the reveal date.
  • The names of the 3 winners will be announced on Wednesday, July 30, 2014.
  • This giveaway is open to US and international countries, but please be aware that international addresses will have longer postage times… sometimes up to 3 weeks.
  • The blog reveal will take place on Sunday, August 31, 2014.
Good luck!


Rebekah Payne

Saturday, March 29, 2014

Make Your Own ~ Beaded Fringe Feather Focal

It's time for another tutorial! With my studio quickly becoming overrun by painted feathers, I'm finding myself thinking more and more about how to use them in jewelry. If you make beads or components, I'm sure you know that feeling—sometimes you make a new bead, but don't really know what to make with it. My feathers are perfect for earrings, but that's just a bit too obvious for me…


For my last tutorial, I made a wire-wrapped bracelet, so it seemed only right to make a necklace design this time—or in this case, a necklace focal. Enjoy!


Supplies you'll need:
- 20 gauge wire
- 24 gauge wire
- hemp cord
- assortment of small beads
- painted leather feather focal
(Ignore the 22 gauge wire—I thought I would need it and then changed my mind after taking this photo. :-)


Tools you'll need:
- tape measure
- round-nose pliers
- flat-nose pliers
- bent-nose pliers
- scissors
- tape
- glue


1. Using 20 gauge wire, make your focal bar with a wrapped loop on either end. You want this to be about 1 inch long between the wrapped loops.

2. Decide on the length of your fringe, double that length and add about 2 inches extra to accommodate knot tying. Cut 7 lengths of hemp cord, double over and tie onto the focal bar using a lark's head knot. Leave a little space between each knotted cord.

3. Put a piece of tape over the top of the cords to hold them in place while wire-wrapping.

4. Cut a 30 inch length of 24 gauge wire and wrap over the top of the fringe cords—wrap twice between each knot and once over each knot bringing the wire up through the two cords of each section. Remove the tape.

5. Here's how it will look when wrapped once.

6. Wrap back over the knots two more times.

7. Your fringe is ready for beads!

8. Glue and wrap the end of the feather focal to form a bail.

9. Chose the placement for the feather, string a few beads and tie a knot. (Remember my messy studio post? I found this lonely little polymer bird during the cleanup. :-) I really need to make him some friends.)

10. Randomly string the beads, adding a few knots here and there.

11. Wrap over the top of the knot using 24 gauge wire.

12. Curve the focal bar… and your done!! Go make a necklace with your new beaded fringe focal!


Happy Saturday!


http://www.treewingsstudio.com/