
 |
| Bangles wrapped with sari silk and embroidery yarn and sewing thread (oh, and wire!) |
There is something elementary beautiful in fabrics and the underlying threads they are made of. They way the form a pattern, how the can be soft and smooth and still hold their shape, and in the end, how gorgeous they look even broken down with all the threads coming lose.
Is it a wonder that so often small pieces of yarn, threads or fabric are used in jewelry?
 |
| Gorgeous bright blue silk from thailand wrapped with embroidery thread and (purple!) wire. |
Just as a disclaimer or warning: If you have any
 |
| You see, a lot of smaller pieces of embroidery thread are stuffed down at the bottom of the little plastic bag! |
Since this is my second contribution at AJE (my first was my introduction), I was thinking really a long time about what to show you or what to write about. So I thought to show you a little bit more about my creation process and what kind of elements I love to incorporate into my work. This is quite simple so maybe not a real tutorial but I do hope I may inspire you!
In the end it is with jewelry like with all things in life: The small details can make all the difference. So I'll show you how I use some leftover yarn, sewing thread, pieces of silk and cotton fabric... and whatever else I may find!
 |
| These are not finished yet, just embroidery yarn wrapped on or two times around. The knotted ends are still not cut. |
Fabric and yarn/thread is a great way to upcycle old jewelry. Even better, even thought you can completely change the look, it actually won't permanently damage the piece itself so it is always possible to change it back by just cutting off the added "stuff".
So for my first example(s) I use simple thin metall bangles. The kind you really can get everywhere and that would also look lovely mixed into a batch of wrapped bangles. The trick to start is quite simple: Fold the yarn or fabric and start wrapping over the folded part.
 |
| You could also just make a knot at the beginning. |
It needs some time to get used to always hold with one hand all the time not only the bangle / bracelet itself, but also the next round of wrapped material. Go tight but not with too much force. Just that it will look quite neat.
 |
| To wrap over the ends of the yarn is the best way to secure it. |
If you want to add another colour just start wrapping a piece of new yarn or fabric with the end of the old one (never use it completely!). This will hold the starting point in place and both sides are nicely secured.
 |
| During my first wrapped pieces I was hoping for a third hand... ;) |
Don't worry about a little bit of "overhang". That you can always cut. Also normally the wrapping alone should be enough to hold everything in place. Still, you can also always add some glue to the ends.
 |
| Again, wrapping over the ends at the beginning or end is the best way to secure the yarn! |
The trickiest part is the end...
 |
| Embroidery yarn is normally made from six to eight single threads that can be easily divided. |
Since I also always add some more charms, wire, and whatever else I may find, I don't need and want a smooth finish. Embroidery yarn I simple divide and knot it around the bangle. The end of a fabric piece I just cut in half and make a knot around the bangle with both ends too. With sewing thread I always have some small piece hanging out from the start: Just knot it too.
 |
| I just can't get enough of these kind of wrapped bangles. Whenever some bangles are at a sale, I get them! |
And some more examples how I finish off the ends: Simply knots that are cut quite close to the bangle (lower one), some that are secured and hidden a little bit with wire wrapped around on top (upper one) or I embraced the ends and actually braided all of them together (middle one). By the way, the purple one is made with silk and the other two with cotton fabric as basic layer.
 | |
|

Again, like with the bangle, I just wrap the fabric around the hoop while holding the already wrapped fabric tight with my finger.
 |
| Disclaimer: I worked with clay before I started taking images.... ehm... you may already have guessed! |
At the end I just cut the fabric in half and use both end to knot around the earring.

The lose ends and threads can be easily cut. If you are worried about anything coming lose, just secure it with a little bit of glue or maybe tightly wrapped wire. But normally it should just hold fine as it is!

As you may already have seen from all the examples, I love to wrap some more colours on top (it also add some more hold for the fabric and yarn). On fabric I love to use embroidery thread. This time I knot it at the back of the hoop...

...and simply wrap it around to the front and back again. The ends I also just secure by knotting them.
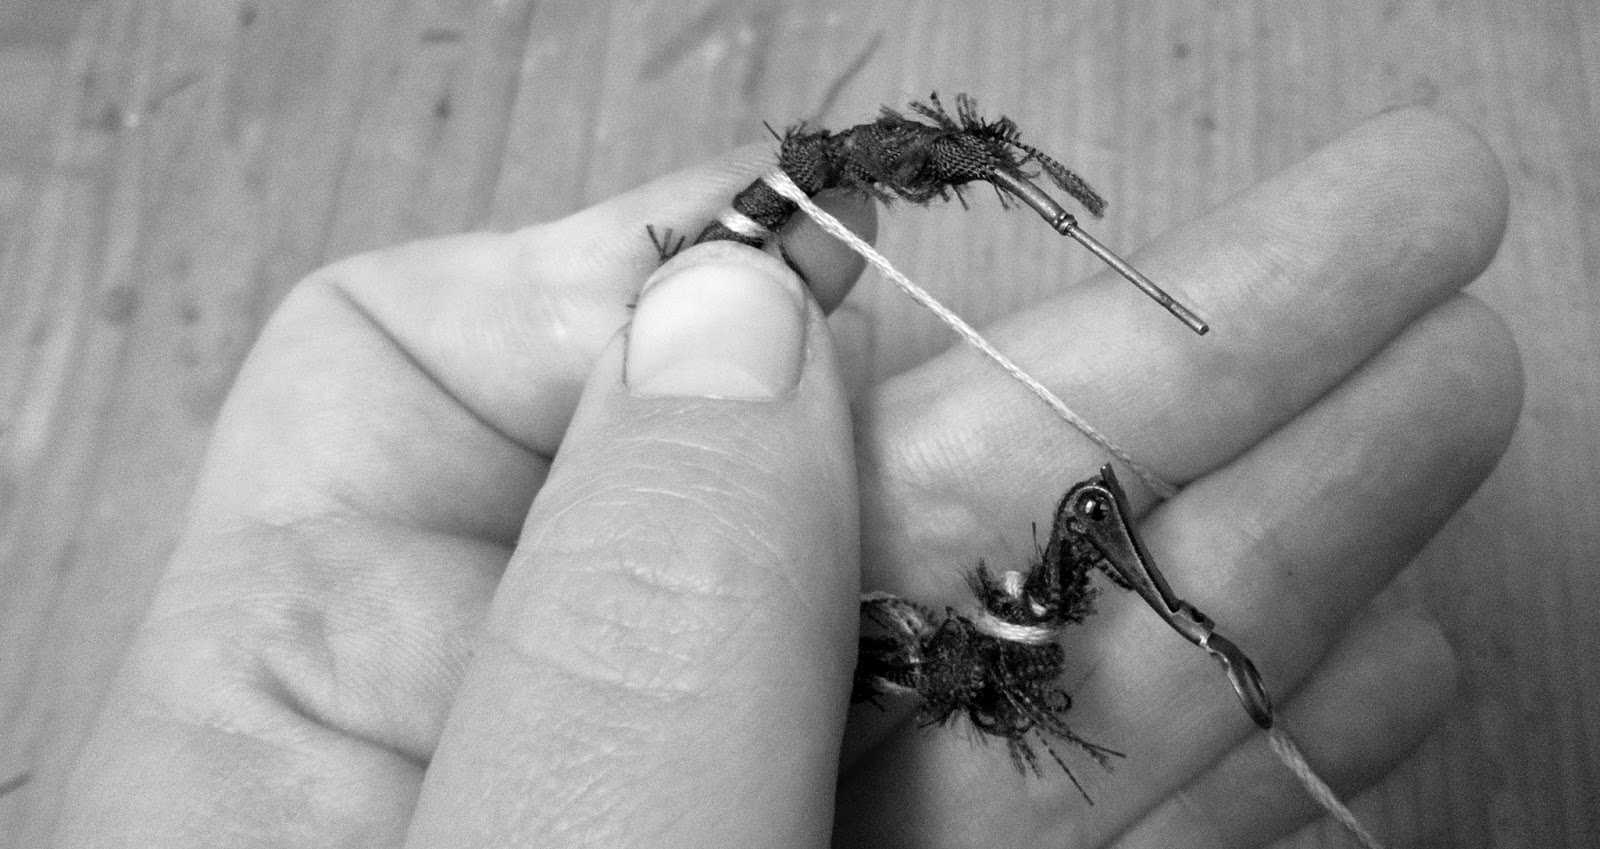 |
| Can you see how I hold the yarn between my fingers? Always use the full potential of your hand ;) |
Here is the finished earring. In case you wonder why I showed you some images in black in white... duh... I made the piece and took images in between. They looked fine on the small camera screen and I totally ignored what a beautiful sheen good silk has (yes, this is high quality silk from thailand). Sheen... light... camera... The bright blue and shiny colour overwhelmed my poor little camera and made absurd contrasts. Still... I already had wrapped the earrings and I also didn't want to unwrap them! No way!
But actually I have to admit that I like the black and white images (more than I thought I would) and may use them further in the future (but that time with purpose!).
 | |
|
Here is another example of some of my favorite wrapped earrings (that I love like they are so much that the ends are still visible) made with some of my favorite african batique printed fabric. You can also see where I cut the ends and knotted them.
 |
| The pattern of the fabric is lost but it creates different areas of colour wrappend around the wire. |
And for the end... some more examples!
Bangles in all colours...
 | |
|

Some really, really big earrings with some charms and beads dangling...

Or just really simple with changing colours...
 |
| The ends at the back of the earrings are a little thicker since I really made sure to secure the knotted ends! |
I love this way to easily add color to a piece but furthermore, I really, really love that I am able to use every little scratch of fabric or yarn! I don't like to throw away even the tiniest piece of beloved fabric. But hey... it also has to be used somehow! ;)

Until next time! :)


