
Carving in clay isn’t as difficult as it sounds, it’s really easy to get a good result with minimum tools and simple skills.
If you took part in the last AJE Theme Challenge blog hop, you will have seen my Egyptian eye cabs. Today, I’d like to share how I made them.
 |
| Eye of Horus Ceramic Cabochon |
Firstly, you will need an image. I drew they eye using images of artefacts from the internet. When choosing an image, pick something that can be turned in to a simple line drawing.
 |
| Initial Sketch |
Trace the design in pencil on to baking paper.
 |
| Tracing the image |
If your image has a left and a right side that’s different, flip over your tracing and draw round the lines again in felt tip pen. Flipping the image will transfer it the right way round in the next step. I pinched a pen from the kids art box, it’s water based washable. You might need to test different felt tips to see what works for you.
 |
| Retracing on the reverse in felt tip |
Next take some clay rolled out to the thickness you want your finished piece to be. I like to use porcelain for carving as it’s smooth, firm, and holds a lot of detail.
 |
| Prepared clay |
Put the tracing felt tip side down on the clay and give it a good rub with you finger tip.
 |
| Transferring the image |
When you lift the paper, your design should be transferred on to the clay.
 |
| Magic! |
Cut the excess clay from around the edges.
 |
| Taking shape |
And then with a sharp knife, cut into the lines of the drawing. You don’t want to go all the way through, just a couple of mm.
 |
| Scoring the design |
To start sculpting, decide which areas you want raised, and which you want in relief. Use a flat ended tool to gently press up to the line. Depending on your design, you may want to press on either side, or just one.
 |
| Carving the relief |
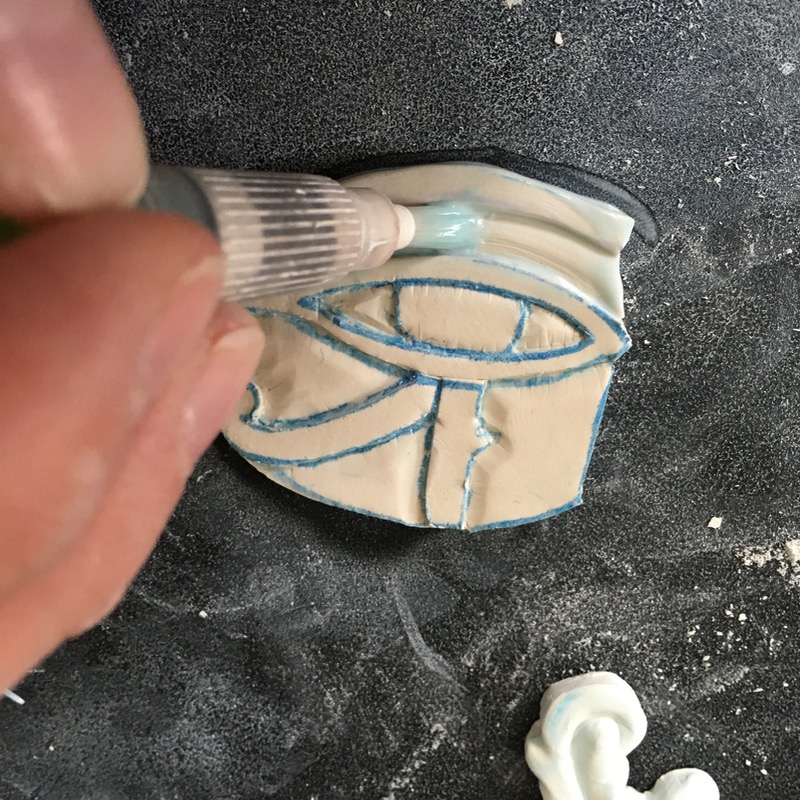
When you’ve done this along each line, take a paintbrush and smooth over the design until you have a nice finish.
 |
| Tidying up |
 |
| Ready for bisque firing |
Once bisque fired, the design was painted with underglazes and a clear top coat before going in for a final firing.
|
| The finished cabs |


