Showing posts with label bronze. Show all posts

Wednesday, September 16, 2015

Bronze clay. In the beginning...

You have to start somewhere.

I have tentatively dabbled in silver clay twice. Once in a private class in San Diego over 10 years ago. The instructor was Jonna Faulkner; I was working at the Shepherdess. Then here in Delaware; my good friend Sara Teixido is a metal clay goddess, and I have used the medium under her guidance. But that's as far as I went...

Why? Price? Fear that I would love it SO there would be no turning back? My magpie-like love of all things shiny silver? Then there is the bronze, and the copper. I have had so many gorgeous pieces from my colleagues and AJE team mates. Still I hesitated. Carbon? Firing? Learning curve? Sintering?
Whee! Free rein to test out Karen's stamps! 
This Labor Day weekend a few of us from the blog gathered together for a mini "Art Camp".  With both Karen and Lesley there - Jennifer & I had masterful support to dive into bronze. This post is in no means a how-to! Just my excitement at trying... and succeeding... in a medium that I had longed to try for years.

One picture of me at work where my hands weren't a blur... LOL
First let me say - the stuff is HEAVY. you take a pinch of bronze clay, compared to a similar pinch of polymer or stoneware. Wow. Its dense and feels substantial. Working with it was as expected: lube up your hands and molds as needed. Don't dilly dally as it dried out rather quickly.
Layer after layer. Spacing things in the carbon/ 
Karen made loading the ceramic firing box make SO much sense. Totally demystified the process for me. And while things fired, we went to work with seed beads. ( I introduced them all to peyote stitch beaded bezels and bead embroidery. They may or may not be hooked! )
Cannot wait to see! 
I'M SO EXCITED. Doing a Snoopy dance in my head right now.
Freshly washed: Karen's, Jennifer's and mine all mixed together... 
Post firing? Lesley and great advice on sintering, how it sounds, how to test it...  Its worth it to try to break a piece to see if the clay sintered properly. And the metallic "ring" of your newly fired piece on the sink is music to one's ears! Again I was struck with the heft of the pieces. Sure, mine were a bit "sturdy" and could be thinner, but they feel "real". The image above shows the natural patina resulting in the firing. These were washed off, that's all!
At home now - brush and tumble... 
To tumble or not to tumble? To sand to a satin finish? To burnish high points to a high shine? How do you decide!? The goddess ( top left, below) was burnished with an agate burnisher. The group on the right was tumbled - I loved the subtle satin sheen they have now. The last two ( bottom left) were scrubbed with a brass brush. I think this batch is complete - reminding me of different finishes and possibilities.
The specifics... details and finishes. 
A perfect partnership. 
And this one? Its mine! A wee bronze charm stamped with a eucalyptus pod from San Diego - and my thumbprint apparently! This stunning cab was from Lesley, and the bead work was completed after a great weekend of friends, creativity, techniques... and wine. 

All in all, I think I love bronze. Now to try copper. I was lucky - I know one doesn't get every piece fired perfectly every time. But until next time... 
What new technique or medium are you eager to try? 


Monday, July 6, 2015

Tropical Bracelet Redo

I hopped a cruise ship to Bermuda yesterday.  Before I left I wanted to make a few extra pieces of jewelry to bring with me.  

I had made this bracelet earlier in the year to wear on the bead cruise but found that I had selected some beads that made it too heavy and the waxed linen began to stretch.  
Original bracelet
While it's a really cute bracelet, I couldn't have it expanding in size on me so I took it apart.  It turns out that it also contained some beads that went really well with a dress I purchased for my Bermuda cruise.
Dress Fabric
There were so many wonderful colors in this print to work with; aqua, cobalt, yellow, pink... I began pulling out lots of wood, lucite, shell and art beads to play with!
Messy Desk
Then I remembered I had some memory wire and thought it would be fun (and easy) to work with that.  After lots of pulling out beads, putting back beads, pulling out more beads, I had a finished bracelet!
Finished bracelet
I used art beads (bronze, ceramic & polymer), wood, brass, czech glass and shells.
Art beads
I'm really happy with the finished piece.  Although I do miss the original bracelet, this works so well with my sundress!  

Art Beads
Polymer: Humblebeads
Bronze: THEA Elements 

The next time a piece of jewelry doesn't quite work out the way you hoped, take it apart!  You'll find inspiration elsewhere...maybe even in a sundress!

Happy Beading!

Friday, August 23, 2013

Component of the Month and Giveaway - September

Hello - me again...

I'm back today to show you the goodies for next months component challenge - a little earlier than usual but since I have to ship from England I want to get them off to the rest of the team and our guest designers (wherever they may be) in good time.

And this is what they get to play with...one of these THEA Elelments bronze clay 'bursting seed pods' which feature lovely textured motifs and are patinated in a range of rich autumnal shades.


Each team member will get one of these to incorporate into a design and share the process and finished piece at the AJE blog hop on September 30th.


 And as always you have the opportunity to join in with the fun just be leaving a comment on here.


Do you fancy joining the September design team...well here's how the giveaway, challenge, and blog-hop will work (please read all the information carefully!)...

  • I will give away 1 component to each of 3 winners selected randomly from those who leave comments below this post by midnight,  Sunday 25th August eastern time. 
  • Please include your EMAIL address in your comment so that I can contact you ASAP should you win. 
  • Please (PLEASE) only leave a comment if you can commit to creating a finished piece and blogging about it on the reveal date. 
  • The names of the 3 winners will be announced on Tuesday 27th Monday 2013.
  • The blog reveal will be on  Friday 30th September 2013. 


Good luck!

Lesley
The Gossiping Goddess

Monday, January 28, 2013

Variation On A Theme...


And what would that theme be....yes. it's earrings of course. While I was making my entries for our AJE challenge last week I got to thinking that If I was going to make a pair of earrings every week for the whole of the year and exhibit them next to those of all the other talented designers; then maybe I need to find ways to change it up a bit and keep things interesting. I was fiddling about with some of my bronze headpins at the time and decided to have a go at adapting the process I use for those to make earring charms with integral ear wires.  

Here you can see the charms at the green ware stage with the wires inserted into the clay. They're still quite fragile at this point so sanding and filing up has to be done very carefully.


After drilling, firing and a good clean-up and tumble this is how they looked - a good tug on the wires with pliers to make sure the pieces are fully fused and then on to the next step.

.

This was simply a case of forming the wires in the same way as as would usually do (great ear wire tutorial here) - I use looping pliers but a pen or any other round object can be used as a form. I chose kidney shaped wires but wishbone and round wires are just as easy to do.


After trimming the wires to the correct length I hammered them to harden the metal and prevent them from becoming misshapen. I used 22g /.71mm bronze wire which is finer than I would use for silver or copper wires and those I would normally tumble to harden but, bronze wire is harder and more tensile so I find that hammering alone is enough.

After that it was just a case of adding lots of pretties to turn the charms into earrings...

Green patina on charms, enameled flower buds from Gardanne beads,
 copper headpins and seed bead accents.

Periwinkle patina on charms, periwinkle enameled bead caps by SueBeads 
and vintage cultured pearls.

Premium Czech glass beads and Vintaj bead caps


If you like this look but don't use metal clay, the same effect can be achieved by soldering wires to metal charms. I'll be continuing to look for other ways to add a twist to my earring designs so if you have any clever ideas you're willing to share, please do - all inspiration is gratefully received.

Lesley
The Gossiping Goddess

Tuesday, December 18, 2012

All Things Considered...

2012 has been pretty good to me but as it closes out I find myself thinking more and more about what I've done and what I want to do in 2013 to stretch my creativity and keep things fresh.

This time last year I was selling my jewellery with reasonable success and was idly pondering whether or not I should try to sell some of the metal clay components I use in my own designs. It took another couple of months of procrastinating and prevaricating before I finally bit the bullet and went for it. It's well documented elsewhere how delighted I am with the positive reception they've received which frankly is just as well, because selling finished jewellery online has been a whole lot harder this year. 

So, for the last nine months I've been pretty heavily focused on developing my components and inevitably I'm now feeling the need for a change, to shake it up a bit by trying something new or revisiting some things I've dabbled in in the past.

In the summer of 2011 I attended a kiln enameling workshop and just the other day I came across some of the pieces I made following that.


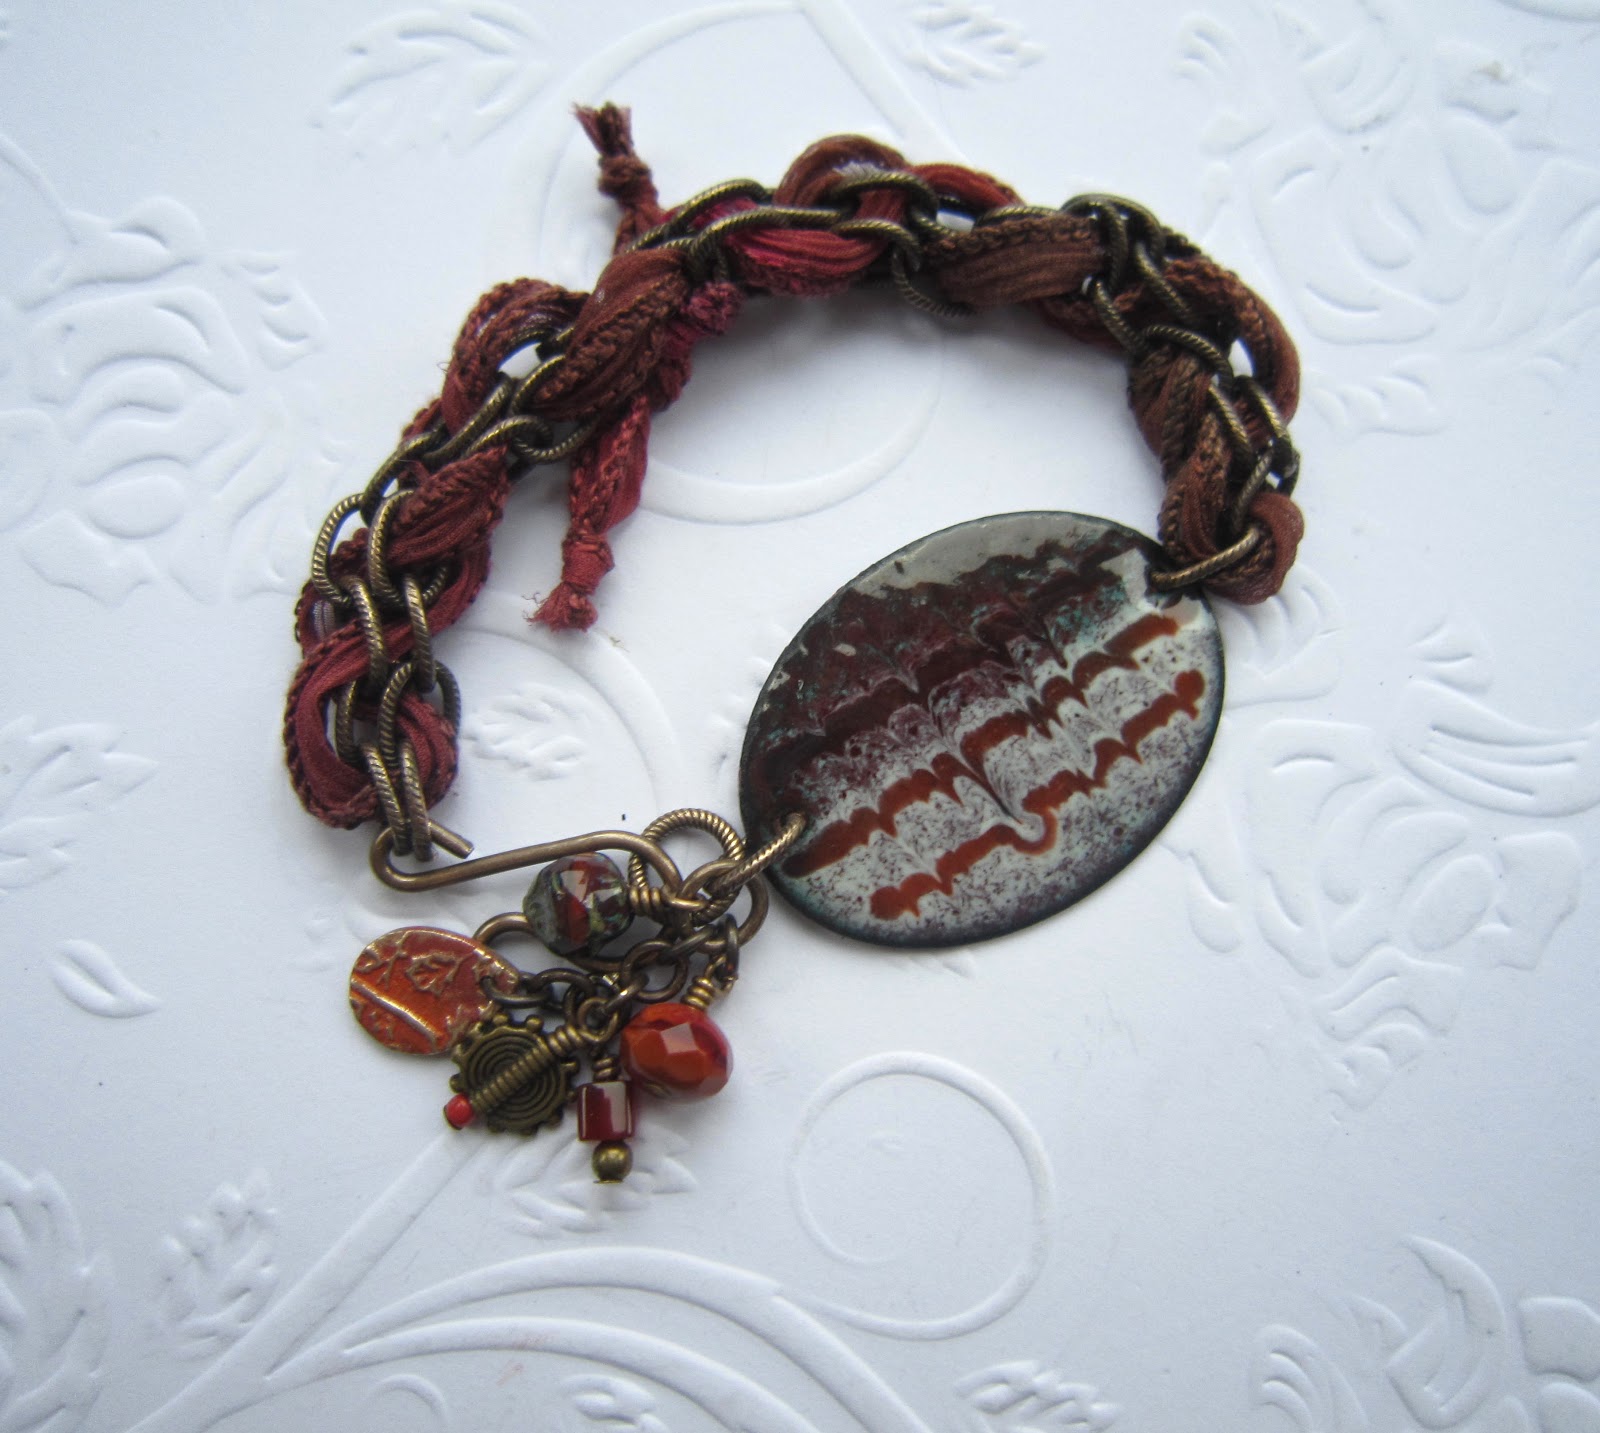
This Scraffito cuff connector has been sitting around for over a year so I finally decided to do something with it...


I also had a go at torch firing enamels and set up a makeshift area in my garage, but this didn't come quite as naturally to me as I don't seem to be very co-ordinated when it comes to working with mandrels. But in fairness I think it's one of those things that needs consistent practice and once I started on building up the metal clay components there wasn't really much time left.


Now that the bronze production is running pretty smoothly though, I want to go back and improve these techniques with the aim of adding an enameled range to the shop - a nice complement to the metal clay I think.

Back in November I treated myself to another workshop, this time etching and I  LOVED it! I worked with copper and used a ranged of methods including PNP (press and peal) paper, Aquatint, stickers and Shelac. PNP was by far my favourite and I got some great results with some art deco images.


The butterfly here was done with a sticker and the other two pieces were done using PNP. Not everything came out as well as these as you can see on this next piece where fine grains of the  pumice used to clean the copper have got under the PNP causing the blotches.


Still that's what workshops are for aren't they! 

I have a 'slightly' addictive personality so it was all I could do to stop myself from going out and buying all the kit straight away but I've promised myself that this is something I will definitely be trying again early in the new year.

There are lots of other things I could put on my technique 'to do' list but by limiting it to just a couple I think I have more chance of actually achieving them rather than just being overwhelmed. Besides which, I still have a lot ideas to try out on my metal clays.

I've been working a lot with patinas lately, especially the new ranges of commercial metal patinas which can produce great instant colour effects like these...


It's also possible to get some great patinas on bronze which occur naturally as part of the firing process....


I love it when this happens but sadly it's very unpredictable and I'm very bad at keeping records of the conditions that pieces like this result from. I really have got to be more scientific about this. One thing I really want to do is try out some of the other popular patina techniques to see how they work with bronze. Ammonia, Vinegar, Potato crisps (chips)...most of the tests I've seen have been done on copper or brass so I'm planning to do some comparisons on bronze and will share that with you when I have some results.

Obviously bronze has a long and distinguished history when it comes to jewellery. How great would it be if I could reproduce some of these effects on my own jewellery and components....

Bronze jewellery from the Neolithic settlement of Vinelz on Lake Biel, Switzerland, c. 2700 BC. Wiki Commons


English: German National Museum ( Nuremberg / Germany ). Bronze armlet with sun symbol, late Bronze Age ( 16th-13th century BC ), Hesse. Wiki Commons

Without having to wait thousands of years of course - well a girl can dream?!

So that's what I've got my sights set on for 2013, how about you...what are your jewellery related ambitions for the year ahead? I'd love to hear about them.

Now, since this is the last post I'll be doing until after the New Year I'd just like to wish you all a very merry festive season and a peaceful and happy new year. See you all on the other side!

Lesley
The Gossiping Goddess