Sunday, November 17, 2013

Autumn at the Cabin

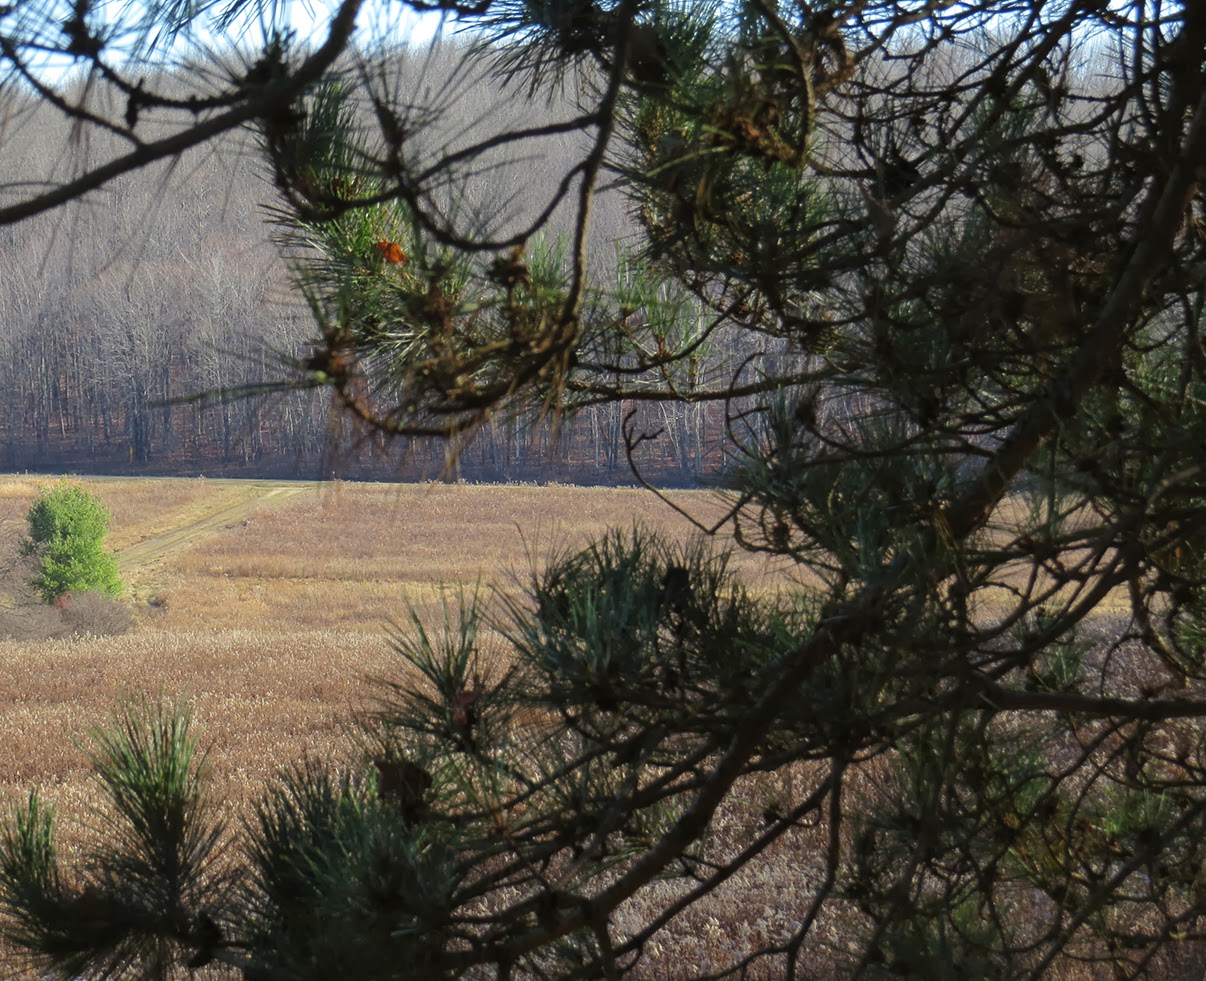
While I await the completion of the new studio building, I am spending all my creative time at the cabin. Leaves have long flown off the trees and blown away. We had a bout of snow which has since melted, mostly. It lingers up on the top of the hill around the cabin and in the woods. Yesterday was the start of deer (hunting) season. Neighbors and family were out and about, some just down the hill. Casey watches warily from the deck...

Casey watching from the deck.

Don has been clearing trees lately. Earlier this summer I asked him to make some "cookies" for me, which I have been using for some of my photo shoots of beads and jewelry.


I loved these slices of wood so much, that I went a little crazy with some yummy thin oak branch slices gifted to me by Leigh Meehan, and my leaf charms. Leigh makes these from fallen trees on her land on western PA, not too terribly far from us. I love these little leaf / cookie collages.


The other thing I've been collecting is ROCKS - I occasionally pick up stones during my walks. Like the log slices, I use them in my photography. I recently found a really beautiful stone with a golden hue. This has become my favorite rock for taking pictures of my work on. I used it for this photo of jewelry (yes I actually found time and motivation to make some jewelry).


Our cabin is situated on the edge of a forest so I see and hear a good variety of critters. This is affecting my creativity:  birds, owls, trees and other woodsy elements have been appearing more and more in my work.


One day when I was fooling around making egg shaped beads, one kinda turned into an owl!


Well that really got me going. I made a bunch and each seemed to have it's own personality. Yay! But something seemed to be missing. So... I made them a nice little log to sit on.


The log was something I remembered from earlier sketches for a "woodland camping" them. It definitely came in handy for my little owlie friends. 


Then I thought, well heck, with all the snow and windy weather we've been having, maybe some of these little owlie guys would like a tree to live in... cozy huh?


Well shoot, why not make some owl houses (like bird houses only for owls) - they could have a real "roof" over their heads. But I dunno, do owls like owl houses?  Hm...

Thank you for indulging my Autumnal ramblings from Starry Road Studio! How does the season affect your own work? I'd love to hear!


Friday, November 15, 2013

Freeform Friday: feeling thankful

Have you noticed the people posting their daily things to be thankful for? I have and I admire the effort. I would start, fall behind, and then feel guilty/stressed that I wasn't being thankful enough! But it got me thinking... what experience in the art/jewelry field am I most thankful for? Class? Mentor? Trip? Tutorial? Instructor? 


I ask you to think on this, pour a cup of tea or coffee - and write a response to me in the comments!
My post is brief today - and I am giddy with excitement - and thanks... I am off to Washington DC for the day to spend it with my sister! She lives in Austin TX and is in town for a conference. So please don't equate my brevity with lack of caring...

My most thankful experience is meeting Keith LoBue. He is an amazing artist and an inspired teacher. He calls himself a "stuff smith" as he creates intricate swoon worthy pieces from found objects and diverse treasures. We met in San Diego at the Shepherdess - where he was teaching - it was after I had moved back East but I returned for his class. And we reconnected, and I was challenged anew each year, on his annual trip. I haven't seen him for a few years, he is based in Sydney Australia and doesn't travel as extensively as he did.

My first LoBue inspired mixed media piece. From his "Precious Little" class: antique sterling butterfly, pod, antique magazine paper, glass lens, gems...

Shrine work in progress - center focal composed of pods with vintage pearls, beetle wings, and auto glass, skeleton key, milk glass knob, cigar box, sandalwood fan... 

My first etching samples, my first resin pour.
 Experiments with antique book text. 
These classes were years ago - so I did my first etching and resin under Keith's tutelage - 8 years ago? Before the materials were commonly used in the art jewelry scene... This built a foundation for me - learning techniques to apply to my work, learning them well, being confident to implement them. 
But for me - it was also hearing the right information at the right time. The encouragement to think out of the proverbial box. The permission to play, and to alter materials beyond recognition if the piece required that. To not hold precious things too precious, and to hold dear the found treasures that spark creativity. To honor the patina of age, and the inherent history in an object - even if its specific are unknown to me. 

I was in  a period of transition - having just returned East and trying to settle into my new role as freelance teacher, and more importantly, working artist. I was, and still am working with clay, but it is one of many materials I draw on to say my piece. Mixed media became my voice, and I am thankful that classes with Keith helped me find it. I came away with skills, yes, but more importantly a philosophy that informs my work to this day. 


Aurora: vintage compact, magnifying lens, antique postcard, etched brass, rusted washer, silk...

Gaze: pocket watch case, sea glass, image transfer, pearls, antique images and text, resin, microbeads. 
Tell me you most what you are most thankful... 


Jenny
www.jdaviesreazor.com

Thursday, November 14, 2013

Sneak Peek: Benefit Auction for Beads of Courage

It's been mentioned a time or two or three...an art charm swap with an added twist-to raise money for charity.

Basically how it works, is every artisan made 10 charms to swap +1 to auction (some opt to do 20 +2). The theme was "love."

The artisans all send me their boxes of charms, then I sort and ship them out to each participant.


Charms to be revealed in just a couple weeks....

So Jen...what did you do all day (other than the usual supermom and superwife stuff)? Oh, just sorted about 500 art charms from 38 artists. Packaged, labeled and shipped boxes to 5 different countries. That's what.

Last year our auction raised $600 for Beads of Courage. My personal goal for this year is $1000...again to go to Beads of Courage. 


The auction will start at 7am EST tomorrow (Friday the 15th). In addition, each participant will blog about the charms they made for the swap. When the auction starts, you will be able to find listings at this link on eBay. Or search seller ID glassaddictions on eBay. I use eBay exactly once a year. So every year I have to relearn how to do everything. 

I would love to show you some of the amazing charms, but that's supposed to be a surprise for tomorrow. You'll just have to be patient. And PLEASE visit the artist blogs (links posted on Glass Addictions tomorrow), visit the auctions, bid high and bid often. It's for the kids. And you get art charms as a bonus! Perfect for hostess gifts, gift wrapping tie-on, ornaments, and jewelry designs. I used some to make wine glass charms last year. And I LOVE them. 

Until tomorrow!

-Jen Cameron


Wednesday, November 13, 2013

Etching with transparencies

My love affair with etching copper continues as does my search for new ways to transfer the image on to the metal.

You may have seen on my blog, my idea of using stickers cut on a Silhouette Cameo to mask areas of metal to protect them from the etching chemicals. While this is a great way to create simple bold designs, it doesn't work so well on something with smaller fiddly details.

The most common way to transfer more complicated designs is by using Press and Peel Paper which is printed using a laser printer, the image peeled off and then ironed on to the metal. This produces a great result, the only down side is the cost. At around £20 GBP for 5 sheets, it's expensive.

I don't know about you, but using expensive materials to test ideas (which I do a lot) makes me a little nervous, and usually ends up with me only creating a mess. So having my regular scout around on the internet, I came across using laser transparencies. They're clear sheets of acetate, the same as used on the old school overhead projectors, but they're suitable for use at the temperatures needed to print on a laser.

So a quick call to the local stationary shop and 10 minutes later, I had 5 sheets for £1.25... bargain! I had to try it out and see how it worked for me, so here's my results...

To start, I drew up some designs and printed them on to the transparency.


So far so good! You can see the images here on the transparent sheet laid over white paper. My laser printer is a bit temperamental, but it shot through with no problems.

Next, I got out the iron. I tried at full temperature on my first attempt, which was too hot and started to melt the plastic. So after a couple of tries, I found a medium setting was best. You don't need anything to cover the transparency, just place the iron on it and check every 10 seconds how it's going. Be careful, the metal gets very hot!

If you look at the print on an angle, you can see that it changes to a more solid colour once it's stuck to the metal. You might need a few tries and some close looking to get the hang of what to look out for. 

Once it's stuck down, you need to leave it to cool. If you're as impatient as I am, you can run it under a tap for a second to speed it up.

Peel off the transparency and if it's worked, virtually all of the toner will be stuck to the metal and the transparency will be pretty much clean.


As you can see here, part of the design missed, but the great thing with this technique is, if it hasn't completely transferred, you can re-align the design and try again. You do sometimes get a bit of trouble near the edges if they're slightly higher than the flat part of the sheet through cutting, so just pop it back on and press again with the iron until the whole image is transferred.


And here's the image after etching with ferric chloride, you can now cut it from the sheet and use in your designs.


I hope you enjoyed reading and that you'll have a go!

To get you in the mood, here's a bit of inspiration... some of my favourite designs and components in etched copper.


Thanks for reading!

Caroline