I have a mixed media friend who has a simple go-to whenever she can't figure out what comes next in one of her designs: she says, "Stick a bird on it!" The first time I heard her say it, I realized I have a similar go-to in my arsenal: "Stick a ball on it!"
 |
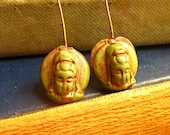
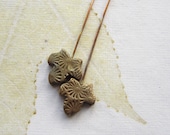
| Balls in a nest |
 |
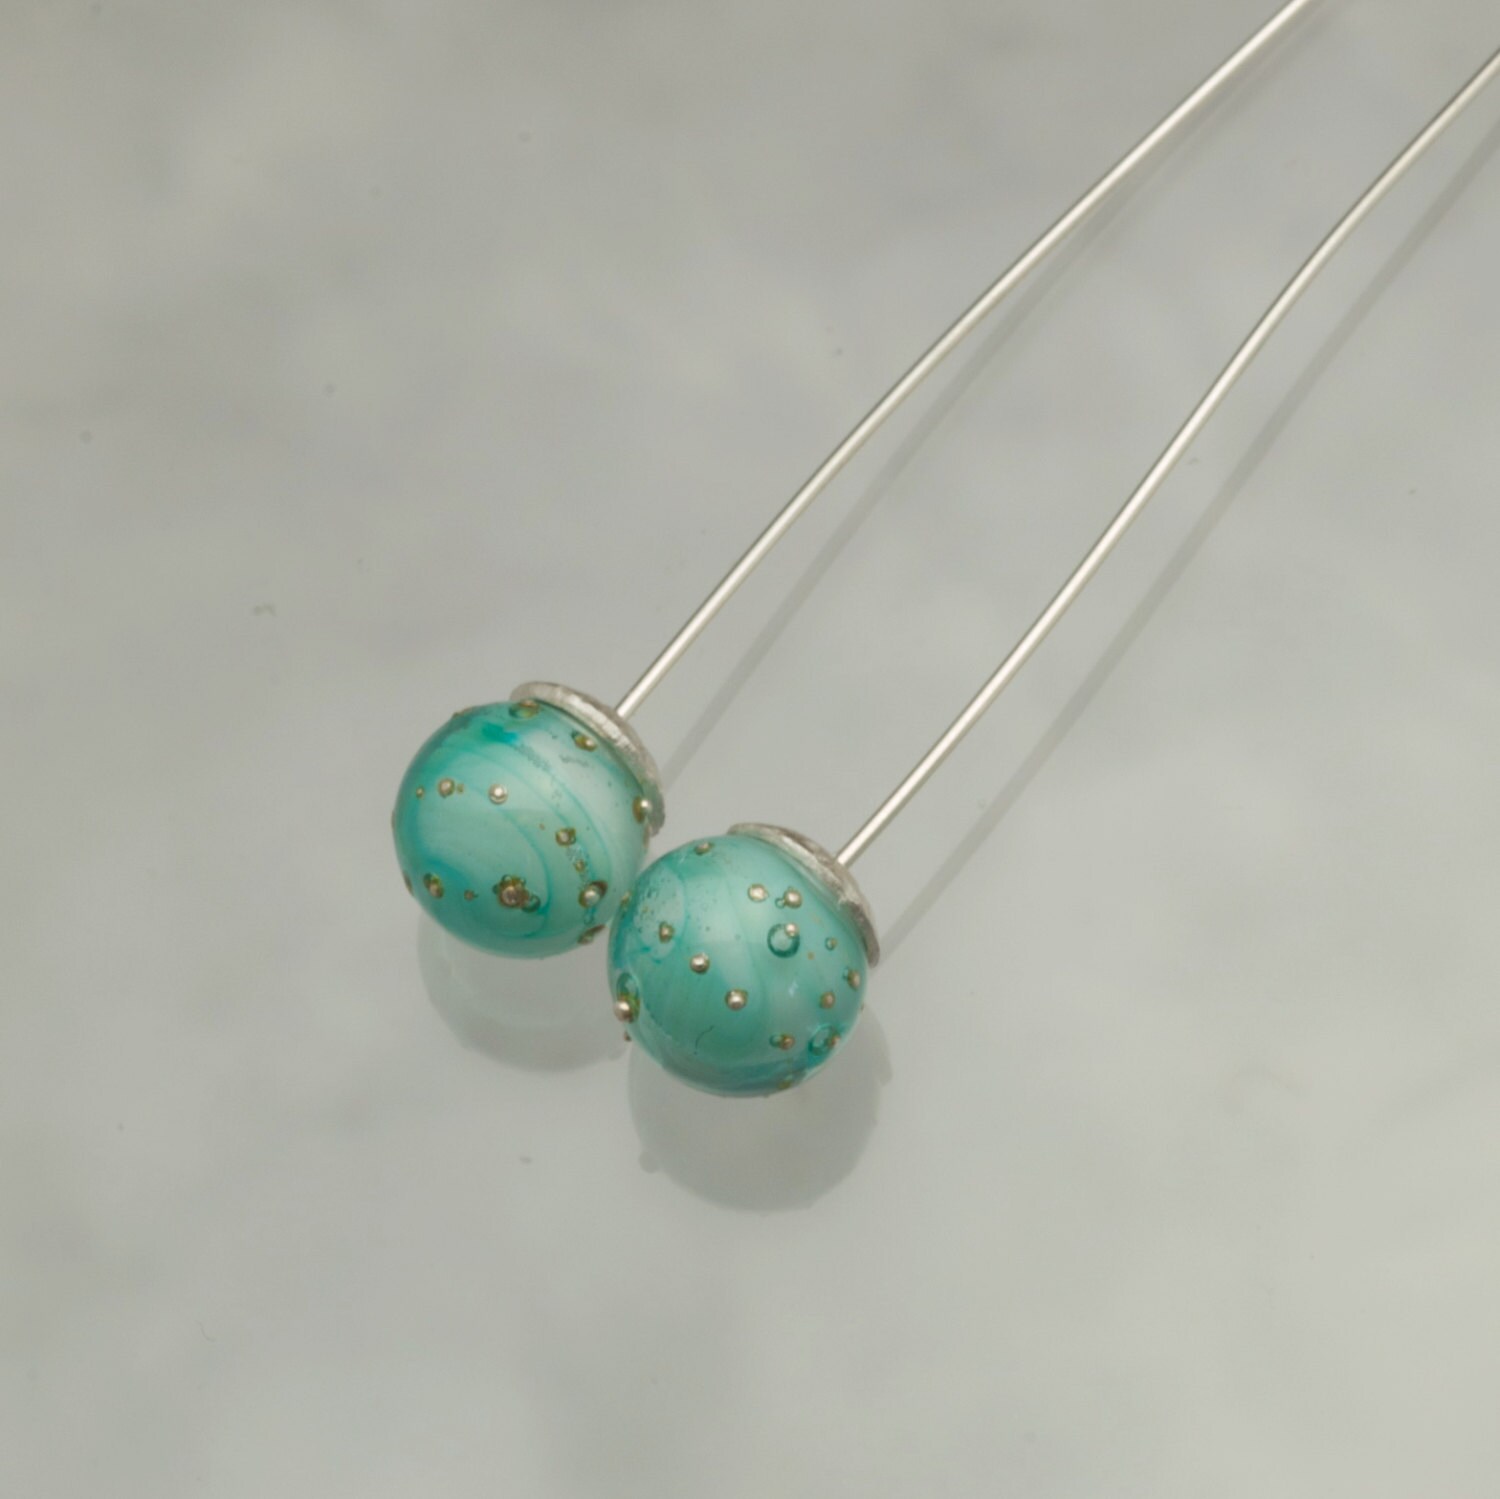
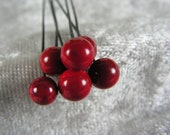
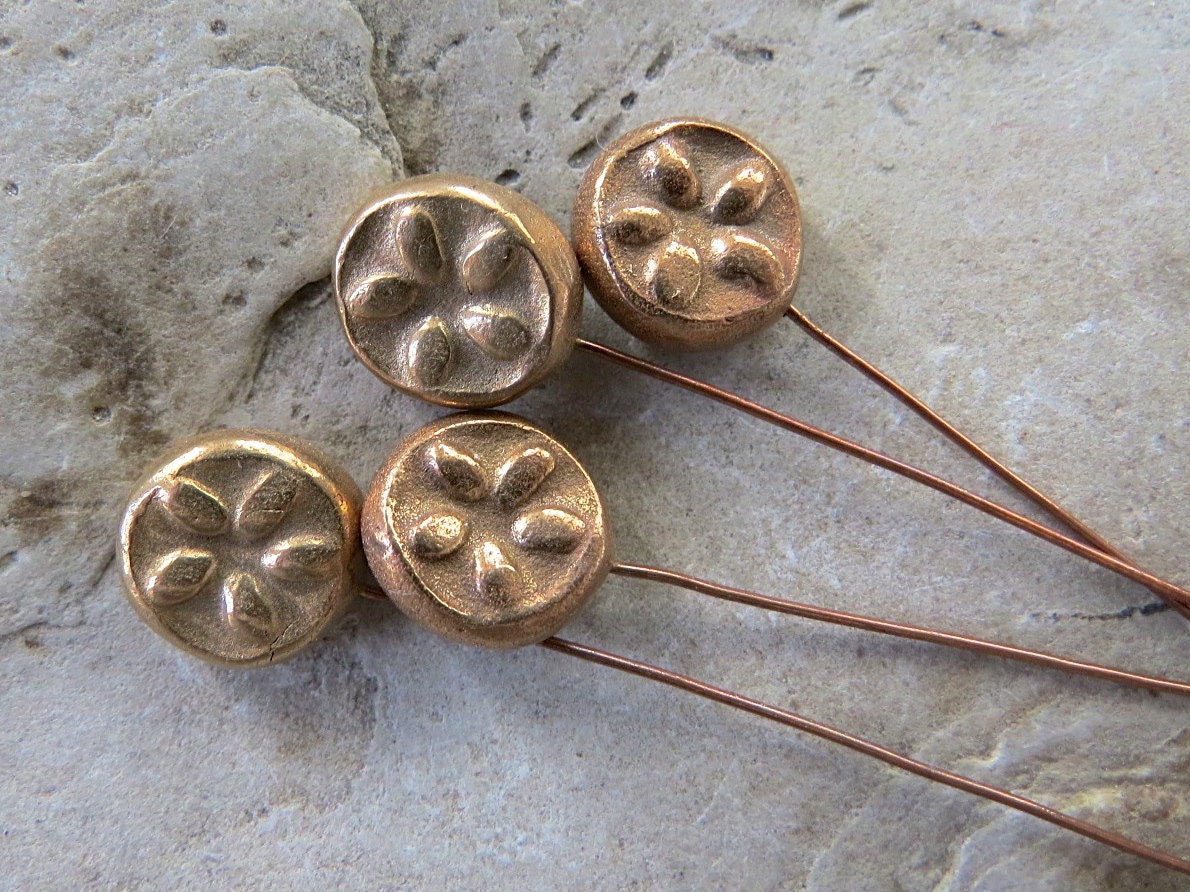
| Balls on rings |
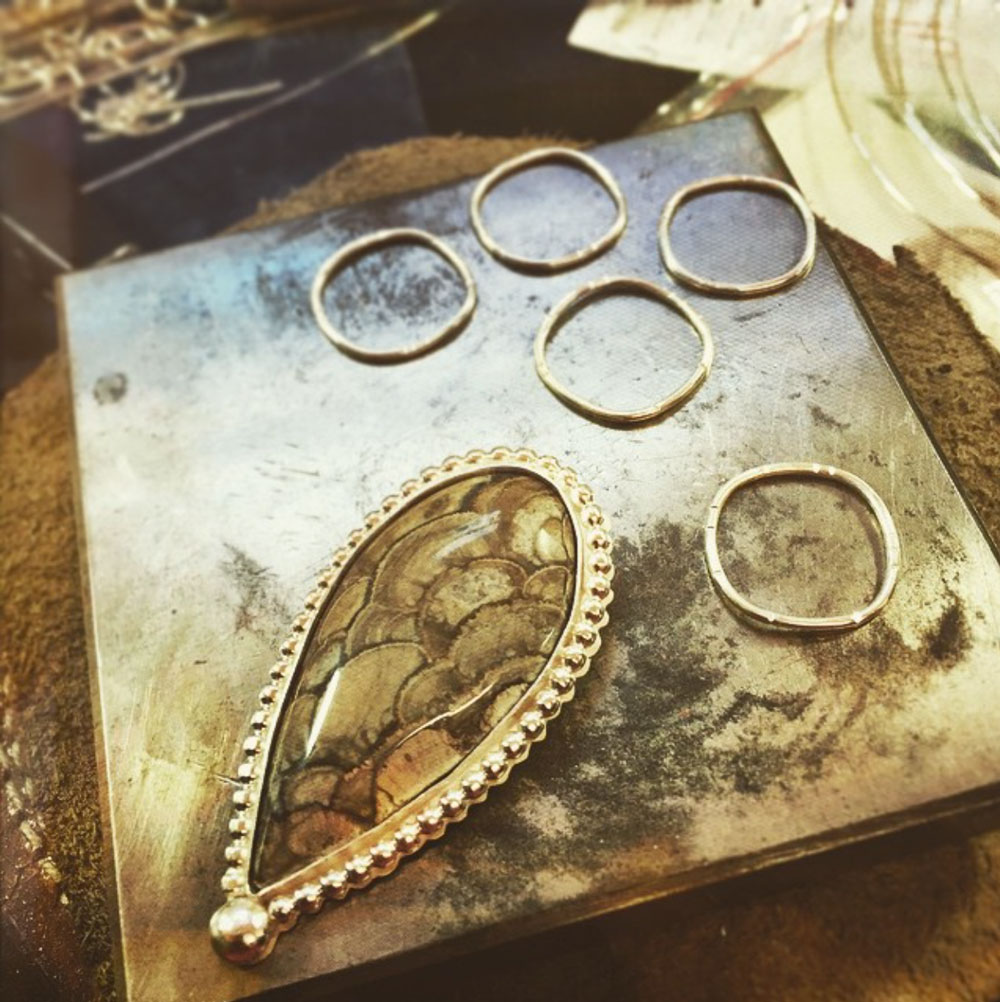 |
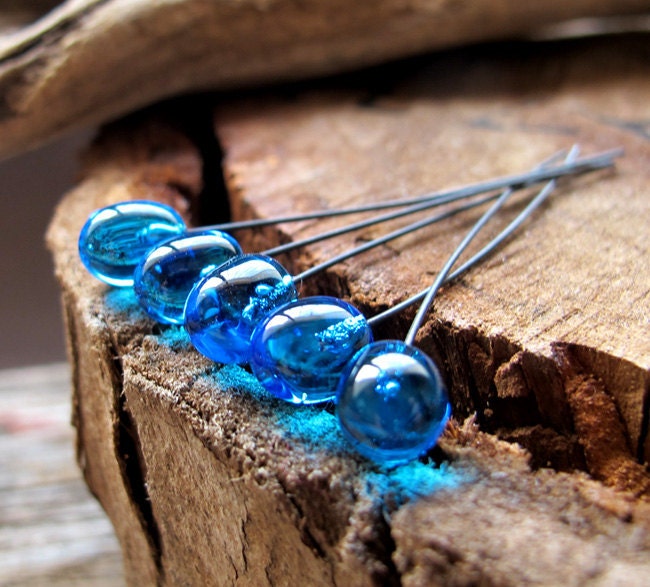
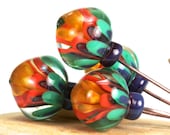
| Balls everywhere! (I cheated - everything except the big one was pre-formed) |
 |
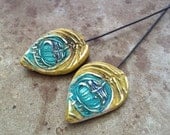
| Hidden balls (in 18k gold) |
You'll need:
- Sterling silver scrap
- Charcoal block or solderite board
- Butane torch (any size works)
- Small gram scale (completely optional)
Start by laying out a small pile of sterling silver scrap on your charcoal block. If you want all the balls to be the same size, weigh your scrap on the gram scale. (Usually, I just eyeball it.) Light your butane torch and start warming up the first pile of scrap. Do this by circling around and over it, making sure to keep the block warm immediately around the scrap. The block will glow and the silver will start to melt, pulling together into a ball. Watch the silver closely - there's a "skin" of impurities that will form around the ball, when it's still a dull orange, and then burn off as the silver turns glossy and shiny. As soon as you see the ball turn shiny, start pulling the torch away.... slowly! The goal is to let the ball cool down very gradually so that the surface of the ball doesn't wrinkle up.
Wait. Let me just show you.
(As an aside, I had fun making that video. Sorry about the sound quality and editing - we'll get better at it!)
A charcoal block works best for this, though you can use a solderite board if that's what you have. The charcoal helps to retain the heat, which helps with slower cooling. And you can see that I've used this block a lot, so the center of the top has been slightly burned out. This is actually a good thing, because as the silver balls up it has a tendency to roll off the edge of the block if you aren't careful. (Ask me how I know!) That little dip helps keep it from happening.
Once you've made the ball, you need to make the bottom flat enough to solder onto your piece. Here's how I do it (thanks Melissa Muir for showing me this technique!):
(Yeah, yeah... I'm a goofball.)
One of the things I like about this technique is that once you've sanded the bottom of the ball, you can solder it in place without having to pickle or clean it further, since sanding the bottom takes off any impurities that might keep it from soldering. This means you can pickle it later with the whole piece, making cleanup much easier and reducing the number of steps in your fabrication process.
So that's how I make the balls I use in my designs - and I do it a lot! I hope this inspires you to hang onto all those little bits and pieces left over from your larger projects. And I hope you like the videos - they're kind of an experiment, so I'd love to know what you think!
Until next time -