Showing posts with label handmade beads. Show all posts

Monday, May 4, 2015

Mushroom mad

It all started with a small mound in the moss that grew so quickly I could hardly believe it....

Amanita Muscaria 
After a few short days the little mound had grown into a mushroom the size of a large dinner plate and every day when we would walk past it on the way to school my daughter would tell me tales of how it was for the fairy ball and how fairy's would play and dance there, then more and more would spring out of the ground and ever since I have been slightly completely obsessed with mushrooms!!!

Lampwork Mushroom by Laura Sparling
I wanted to capture to magic in those beautifully told tales which was the thought behind this caged mushroom pendent (the top and bottom of the cage is made from old three pence coins) and then when my little girl saw it she asked that I make her a mushroom keyring for her school book bag....

Copper and Silver Keyring
It had to be a fairy's mushroom of course and the obsession continued because then I made a pair of mushroom headpins which I sent to my Bead Peeps, Swap and Hop partner Melissa Trudinger who created these stunning earrings with them.
Melissa's Beautiful Earring
I adore the beautiful rustic Kylie Parry birds that Melissa paired them with.

While I was hoping that I may have got the mushrooms out of my system I found myself looking at the following beauties on Etsy....
Photo by Pips Jewellery
These beauties by Pips Jewellery, I love the little ruffle details underneath the cap and would be quiet happy playing with a handful of these little lovelies!
Photo By Jewelry Beads by Katie
If you are not into the colour red how about these beautiful cream mushrooms by Jewelry Beads by Katie, isn't the photo perfect!
Photo by Natalia Korolyuk
Or how about these wonderful yellow Chanterelle mushrooms by Natalia Beads & Jewelry, such lovely shapes.
Photo by North Fire Designs 
And how is this one for a beautiful work of art? I love the shading on the cap and the details underneath are just as beautiful! By North Fire Designs. While I could go on and on showing you beautiful mushrooms, there really are that many, I am half way through making more mushroom head pins and then I think I will try making mushroom beads, the obsession continues!!!!

Thursday, April 16, 2015

A Beady Tour

It’s been a busy few weeks here at Blueberribeads. I’ve been preparing for and attending the UK Flame Off. It was a fantastic show and I ended up being pretty busy for the two days I was there. I was hoping to do lots of shopping and take pictures to share with you today, but I ended up not taking a single one. My purchases were pretty boring too, a marver and some glass... most of which I actually needed!

So as the Flame Off is primarily aimed at glass bead makers, I thought that for my post today I’d share some of my favourite UK lamp workers and their beads. 

First up is my lovely friend and next door neighbour at the show, Laney Mead of Izzybeads. Laney has recently been exploring using enamelled stringers to create these amazing animal beads. I love this ‘Dulux’ dog and his sticky out tongue!

IzzyBeads

Another friend I look forward to meeting up with is Madeline Bunyan… I would like one of each of Madeline’s beads please, everything she makes is just perfect. I already own one of these little birds in pink, and they’re the nicest shaped glass bird I’ve seen.

Madeline Bunyan

Next up is Gay Massender from GaysieMay. Some of her recent designs include ‘Ladies Wot Lunch’ beads and they’re brilliant. Her sketched stringer style is simple, but the lines and colours perfectly capture a slightly eccentric English lady after one too many afternoon glasses of wine!

GaysieMay

And Keren Panthaki of Vas Dea. I met Keren for the first time last year and after a little bit of stalking discovered that she creates the most amazing beads with a rich, beautiful, and individual style.

Vas Dea

Becky Haywood from ChameleonDesigns is another amazing maker. I love the surface effects she uses. I’m in love with these lustre painted hearts. They look so juicy!

Chameleon Designs

And Emma Ralph of EJR beads has a beautiful style that is instantly recognisable. Each one is a little work of art and wouldn't need much else to make an amazing piece of jewellery.

EJR Beads

Another UK maker with an unmistakeable style is Lorna May Prime of Pixie Willow Designs. I love the fine stringer work and folk art feel to her beads. Many of her beads use colours I would never think to put together, but she makes them work perfectly.

Pixie Willow Designs

While looking around for other UK lamp workers, I came across MasqueBeads. I love the finish to this bead. It’s sandblasted and accented with 24 carat gold. The different treatments give it a beautiful depth and each of the different effects work perfectly together as a finished piece.

MasqueBeads

Sarah from The Tartan Trout also uses sandblasting but with a much deeper cut. I love how single colour beads can have so much going on. The delicate designs are beautiful, you just want to stroke them!

The Tartan Trout

I hope you’ve enjoyed my UK tour around some of my favourite bead makers. I would definitely recommend following the links and having a browse around their shops, these are just one each of an amazing array of beautiful glass.


Now I need to get back in the studio so I have something of my own to show for my next post!


Thursday, April 2, 2015

Screen Printing on Ceramics

This week I’m on a countdown, myself and my beads will be travelling down to Uttoxeter race course next Thursday to take part in the UK Flame Off. It’s a fantastic show full of everything a bead maker could desire and is a great chance to shop, sell and spend time with friends. 

So all I’ve been doing since we last met is making beads, making beads and making more beads. Today I thought I’d show you my new favourite technique.

Exciting new techniques!
If you’ve followed my posts here on the blog, you may have spotted that I love surface design, and I’ve been working hard to create my own style using the results of lots of experiments. My goal was to create beads with images on them. I love to sketch and wanted to try out putting some of my drawings on to my raku beads and pendants. 

I really enjoy the process of creating, but I’m very impatient. I want quick results that I can easily repeat. So after becoming frustrated with trying to paint designs, I decided to try out screen printing. 

Sketches
The designs were transferred from my sketch book to my computer and I printed a transparency. 

Laser printed transparency
The screen is prepared with a light sensitive emulsion, the transparency is placed over it, and the whole thing is exposed to a bright light for a few minutes.

Exposing the screen
The screen is then washed out and the unexposed areas of the screen are revealed with the design.

All is revealed
I mixed up some ink using black stain, and printed on to tissue paper.

Tissue transfer prints drying
The transfers were cut from the paper and pressed on to clay shapes to make pendants and beads.

Transferring the image
And after bisque firing, they were glazed and raku fired.

Finished screen printed beads & pendants
And a few re-fired with precious metal lustres.

Lustre fired beads
I love how they turned out and I can't wait to make more, I need to get back to sketching... I just have to make a few more beads!


Friday, September 12, 2014

Digging Into The Bead Fest Stash

Anyone who has been to a big bead show knows the excitement of coming home with a handful or a truckful of new beads.  Well maybe not a truckful, but lots of new treasures.  For a few days you just stare at them lovingly and fondle them tenderly.  But eventually the urge to create overcomes you and you start to dive in.

I was exhausted after Bead Fest and spent a couple of days mostly alternating between bead fondling and napping (wherein I dreamed about beads and beady friends). But then the creative urge surged again and I was off and running.
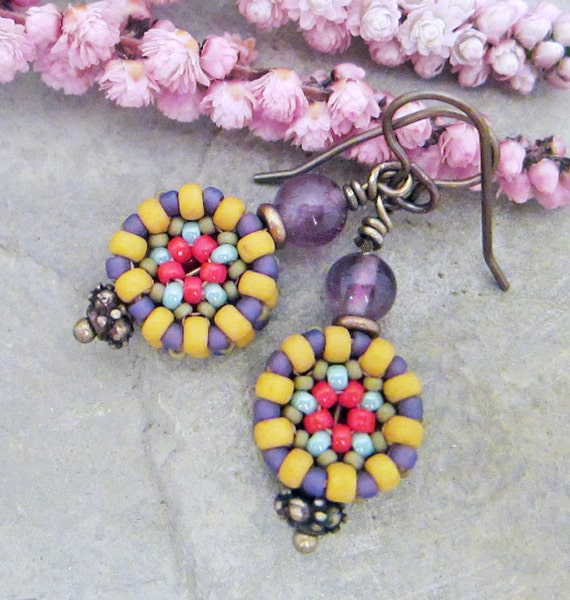
Earrings by Linda Landig Jewelry, Beaded Beads by Sue Beads.


So this week I began wondering what my fellow AJE team members had been doing with their new Bead Fest treasures.  I hope this bit of eye candy will inspire you to pull out your own new (or old) beads and give yourself the gift of some creative time.

Lesley went on an earring making binge!
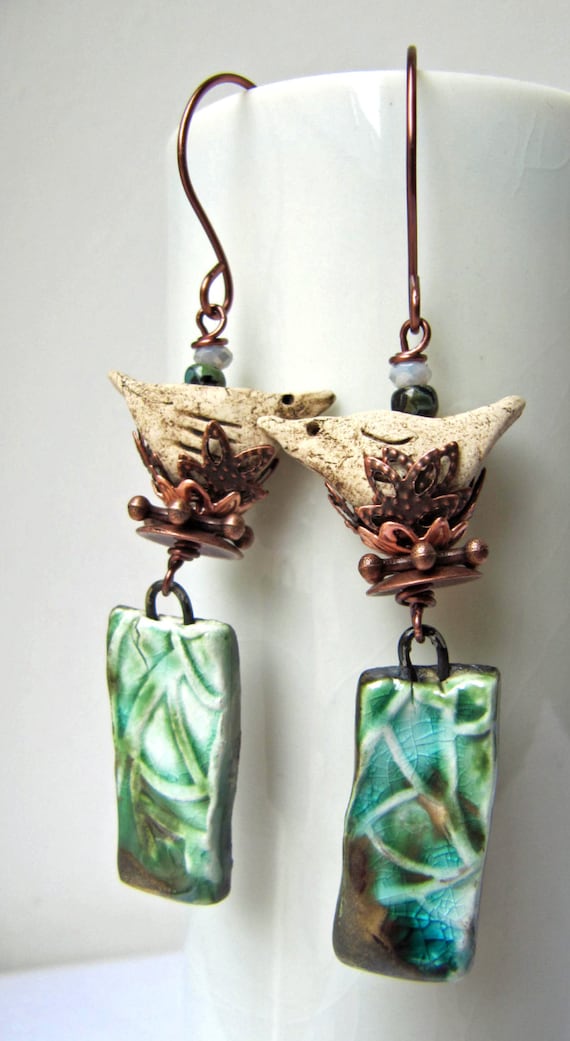
Earrings  and bronze bead caps by Thea Jewellery. Teardrop headpins by Sue Beads. Enamel pieces by Ann Gardanne.  
Melissa made these striking earrings for our August Component of the Month Challenge.
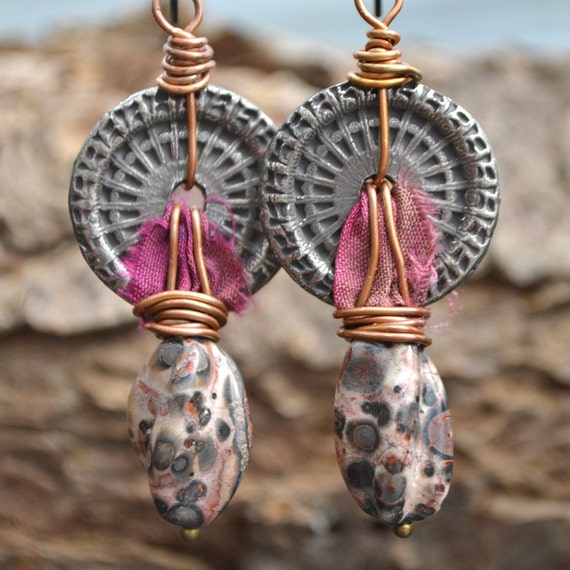
Earrings and textured copper components by Melismatic. Leather feathers by Tree Wings Studio. Headpins by Glass Addictions. 
Jenny also combined her metalsmithing skills with some Bead Fest treasures.
Riveted and impressed copper by Jenny Davies-Reazor.  Pewter drops by Green Girl Studio.
Diana fed her passion for chainmaille by stocking up on supplies while at Bead Fest.
Bracelet by Suburban Girl Studio, with a chainmaille kit from HyperLynks.
 Have you been to a bead show recently?  What was your favorite purchase?  What did you create with it?  Do tell!

-Linda


Thursday, August 7, 2014

Hand drawn beads - Tutorial


I love to make beads and buttons from moulds, but sometimes I just can’t be bothered to get out all the equipment for mould making, or I don’t want to wait the drying/curing time. I’m a spontaneous worker and when the idea strikes, I need to get on with stuff. 

To make detailed consistent beads, I use a cheat with my printer. I was making, or trying to make a sundial one day and printed out the positions for the gnomon and placed it on the clay. The image transferred. The sundial was terrible and was banished to the back of the garage, but that got me thinking about other ways I could use this technique. 

To try this out yourself, you need an inkjet printer, paper, clay and a pointy rubber tool.

Print out your image in reverse. Bold, plain black images are the most successful. 


Cut around the image as closely as you can.


Make a bead in your chosen clay slightly larger than your image. You will get a clearer print in light coloured clays, I’m using porcelain.


Line up the image and press on to the bead image side down.

Give it a gentle rub with your finger for about 10 seconds.


Remove the paper and the image should have transferred on to the wet clay.


This is my favourite tool, you will need something similar to trace around the image. I’ve found a rubber tool is best as it doesn’t tear up the clay too much as you draw around your image. 


Draw around the design. Don’t worry too much at this point if the design had raised rough looking areas. You need to concentrate on getting your lines nice and smooth.

Once you have finished leave the bead to dry.


Once dry, take a damp cloth (I use baby wipes) and gently smooth over your image. The rough bits will disappear. You may need to go back in with your tool to pick any bits that have wiped in to the lines of your design.


Bisque fire and glaze fire your bead. To get a bold effect, I glaze the whole bead and then wipe the glaze from the front of the design so that the colour is left in the carving.

And here’s my finished bead.


What I like most about this technique is you get good consistency in your designs, but each one is slightly different and has that handmade touch.

I hope you find this tutorial helpful, feel free to use this technique to create your own designs!


Thanks for reading!


Caroline


Friday, July 18, 2014

Rocking The Rustic

I have two tutorials in mind that I'd like to share with you, but the truth is that I'm not quite ready today to invest the time required for writing and photographing the step by step instructions.  Sooo, we'll add them to our "Something To Look Forward To" file. 

Instead I'm going to share some of my favorite rustic components and jewelry with you.  This is such a vast and lively field of design that one could do many blog posts on the same topic.  There's no way I'd be able to include all my favorite work in this category.  But here's a start.

So just what is rustic style? I have a feeling that everyone might define it differently.  But here's what the Encyclopedia Britannica has to say:  
rustic style, in decorative arts, is any ruralizing influence; more precisely, a ... (style where) the main components of which are carved and fretted to resemble the branches of trees. Stemming from the idealization of nature and the “simple life” that occurred in the mid-18th century, the vogue for this kind of product persisted well into the 20th century. It was especially popular in Switzerland, Germany, and Austria. It naturally endeared itself to the British Victorians, with their passion for the picturesque, and was also generally admired in the United States...
Woodland Cuckoo House by Starry Road 

Some sources that I looked at called it modern-rustic style and tied it in with organic and renewable materials, highlighting an appreciation of nature.  This would include woodland themes, the use of natural materials such a wood, hemp cording and leather.  It is a style that is inherently casual and unfussy.

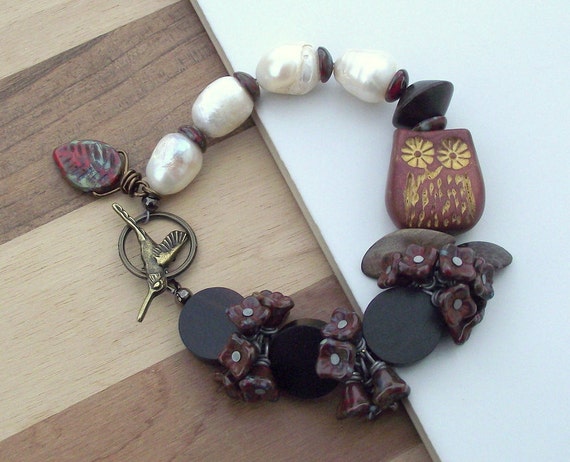
Owl Bracelet by Button Up Beads 

Colors tend to be a soothing combination of warm mid-toned wood, with shades of soft gray, cool clay and greens. Other colors may serve as subtle accents, but don't expect any garish brights in this style.  That seems to hold true for all the items I have collected for this post. Would you add any other colors to the list?
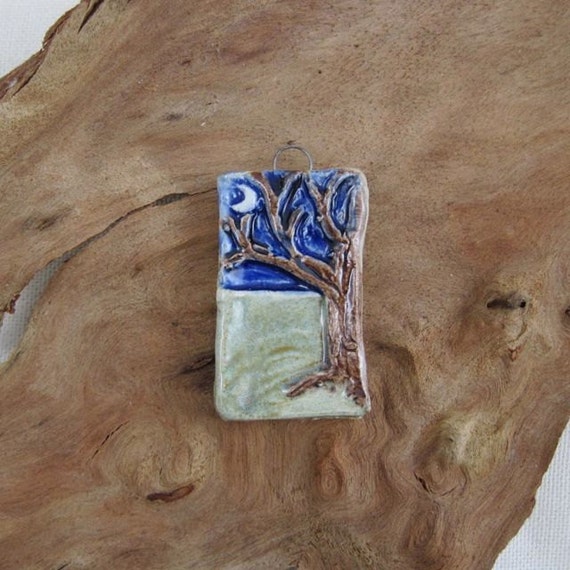
Bare Tree & Crescent Moon Pendant by Jenny Davies-Reazor

Sometimes rustic gets lumped together with its girlier cousins: "shabby chic" and "country charm".  I've been very conscious of this distinction over the past few years as I've been updating the look of my show booth and my shop.  A paint peeling bird cage or tea stained doilies have a somewhat rustic look, but they speak more toward "country charm" than rustic.  Instead I've used grayed woods with earth-toned and clay colored table coverings. Next on my wish list is linen or burlap covered jewelry displays.  

I make sure that my photography consistently expresses "rustic" as well.  My jewelry is photographed on a rustic slate tile.  Props consist of a piece of wood with rustic bark and lichen.  The woodland theme is emphasized further with the ferns and flowers that I include in nearly all my pictures.


I hope this tour of rustic goodness will inspire some new designs for you.  Look for a tutorial soon - hopefully on Sunday.  Till then-
-Linda