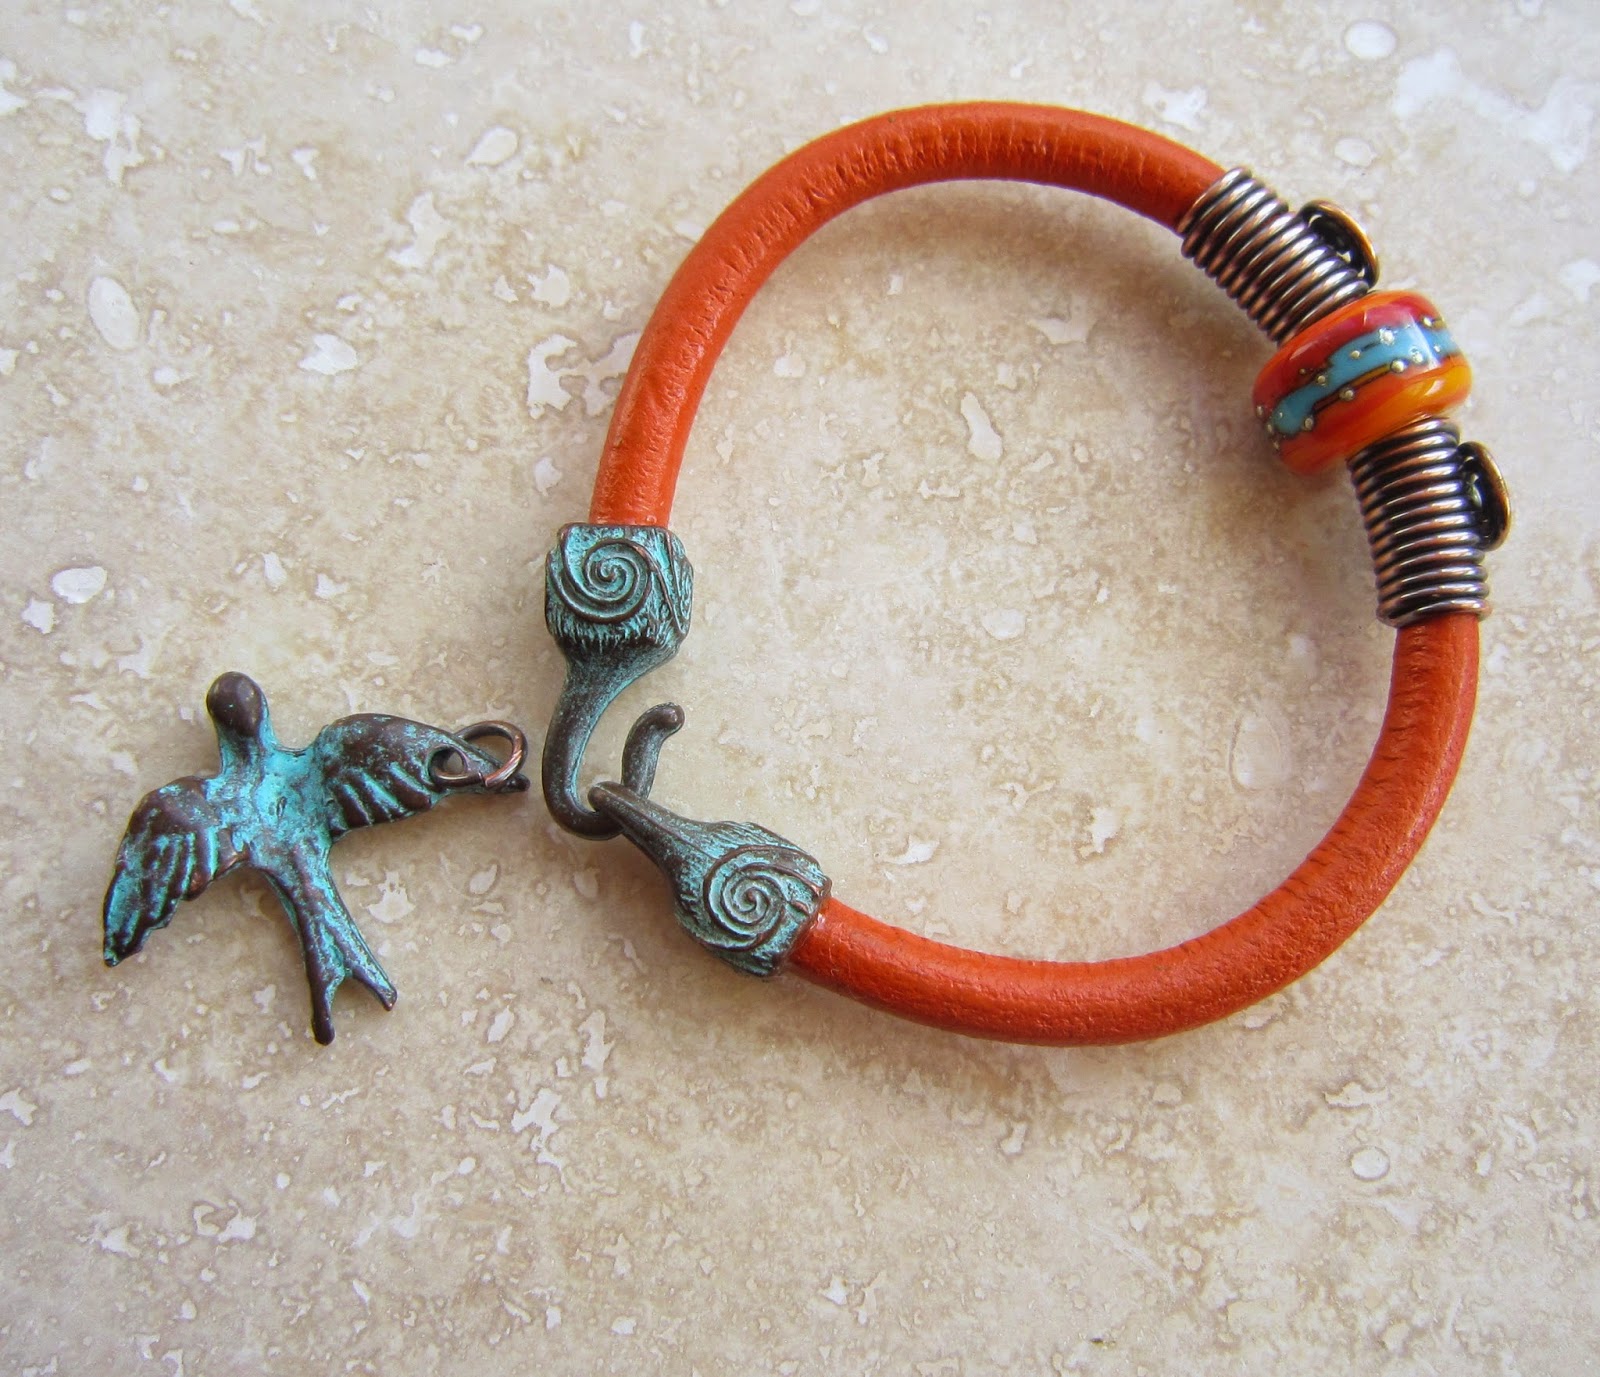
A little while ago my fellow AJE team mate Caroline sent me some gorgeous Greek cast metal closures and charms with a lovely verdigris patina. They just screamed out leather bracelet and I thought I share this simple summery design with you today...
Materials
Materials
Mykonos cast hook and eye clasp set
Mykonos Charm (optional)
7" 6mm leather cord (or length to fit wrist)
2 x 14" pieces copper wire 18SWG/16AWG
1 large hole bead
Flat/round nose pliers
Wire cutters
LOS
Clear Epoxy adhesive
6mm mandrel/knitting pin/leather scrap
1 large hole bead
Flat/round nose pliers
Wire cutters
LOS
Clear Epoxy adhesive
6mm mandrel/knitting pin/leather scrap
Step 1
Take one piece of wire and wrap around your mandrel 10 times making sure it's not too tight so that you can remove the wrapped piece from the mandrel and get it onto the leather.
Step 2
Using round nose pliers take the end of the wire and begin turning a coil in the wire. Transfer to flat nose pliers and continue coiling until you have 3 rings.
Step 3
Continue wrapping the wire around the mandrel until the coil is level with it. Press the coil flat against the wrapped wire as shown. Trim the tail end of the wire on the underside with the coil on top.
Step 4
Repeat steps 1 to 3 to create a second piece that mirrors the first.
Step 5
File or sand out any tool marks and use LOS to oxidise both pieces together with a jump ring if you're using a charm. polish back with wire wool, tumble or polish.
Step 6
Thread the bead onto the leather and thread a copper element on either side. Make sure the focal element is centred then gently press the ends of the wires on the underside into the leather to stop any movement, taking care not to mar the leather on top.
Thread the bead onto the leather and thread a copper element on either side. Make sure the focal element is centred then gently press the ends of the wires on the underside into the leather to stop any movement, taking care not to mar the leather on top.
Step 7
Use epoxy adhesive to glue the closure fittings onto the leather taking care to line the hook and eye up. Leave to dry.
Use epoxy adhesive to glue the closure fittings onto the leather taking care to line the hook and eye up. Leave to dry.
Step 8 - Optional
Use the jump ring to attach a charm to the eye section of the clasp.
And that's all there is to it...
I actually decided that this particular charm was a little too large and I left it off so this is my finished bracelet...

I've been wearing this since I finished it and it's very comfortable. I really like it as it is but if you want to add a charm there are smaller versions available like these cute little shells.
Supplier list
Mykonos components - The Artisan Bead Compan
6mm leather cord - Cords and Wires
Lampwork Bead - Studio Juls
Copper wire - Wires.co.uk
Happy creating!


.JPG)


.jpg)
.jpg)


what a beauty !
ReplyDeleteLove this bracelet, Lesley!
ReplyDeletelove this! I have been wanting to try something with heavy duty leather!
ReplyDeleteWonderful tutorial! Thank you!
ReplyDeleteWow, I love this punchy bright color! Your wire components are so pretty, and perfect for this bracelet. I think I could manage to make a few thanks to your excellent step-by-step tutorial! Awesome!
ReplyDeleteLesley, the beauty of this is its seeming simplicity, great color and love the style. Now I want to obsess and make 3 dozen of them today! The cord ends are perfect! They add so much to the design.
ReplyDelete