Showing posts with label ceramic kiln. Show all posts

Tuesday, October 28, 2014

All Fired Up


In my last post I wrote about receiving a new kiln for my birthday.  I've had a chance to put it through its paces since then.  Before using the kiln to fire any actual ceramic work you are supposed to fire it empty one time and check to see if the heat work, (heat over time) is accurate or needs adjusting.

You do this use by using cones - no, not the kind that you want on a hot day.  The cones you see in the picture below measure if your kiln is heating properly.  There are different cones for different heat levels.
I wanted to do a cone 5 firing (2205F), so I placed a cone 4, cone 5 and cone 6 in my kiln.  After a cone 5 firing, the heat should cause the cone 4 to bend completely over, the cone 5 (my target) should bend quite a bit and form a sort of hook and the cone 6 should be straight or only very slightly bent.

I was online chatting with AJE team member, Karen Totten,  during my test firing.  We could both hardly wait to see the outcome.  I opened my kiln and Wha????  None of them were bent at all.  Panic!  We tried to figure out what had gone wrong.  Turns out that in my excitement I had set the temperature wrong.  Without going into a long explanation, there is a huge temperature difference between cone 05 and cone 5.  I'd set it at cone 05.  I knew better, but goofed up anyway.  Well better to have an operator error than a flaw in the kiln!  Here are the cone results, from the second firing.
Here's what the cone 5 looked like.  It needed to bend just a tad more, which means my kiln is running just a bit on the cool side. So I am now holding the temperature an additional 5 minutes to account for that.
 Ceramics are usually fired twice.  The first firing is at a lower temperature and the ceramic is called bisqueware after that firing.  The second firing is at a higher temperature and it bonds the glaze to the clay and makes the clay hard and strong.  The actual temperatures vary by the types of clay you are using and the effects you are aiming for.

I did a firing this week with 2 different clay bodies.  There were some earthenware beads that can be glazed at cone 05 and some stoneware that is bisque fired at 05. 

The red clay is stoneware that is ready to be bisque fired. Unfortunately I accidentally broke the large snowflake wall hanging when I lifted it off this tray to place it in the kiln.  The glazed pendants are also stoneware.  I had glazed fired them last week, but hadn't put the glaze on thickly enough and they needed touching up.  Because they had been glaze fired already, I had to fire them at a lower heat for the touch ups (with Mayco Coat & Stroke glaze).  The glazed earthenware beads can be glaze fired at cone 05, too.

 My kiln is built in layers, so it is easy to load.  I took off the top layers (see above) and put some of the pieces on the bottom shelf.    These pieces do not have glaze on their backs, if they did, the glaze would fuse to the shelf, ruining both the shelf and the pendants.
The earthenware beads have glaze on all sides, so they are suspended on a bead rack.  Notice how they are spaced.  If they touch one another, they will fuse together.  Once everything was in place, I replaced the top two layers of the kiln and started the heat.
The results?  The rounded triangle pieces didn't turn out very well.  They are fine structurally, but boring looking.  They will get banished to this tin.
 The red clay snowflakes look promising. I've used white Mason Stains on some of them.  I still need to wipe back a bit more of the white from the raised areas, but you can get an idea of what they will look like when they are glaze fired.

And here are the glazed beads.  Some of the beads, especially the brown ones, still need more coats of glaze.  Obviously its a matter of learning as I go.  I made a few simple beads in Christmas colors, but I especially like the blue color.  I went to a pottery store yesterday and got *more* colors of glaze.  Oh my, I see the beginning of a new color addiction...
-Linda

Tuesday, October 14, 2014

Rebuilding a Kiln Controller: An Engineer's Story

A couple weeks ago my kiln failed right at the start of a firing.  We were getting an error message we didn't recognize.  It turns out that after 4 years of regular firing, the kiln controller needed to be replaced.  Fortunately, Colin (The Suburban Guy) is a systems engineer and his dad is an electrical engineer.  Rather than drain our account and buy a new controller, the two of them decided to build their own.

I'll let Colin take it from here...
Inside of my kiln's controller
See those white wires up at the top of the photo?  Those wires power the elements inside the kiln which generates the heat to fire Diana's work. The key to making the kiln work is to measure the temperature inside the kiln and then turn the elements on and off controlling how fast and to what temperature the kiln reaches. We fire to Cone 6 or around 1250 degrees Celsius. The work my dad and I needed to do was to replace the green board in the middle which is where the brain lives.


Testing the new controller-in-progress
The first step in the process is to make a prototype and make sure each part of the controller was doing what it's supposed to. What you are looking at here (besides a mess on the kitchen table!) is our prototype. What it does is measure the temperature of the room and then turn on and off a very high powered switch (the black box at the top left of the picture). There are a few safety parts in the way as the kiln is a VERY high powered device and I wanted to make sure we were safe (Diana runs with scissors).


Testing the controller with a lightbulb
This step was the fun part (to an engineer). To make sure the computer program I wrote worked right, the temperature probe (the part below the light bulb) was stuck by a heat source and then the new controller was given a temperature to control the probe. For our test I tried to have the controller hold the probe at 50 degrees Celsius. The result was a success and a lot of blinking on and off (the bulb not my eyes)!


Testing the new controller on the kiln
Here we have the setup outside and attached to the kiln. The original controller's box is on the floor in the back and our controller lives on the wood in the middle. This setup was a bit delicate as there is a lot of electricity which goes through the elements when the relay turns them on. My dad and I attached the computer to the controller so that we could watch the temperature go up with the program I wrote to make sure it did what was expected. The kiln was loaded with a few pieces to make sure things went right. I made a few adjustments after the first firing as it was a little too hot and heated a little long, but it was a huge success!

The brand spankin new controller

You are looking at the final package. All those crazy wires and bits and pieces wrapped up into a nice little package. The only addition to this is an SD card (the same thing that's in a digital camera) so that the program can record what it does giving us a record of each firing. It is important to know what the kiln does each time so that each batch can be compared when things go well (or not so much at times!).  I'll be installing the new controller into the old controller's box later in the week.

There it is in a nutshell. A little engineering experience and some really cool electronics and the controller for the kiln was duplicated in a weekend and a couple of glasses of wine (it's what fuels the Suburban Guy)! 

Diana P: There it is!  I have no idea how to do this stuff so I married an engineer.  Ok, that's not the ONLY reason I married him.  Thanks to Colin and my father-in-law for getting me back in business!

Happy Beading!

Diana P. & Colin "The Suburban Guy" Mellars

Friday, October 10, 2014

A Kiln Of My Own

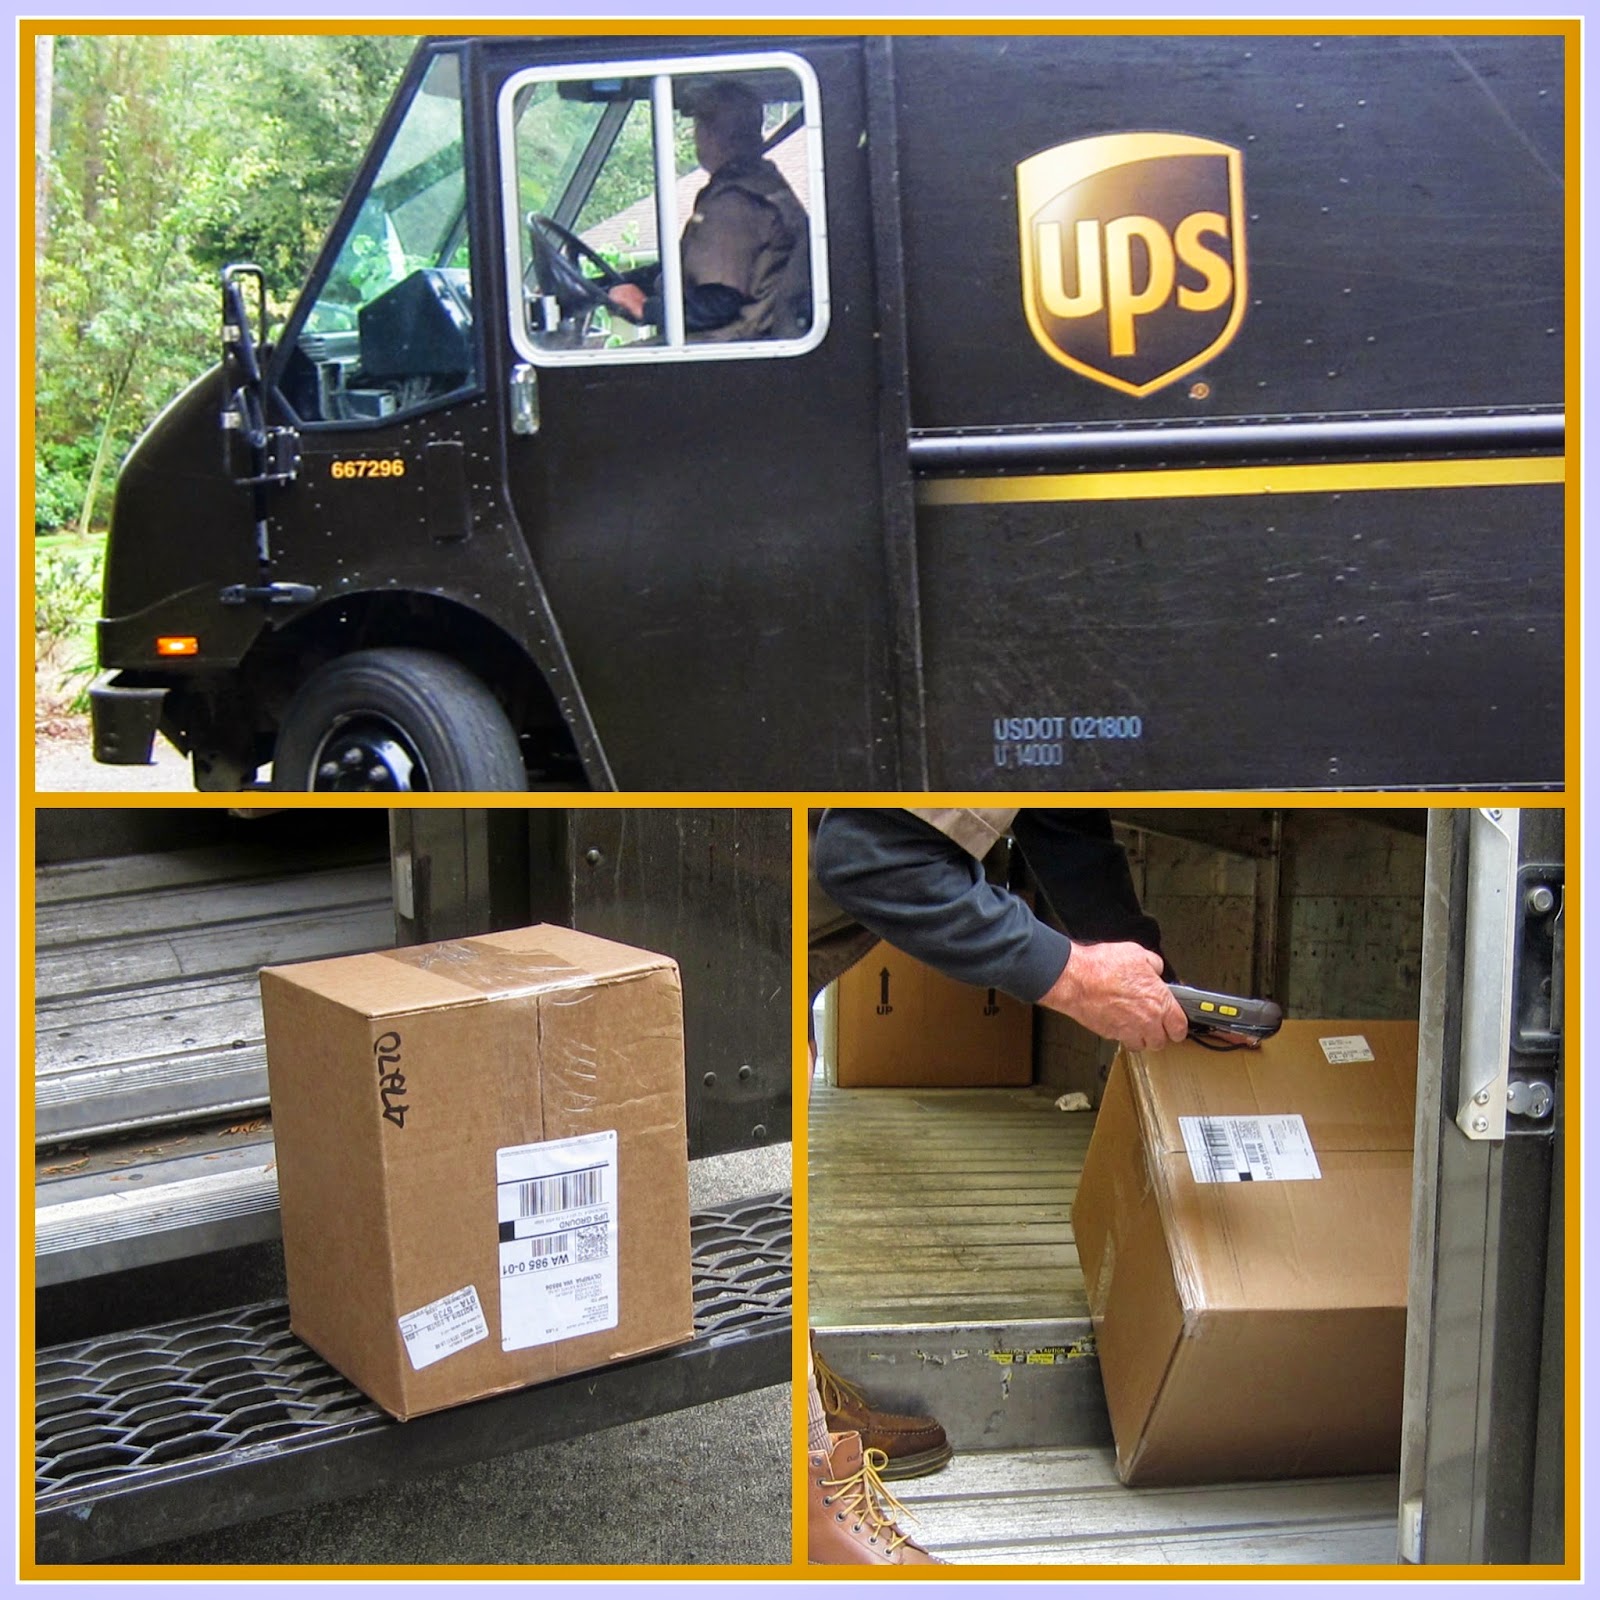
I had a birthday recently and the whole family pitched in to set up a ceramics studio for me.  It took a few weeks for the kiln to arrive, but guess who pulled up in the driveway today?
The driver was grouchy, but I was sure glad to see him!  There were two boxes: the little one on the left and the larger one being scanned in the picture on the right.  I opened the large box right there in the driveway, to make sure it had arrived safely.  The picture on the right (below) is the smaller box, which I opened later, in the living room.
My husband and I carried the boxes inside and carefully withdrew the contents.
My father's birthday gift to me was this beautiful Paragon Caldera Digital Kiln! (Thank you, Dad!)
My husband gifted me with a kiln shelf, which I forgot to photograph, and the contents of the smaller box, shown below.  Going clockwise, there is a bead rack, for firing glazed beads and pendants.  Next are a set of pyrometric cones which will help determine if the kiln is firing accurately or if I need to make adjustments.  Kiln wash is applied to the kiln shelves to help prevent any glaze drips from sticking to the kiln shelves.  The last picture just shows all the instruction manuals, that I now need to wade through.  But fortunately, Paragon has some good instructional videos on their website and YouTube has a lot of resources as well.
I have to apologize for the poor picture quality in the last two pictures.  For one thing the lighting was pretty dim, plus there was a lot of extraneous clutter around which I attempted to remove (not very successfully) via Photoshop. My daughter and her boyfriend gifted me with the inspirational and instructional material on the top photo below.  Reading these magazines and books helped me bide my time while I was waiting for the kiln to arrive.  I'll be referring to them often for inspiration and new ideas. My daughter gave me the cool stamp, with the interchangeable caps that you can see in the bottom picture on the far right.  They are the perfect size for adding textures to earrings.  My husband gave me a gift certificate to a local ceramic supply store where bought several glazes, (though I just included one in the picture), the texture rolling tool with interchangeable textures, a pony roller and a cutting tool. (Many thanks to Naomi, Vann & my DH!).

I will do a test firing this weekend and then I'm off and running.  I'll keep you posted!
-Linda


Monday, August 4, 2014

Bead Fest Stress....Errrrr Prep

Prepping for Bead Fest is stressful.  There are so many things that have to get done before the show;  make a ridiculous amount of inventory, new displays, pricing, sorting, jewelry samples...

Speaking of jewelry samples, remember this rainbow Byzantine weave chain from a few weeks ago?
Well it currently looks like this...
I finished the chain, added the clasp and got the pendant attached.  Then I created more mini links coming off the necklace.  There are supposed to be porcelain charms hanging from them.  Unfortunately, a few weeks ago I was firing a large batch and the kiln shut down during the firing.  Big ERROR message on my screen.  Ahhhhhhhhh!!!

It turns out that after 4 years of solid use, the kiln needed some parts replaced.  The Suburban Guy (Colin) ordered them up and then realized he needed a few other things.  The parts came in a few days ago and Colin made all the repairs.  We did a test firing and it ran a little hot (brand spankin' new parts will do that) so we adjusted the firing.

Yesterday I took that half-fired batch back over and loaded it back in the kiln.  Here's the bottom getting filled up...
And here is the top shelf...
I have never re-fired pieces before but my fellow ceramic artist friends were encouraging.  I'm heading back over to the kiln this morning to see how it all turned out.  I will update this post this evening with the results...good or bad!

*Update*  I do believe the kiln is working again.  Wouldn't you agree?   


Happy Beading!

Diana P.