Wednesday, March 25, 2015

Stepping out of my comfort zone just a bit.

There have been an abundance of amazing posts from our team so I was getting a bit nervous about keeping up with the high standards you are used to from us.  Funny thing is I have been worring about this measuring up thing in all aspects of my life and it is even getting on my own nerves.  No more of this and to really put a stamp on this I went out of my comfort zone with beading with the help of the new Beadwork magazine.

I saw this piece designed by Lanai Kinsky. frankly I have been wanting to combine beadwork and metal for a long time but if you know anything about my ventures into anything wire related you know this really tested me.

I knew instantly that I already had the focal key but not this type.  At Beadfest I was lucky enough to snag one of Jennifer's keys.  I have actually loved each and every one she has shown even when she said she didn't.

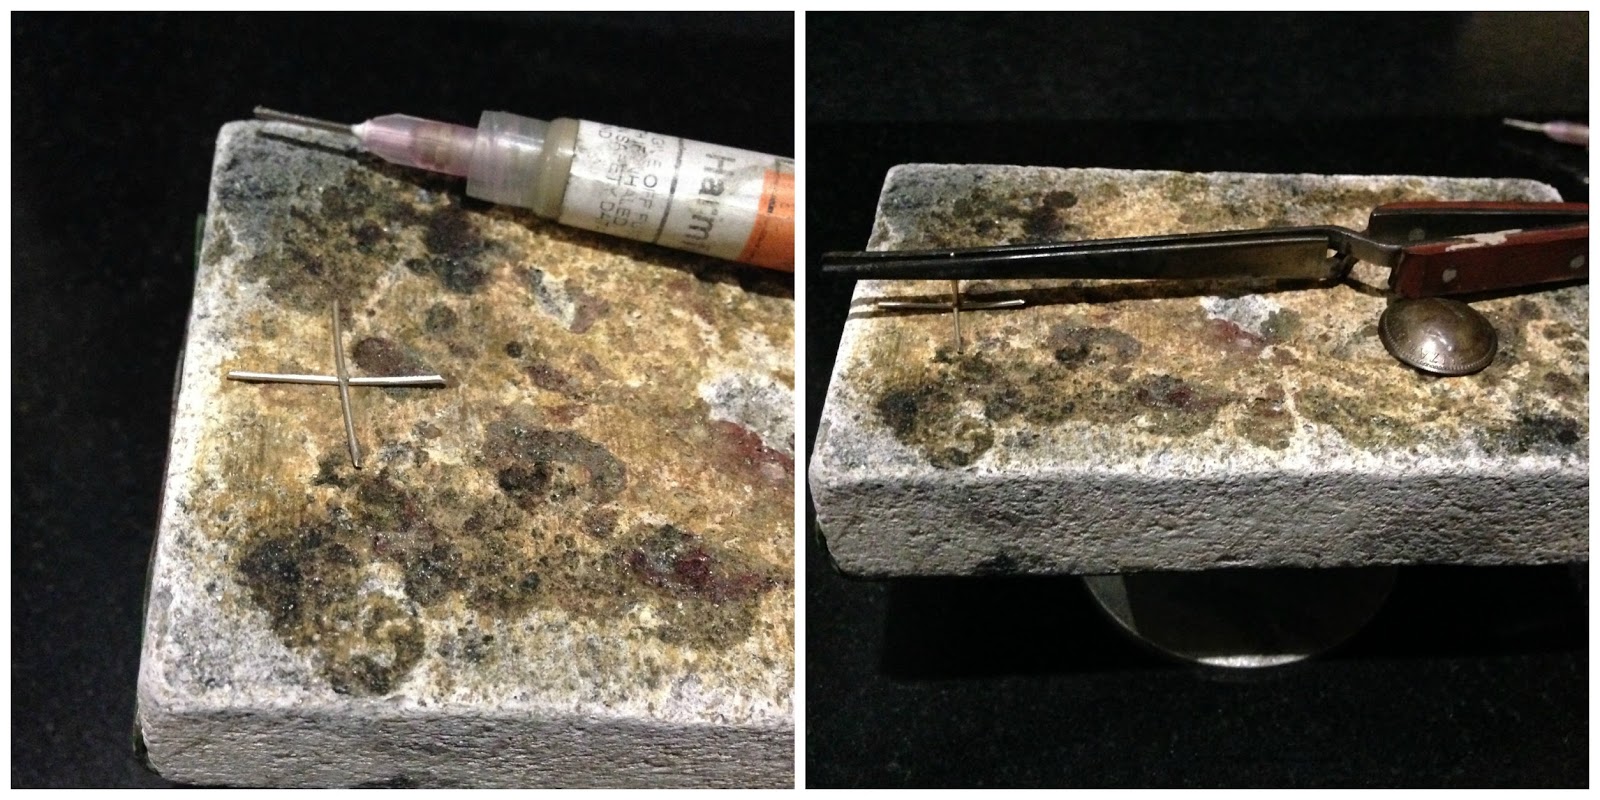
First test was to break the "bead ban" and get the supplies needed.  It was easier to say yes to these supplies because I do not own chain, links or clasps like these.  Waiting is the worst part when ordering beads isn't it?

After the findings arrived I had to get over the fear of using them.  I am someone who worries about every little edge on beads and if they will snag the thread and how many passes I will need to make to make it secure.

Working with Lanai's pattern was a bit of a challenge too.  Because of publication restraints there are key hints and tips that can not be included.  Once I figured them out on my own these components were a breeze to stitch up which was really good as I had the stomach bug while making it.  Only able to sit upright for long stretches.

Here is my finished piece.

So what did I learn?  First I like chain.  I will have to get more.  Second I really really like long necklaces.  I think they can dress up a plain t shirt and honestly they make me smile.

Have you ventured out of your comfort zone lately?


Tuesday, March 24, 2015

Book Recommendation: Maker Magic by Connie Fox

If you've spent any time in Facebook groups or other online jewelry forums, you've probably encountered a post from someone who feels their work has been copied. These threads usually get pretty passionate, with most commenters jumping enthusiastically and firmly onto one side or the other of the discussion - and sometimes things get downright ugly. Add to the mix that there is rampant confusion about copyright issues and what is or isn't protected, and it's clear we would all benefit from learning how to develop our own unique voices.

Is there such a thing as "too unique"?
Earlier this year, AJE team member Karen Totten did an excellent and comprehensive post on the idea of "style" in art jewelry. It kicked off a series of conversations among AJE team members about how we came to our respective styles and what we do to keep them from becoming static or stagnant. I'll be honest: I've really struggled to find a style that isn't derivative of the work of other metalsmiths out there. I know what I'm drawn to, but I'm not often sure why. And as I've written about before here and on my own blog, the prospect of writing an artist's statement induces a near-immediate rush of anxiety, mostly because the "why" of my work isn't always apparent to me.

So I was very much looking forward to this year's Roadhouse Arts spring retreat, because we invited master metalsmith Connie Fox to join us for a two day design intensive, based on her new book Maker Magic.


I was not disappointed. In fact, the process of walking through these exercises and explorations turned out to be incredibly personal, not just for me but for all the participants. We cried and laughed and shared stories and started examining the things that spoke to us, in our work and in the work of others. 


By the second day, we were trying our hand at new creative exercises and dipping our toes in the water of new awareness. Why do I love foldforming so much? Why am I helpless against the pull of certain shapes and forms?


And the result, for me, was a piece that didn't look anything like work I had done before, but that felt personal. In fact, a friend of mine looked at the piece and said, "Oh my gosh! It looks like you!" There could not have been any better compliment.


Obviously, the experience of several days in close proximity with other creatives is going to be very different than reading and working through this book by yourself, but don't let that stop you. Over the course of 17 chapters, it will escort you through several exercises to help you identify what type of designer you are. Do you plan out every design before you tackle it or do you just jump in and go where the muse and materials lead you? Do you work best by yourself or are you energized by talking through your process and ideas with other artists? Is your work quirky? Serious? Playful? The answers to these questions will help you figure out what process helps you get to your best ideas.

From there, you get to figure out where your inspirations lie and what you want to say about them. This has always been the tough part for me, but Connie shares very practical skills and methods for getting you past any paralysis or awkwardness, as well as a thorough (and not at all dull) explanation of design elements and language. The best part of these approaches is that they can be applied to specific projects, not only a body of work. For example, in the space of just an hour, I had the beginnings of a whole new way to describe and explore my work and my aesthetic, which was pretty exciting. But if I have a killer cabochon or component that I'm just dying to do something special with, I can apply these techniques and skills to brainstorming ideas specifically to that project - I can dial it in. And like anything else, the more I exercise these skills, the more natural a part of my process they'll become.

I have a much better idea why these shapes appeal to me and how to use them well.
Connie shows us how to pull it all together by walking us through the processes she followed on three of her own pieces. I found this particularly interesting, since I'm such a fan of her work, and it helped me to have concrete examples of how process can come together in different circumstances and with different intentions. It also helped me see that a disciplined approach to design and making doesn't have to be boring or constricting - in fact, it creates a kind of freedom that is exhilarating! The book concludes with tons of links and recommendations, which makes it tremendous reference. I bought it after the retreat and downloaded it to my iPad, which is often in the studio with me, so that I can refer to it.

And so, back to my original point: we all start out learning by copying the work of others who are more advanced than we are. We take a class or buy a tutorial, and we are really happy with how the project turns out, so we start collecting more tools and techniques. But if that's where we leave it, we never really come into our own - our work just ends up looking a lot like the work being produced by other makers. How can we break into new territory, develop our own voice, create a style that really looks like us and not everyone else? It's a process, and it takes practice and discipline (there's that word again!) and more practice. It takes failing. It takes evaluating what you produce without emotion. It takes time, and effort, and intention. Are you ready?

Start with this book. I highly, highly recommend it. If you've had any kind of formal art education, a lot of it will be very familiar to you - but for many others of us, who came to making later in our lives or via circuitous paths that included other lives, other careers... well, this was new and exciting territory for me, and it fed a part of me that I didn't even know was hungry.

Until next time -

Monday, March 23, 2015

Simple Soldered Prong Set Earrings

Some times simple really is best, so I thought I would show you how to make a pair of simple prong set earrings.

Tiny Prong Set Moonstones
You will need:

Something to prong set (I have used rough tourmaline)
Sterling silver wire 20 gauge
Sterling silver ready made earring posts
Sterling silver butterfly earring backs
Wire cutters
Hammer and anvil
Safety glasses and apron
Solder block
Easy solder paste
Pickle
Brass brush
Reverse action tweezers
Gas torch
Flat nose pliers
Flat file
4 way nail buffer

Materials needed
Choose what you wish to set, here I have used rough tourmaline, but you can use what ever you please, but you do need to make sure that what you use is strong enough. Measure and cut your wire so that it is about 3 times the length of what you wish to set. You will need 4 pieces per pair of earrings.

Hammer flat
Lay two wires on your anvil so that they cross in the middle, then give them a tap with the hammer. The idea is to form little groves in the wire so they lay flat while you solder them together. It is important that they stay clean so that the solder flows so I normally give them a little rub on the ridge file on a nail buffer and then place them on the soldering block.

preparing to solder
Once on the soldering block, make sure you are all dressed up in your wonderful safety goggles and apron, then add a small blob of easy solder onto the hammered area. Using your reverse action tweezers grip the ready made earring post and prop it on the area you just applied the solder to. Take time to make sure that it is all positioned correctly (I use a coin to hold the tweezers in place). Solder carefully so that you don't melt the thin wires!

Prongs made
After soldering quench and pickle and then repeat to make the other earring. When both are made rinse and brush over with a brass brush. Using you stone as a guide and the pliers to do so, bend up the prongs so that the stone fits snugly into the prongs (not too tight you don't want to put too much pressure on the stone and risk breaking it).

Measuring the prongs
With your stone in place trim your wires so that are just long enough to curve over the top of your stone. Take your time to do this is is better to leave them a little long and have to re-trim them then cut off to much and not be able to set the stone! When you are confident you have the right amount of wire left, using your flat file, file the ends flat so that they will be nice and neat.

Prong set tourmaline earrings
Use the flat nose pliers to squeeze the prongs over your stone, do this very slowly and very gently, a little at a time, until you are sure that the stone is held firm and will not come out. Then I use my nail buffer to buff over the earrings and give them a beautiful shine. Simple as that!

Niky Sayers
Silver NikNats

Sunday, March 22, 2015

Ancient Art as Inspiration

I have long been a fan of ancient art. I love the textures, the forms, the depth of history. I am sharing here a brief visual tour of a few examples, along with recent work inspired by these and other ancient forms...

"DOGU", discovered in remains of Aomori. Jomon-era. BC.3,500 - BC.2,500. Aomori Japan.

Female-effigy ceramic burial urn, Northern Andes, Columbia,
South America, 1,000–1,500 AD. 23 x 40" in circumference

Predating Stonehenge by 6,000 years, Turkey’s stunning Gobekli Tepe
upends the conventional view of the rise of civilization.

12th- 9th centuries BC- Female Figure, possibly
from Las Bocas, in what will later be Mexico. 

Neolithic Figure - 3500 BC

Ancient Yemeni goddess figurine.

Goddess Figure Pakistan (made) Date: circa 2nd century BCE (made) This particular piece
was recovered by Colonel D.H. Gordon from a site at Charsadda Shaikhan Dheri, Gandhara, Pakistan.

Female figurine (Psi-type), clay, Mycenaean, Late Helladic III B-C period 1300-1150 BC

Photos taken by Linda Landig in a museum in Oaxaca. They were all discovered in the
tombs in Monte Alban. Monte Alban is located on a leveled out mountain top
at 6,400' elevation. It was a Zapotec holy site. The burial city for the noble.
Originally contucted about 500 BC. 

Photos taken by Linda Landig in a museum in Oaxaca.
More work from the Monte Alban site.

Photo by Niky Sayers of Egyptian faience beads at the British Museum. 

Photo by Niky Sayers of Aztec carvings at the British Museum.

BC.3,500 - BC.2,500. Japanese ceramic figurine "DOGU".
Jomon period. Excavation place / Nagano Japan.

Female Figure / 300 BCE-400 CE / Mexico, Mesoamerica, Michoacan /
Chupicuaro Culture / Ceramic, pigment / The Metropolitan Museum of Art, NYC.

Cradle of Civilization Goddess Hattusa (Ḫa-at-tu-ša, read “Ḫattuša”)
was the capital of the Hittite Empire in the late Bronze Age. 

Deep Vessel with Handles Middle Jōmon period (ca. 3500–2500 B.C.).
Japan (Source: The Metropolitan Museum) .

Bird-Headed Figure Whistle, 8th–9th century Mexico, Veracruz Ceramic.


Recent work by me and a couple of my Art Jewelry Elements fellow bloggers, inspired by ancient art:

Goddess figures by Jenny Davis-Reazor

Goddess figures by Jenny Davis-Reazor

Goddess figures by Jenny Davis-Reazor

Goddess figure in a jewelry piece by Jenny Davis-Reazor


Amulets by Diana Ptaszynski

Amulets by Diana Ptaszynski

Bird forms by me (Karen Totten)

Goddess forms and other beads by me (Karen Totten)

Goddess form by me (Karen Totten)

I hope you enjoyed this little survey.  :)

Karen Totten
Starry Road Studio