Saturday, May 24, 2014

Make Your Own ~ Beaded Drop Feather Earrings

Hello again! I don't know about you, but certainly for me, every time I have a lot of work that needs doing, I find there are so many other things I'd like to do instead. That "lot of work" right now is a big heap of beads that's waiting for paint. Not that I don't like painting—I absolutely love it! But it's a big job and involves many hours of meticulous work. And while I'm busily painting away, my mind wanders on to all those other ideas I have for new beads and jewelry.

One thing is for sure, I really want to make more jewelry! Happily, I've been able to consistently work towards that goal this year and it's been so wonderful to get back into it again… but equally as fun, is sharing how I make my new jewelry with others!

So… here you go! Another tutorial for you—this time for earrings…


Supplies you'll need:
- earwires (a very minor ;-) detail that I left out of my photo!)
- 24 gauge wire
- 11/0 beads (I used iris gray)
- two 6mm round beads (I used turquoise howlite)
- two 8/0 beads (I used oxblood)
- two tiny brass spacers
- a pair of painted leather feathers


Tools you'll need:
- tape measure
- wire cutters
- round-nose pliers
- flat-nose pliers
- bent-nose pliers
- glue


1. Start by cutting a length of 24 gauge wire about 10-12 inches long. Make a wrapped loop on one end and string on a 6/0 bead, a brass spacer, and a 6mm round.

2. Cut a second length of wire and repeat step 1. I like to work my earrings simultaneously to keep them matching.

3. Decide how long you want your finished loop to be and string the 11/0 beads onto both wires. I went 2 inches long with the 11/0 beads, but you can go whatever length you prefer, just be sure to cut a long enough wire to complete the next steps.

4. Bend the wire at a right angle about 5mm from the last bead—this will give you some wiggle room to form a nice loop without the beads looking all bunched up.

5. Bend the wire around to form a loop and wrap a few times.

6. Using the same wire, wrap down over the top of the beads about halfway down the loop.

7. Wrap back over the top, creating two layers of wire wrappings. Cross over to the other side, again wrapping down halfway and then back up. Finish off by wrapping tightly beneath the 6mm round and trim.

8. Follow steps 4 through 7 to create the second beaded loop.

9. Add the feathers—put a dot of glue on the tip, fold over and wrap tightly with 24 gauge wire. Hang from earwires and your done!


Wishing you a happy and creative Saturday!


http://www.treewingsstudio.com/

Friday, May 23, 2014

More Clay Play

In my last post I mentioned that I was starting to work with kiln fired clay.  But I didn't have time to share the details, because I had already promised a polymer clay update.

Well now, here's the scoop on my ceramic adventures thus far.  I have been designing jewelry with artisan ceramic components for many years now. During that time I accumulated a large hoard of ceramic pieces from 20 or so of my favorite artists. That's how I originally came to know AJE team members Karen Totten and Diana Ptaszynski.
This is just a teeny-tiny peek at my ceramics collection.
About 2 years ago, I started wanting to be able to make my own ceramic pieces.  I was so in love with the treasures that others were making that I just had to try it too.  I tried to ignore this urge.  You know how it is...I already have more creative hobby stuff than any sane person should own.  But alas, I finally gave into the temptation.
Marion Pollmann of Fine Clay Art took me under her wing and has been generously sharing her skill, knowledge and talent with me.  Marion and I have done art shows together and I have always admired her work.
One of Marion's popular house number plaques.
I have completed two batches of ceramics so far and am ready to bisque fire the third.  I've worked with different clay bodies each time, so I can get a feel for the different possibilities.
I started with the porcelain mix you see above.  In the picture below they are stained and glazed, but not yet fired the final time.  The ones that appear white, actually have a clear glaze that becomes transparent when fired.
Here are the final results of the first batch.  To say I was thrilled is a big understatement. The pieces turned out quite nicely, but the main thing for me is that this is a dream come true.  That's why I feel so much enthusiasm and the gratitude.
I love the green pendant on the top right, but it has a tiny crack in it, so I will make a necklace for myself with it, rather than offering it for sale.  A few of the other pieces have sold and a few are being saved for the June AJE Component of the Month Giveaway & Blog Hop.
Marion and I work companionably together, chatting and each glazing her own pieces.
The next batch of components was made with stoneware.  It is so different to work with than the porcelain mix.  Here are some of the stoneware pieces (with the exception of the blue flower at the bottom).  These have been stained but not yet glazed.
Marion's glaze bottles stand ready for use.

 Stoneware glazed and ready for the second firing.
And here is how the second batch came out.  I think the rustic stoneware looks especially nice with the imprints of the leaves and ferns.

On Wednesday I used a red clay that I just loved working with!  I don't know yet how it will look when it is done, but it felt really good in my hands, (yes, I'm a very tactile person!).  I think the joy is pretty evident on my face.
On Monday, June 2nd I will be posting the pictures for the June Component of the Month Giveaway.  Be sure to check back then to get your name entered for a free ceramic component for our blog hop.

Thursday, May 22, 2014

Art Imitating Art...

Whilst spring cleaning my study last week I came across some leaflets from a long forgotten visit to Barcelona back in 2002. At the time it was a rather poignant trip since it took place over the mothers day weekend and I'd lost my mum 6 weeks earlier. I was in two minds as to whether to even go but as it turned out it was the best thing I could have done. Barcelona is a joyful city and a complete assault on the senses for anyone with a love of culture and art with so much to see, including the wonderful medieval quarter...


The fabulous Boqueria market...


And probably most famously the distinctive Catalan Modernist architecture of Antoni Gaudi who integrated crafts like ceramics, stained glass, wrought iron and carpentry into his designs as  here at the Casa Batllo


Gaudi introduced a new technique to the treatment of materials called trencadís which used waste ceramic pieces in mosaics like these in Parc Quell...


As you've probably guessed I became totally distracted looking at these souvenirs are started thinking about how I could use this as inspiration for my own work. Having resisted the urge to break up the china in the house to make real mosaics I managed to grab a few minutes in a busy schedule to play around with getting a mosaic effect from clay.

Whilst I wanted to try a relatively authentic process by layering small pieces of clay onto a base, I was also aware that mosaic work is a slow process so I decided to try carving the clay to look like a mosaic as well just for comparison. In the end it wasn't that much quicker as it was quite difficult to get the pieces to look authentic...my brain seemed to want to make it too orderly.

Unfortunately I forgot to take any photo's of the making process but here are a couple of pendants I made - one layered and one carved...can you tell which is which.?


This is another piece which has already been bisque fired and glazed ready for it's second firing. I'd got into the swing of it a bit with this one and was a bit less heavy handing cleaning up so the pieces fit more closely.


I used different types of glaze on each one and some worked better than others but that's all part of the learning curve.  And this is how they finished up - maybe not exactly Gaudi-esque but I like them and I think there is mileage to develop the style further so I shall continue to play.


And of course - any I don't like I can smash up and use to make a new line of Trencadis components!

Has any of your work been influenced by your travels to foreign climes - we'd love to hear from you if it has.

Lesley


Wednesday, May 21, 2014

Creative Block!!!

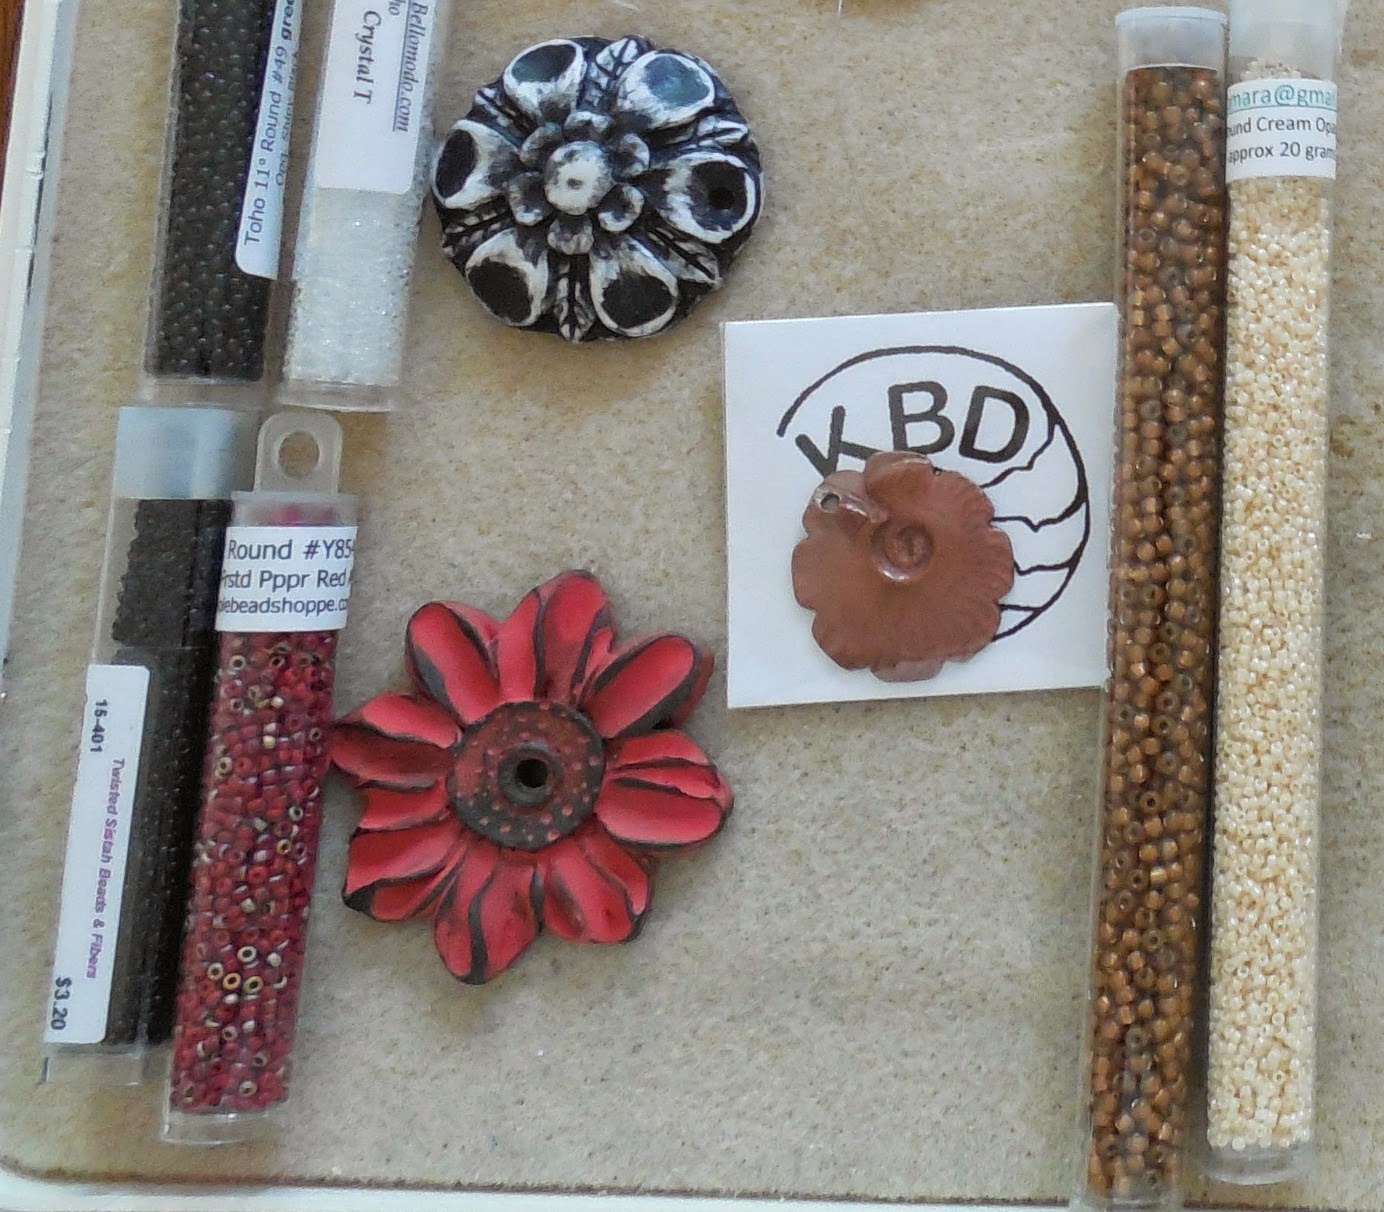
Good Morning.  There has been a flurry of beading going on and some deadlines that were met.  Custom pieces that were completed and in process of completion.  A clean or almost clean bead tray actually freaks me out so I went to my stash.


Look at all those.  The centers are artbeads and the little file cabinets are seeds and do you know what happened?  None of them are talking to each other.  Creative block attack!  I know it happens to everyone and it has happened to me before but this time it was so strange.  Strange because I have amazing artbeads.  I have a good supply of seeds to match why oh why cant I seem to find the inspiration?

This is my overflow tray.   
 

Things that need to be finished but how to finish has stumped me.  

There are groupings of seeds and beads that work well together but the way to do them is stumping me.  

Also there are a couple of pieces I need to get tutorials written for but for some reason each time I get to photographing them the pictures are turning out incredibly blurry and for me that doesn't happen very often.  

I know if I force it I will not be happy with the results.  The other issue for me is I have found that I work so much better with surprises.  I am actually thinking that the next time I have the bucks to buy beads I am just sending payment with a request to surprise me!

I think I just need to step away for a bit.  I hate doing that because for me beading is very therapeutic.   So what do you do when this happens to you?

Kristen