Those of you familiar with my work know that I have a huge love of torch-fired enameling! I learned from the master, Ms. Barbara Lewis! Her immersion method really works for me when it comes to instant gratification in creating art jewelry components. Recently, after reading some posts on Barbara's Ning site, and seeing lots of lovely inspiration, I decided to try some new enameling techniques. After a little research, I decided to purchase a set of Enamel Pens. These are made by Thompson Enamels and can be purchased individually, or in a set of 9.
They were a bit tricky to get the hang of at first...you have to squeeze the tube and apply a bit of pressure to the tip to get the liquid flowing. You also have to make sure you shake the pen quite a bit, as the colors tend to separate. I found some colors are runnier than others as well.

These were the 1st ones I did...I loved the designs, but my background colors got muddy, and they over torched.
The biggest learning curve was torching the pieces after I applied the liquid enamel. You can't go directly into the flame or your dried designs will pop right off! This is where I decided to use the tripod and trivet method, so I could direct the flame underneath of the piece. I didn't really get the hang of that method and reverted back to directly in the flame!
I decided to try some pumpkins and ghouls...here are before firing...


As you can see, the 2nd firing can be tricky, especially if your base coat is a hard color, like white, to keep from getting muddy! I still think these little guys are pretty scary cute! Sorry for the shiny photos!
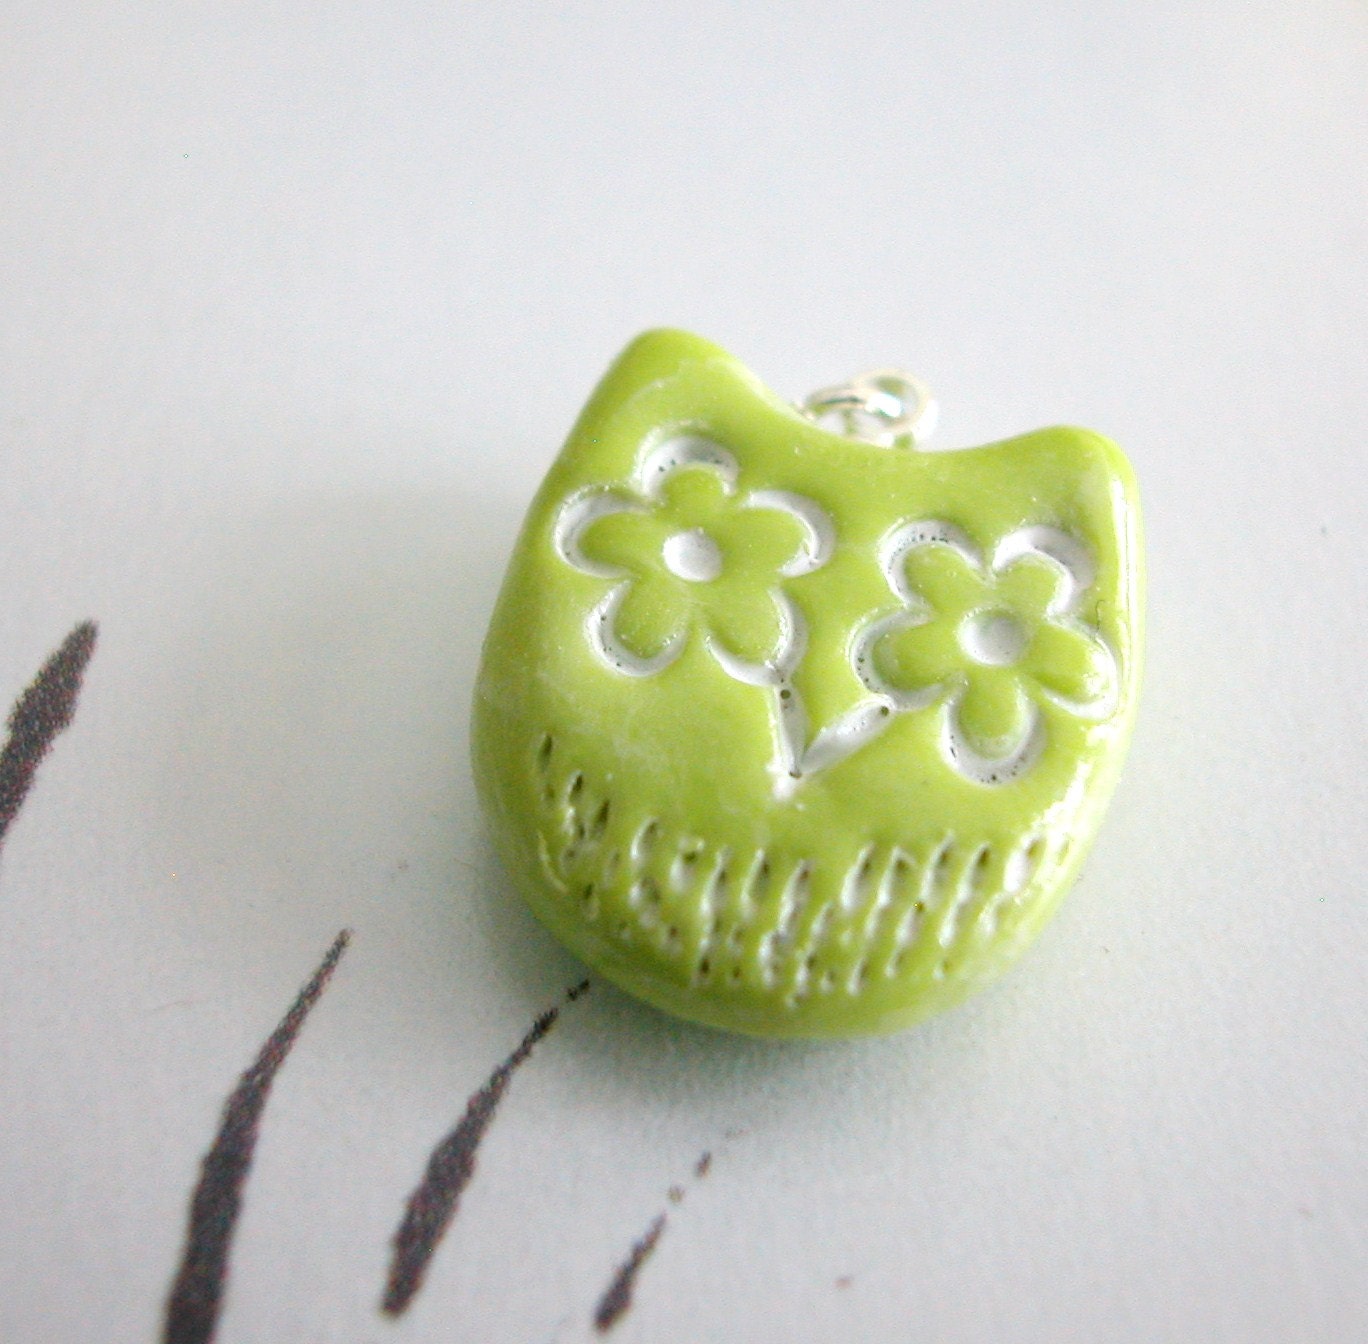
Next, I thought I would try on some bisque-fired lentils I had from Bisque Bead Supply...they are such cute shapes and the enamel finishes with a lovely crackle. I enameled them, then used the pens to draw faces...Jenny, here is my attempt at an enameled sugar-skull! (Check out yesterday's post on Dia de los Muertes). Here is before 2nd firing....


Unfortunately, not a success! I think the crackle glaze made the drawing run more than when fired on a smoother finish. See what I mean by trial and error!
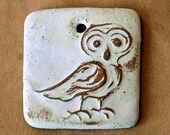
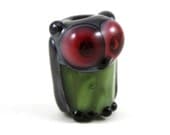
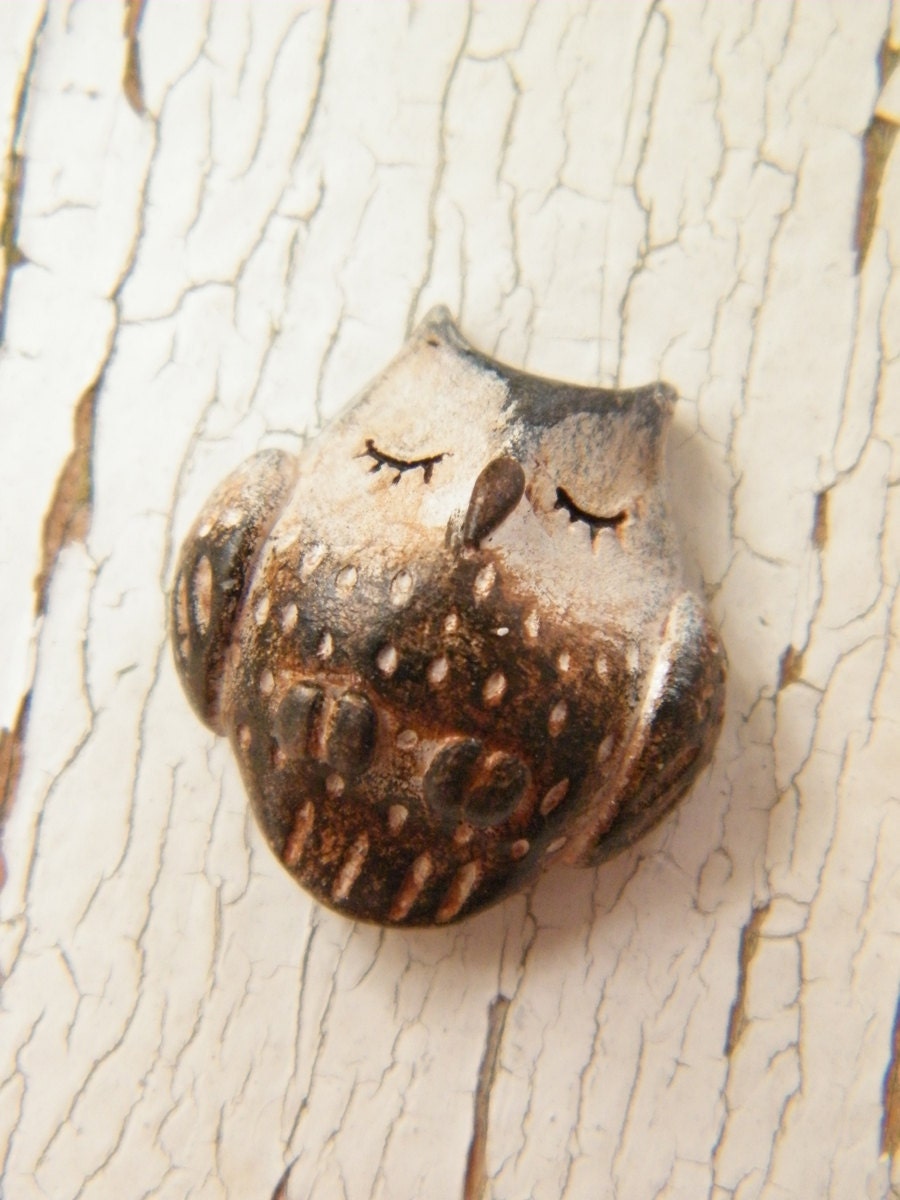
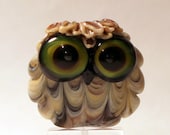
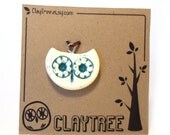
The owl was a total last minute experiment, and he actually turned out better than the others...here he is again! I will definitely be making a few more of his kind!

Thanks for stopping by and letting me share! What new techniques are you playing with?
~Melissa Meman