The one thing I don't love is using the single wire from the headpin to assemble the stack together AND as the loop for hanging the resulting stack as a pendant or earrings. It was too wobbly for my taste. I mean, I like wobbly for this particular design, but it was just a smidge too wobbly. So I started considering how to get around this issue. That's when I thought about making the headpins double ended.
First, for disclosure, I "thought" of this idea all by myself while brainstorming. But when I actually started creating the headpins, I had a nagging feeling I had heard of something similar before. As I worked, I tried really hard to remember where I had heard of double ended headpins before. And then it hit me after I shut down the kiln for the day. Duh Jenny, it was on your own collaborative blog called Art Jewelry Elements. Written by Melissa Meman. Facepalm. You can click here to read her post on fusing the folded end of the wire into a ball for a double ended headpin. Just make sure you come back to read my post (pretty please?).
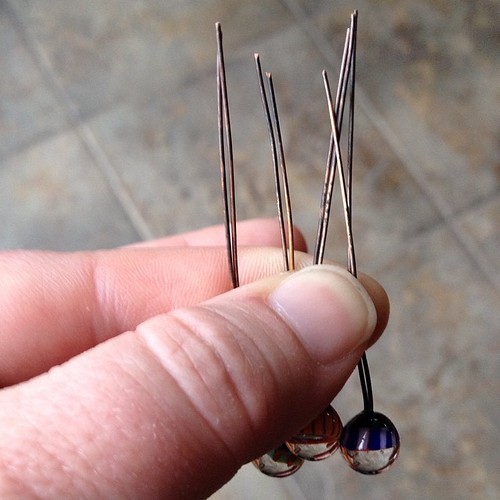
To start, I knew I couldn't use the typical 18g copper wire I use for headpins. I would have to make the holes in the discs much larger than I wanted to (18g fits tight in the disc holes after they are enameled) and I thought 18g might be too much of a challenge to manipulate for my needs. I decided to try 22g, but I didn't have copper. So I used bronze instead, cutting 4" pieces then making the folded end really tight together.
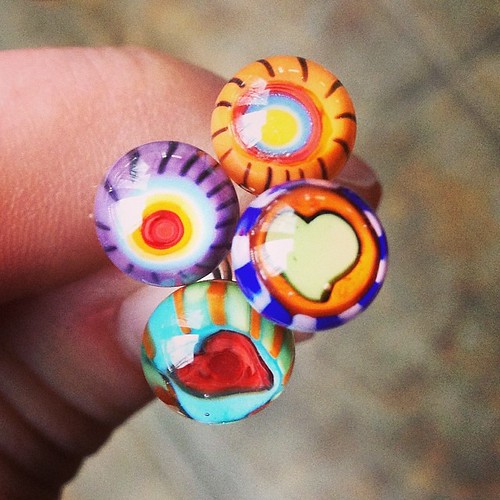
In Melissa's tutorial, she twisted the two ends together. Because of the way I was making my headpins, I didn't need to do that. I simply added some glass to the folded end.
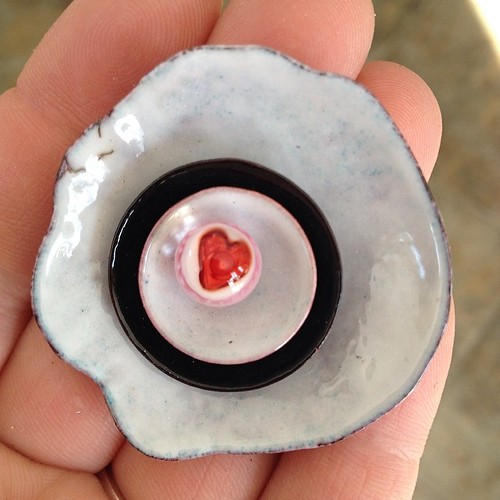
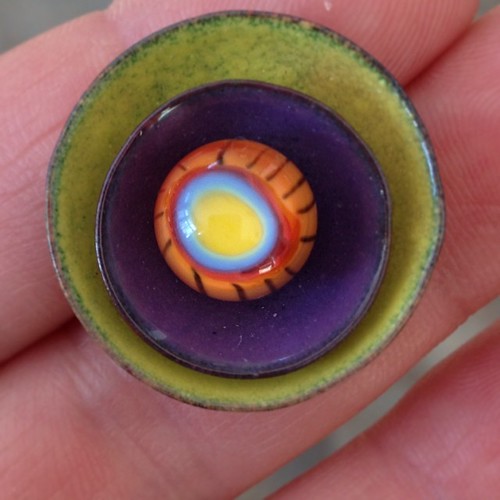
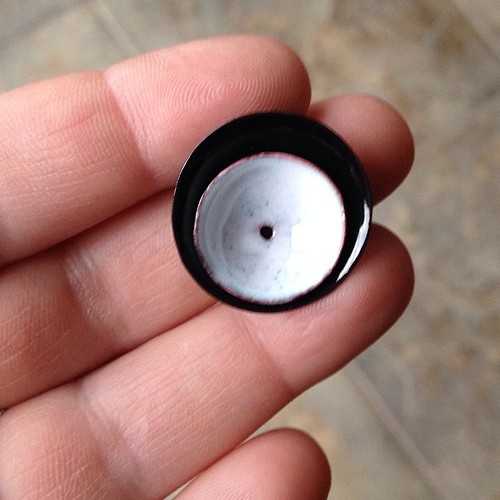
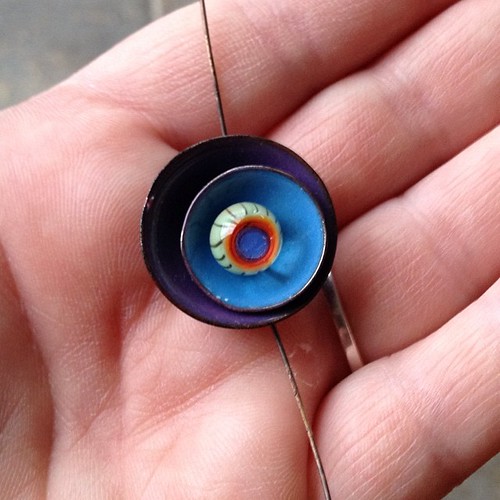
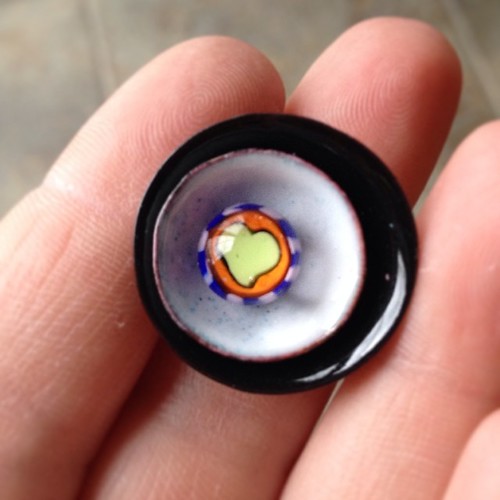
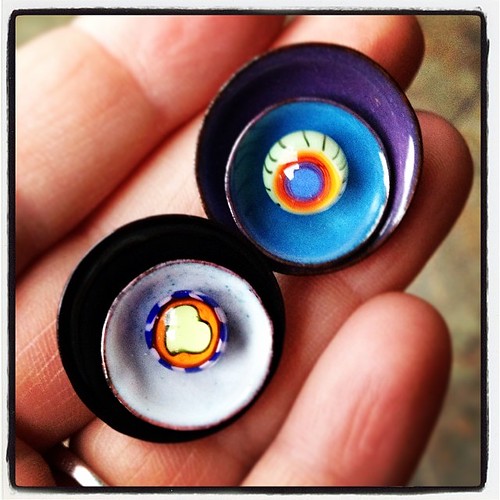
I selected a couple enameled discs to stack.
And started working.
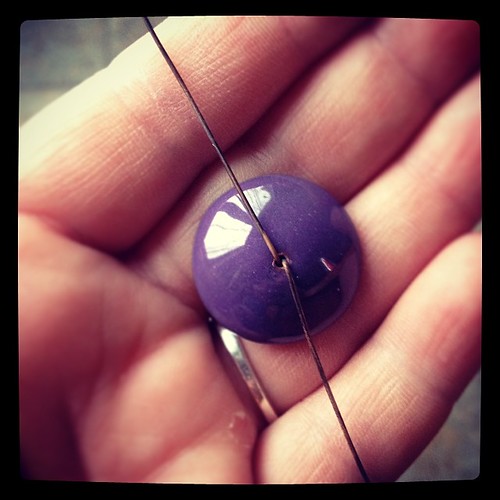
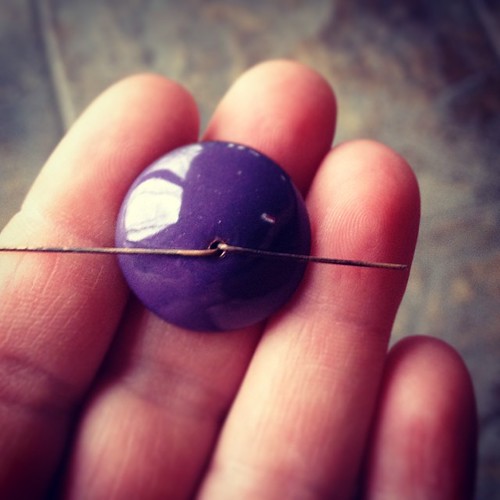
After stacking the discs, stick both ends of the headpin through and open the ends in opposite directions, making sure to pull snuggly to pick up any slack.
Then cut the wire you want pointing towards the floor to about 1-1.5" long
Start spiraling the cut end and gently (very gently) tap it with a rawhide hammer.
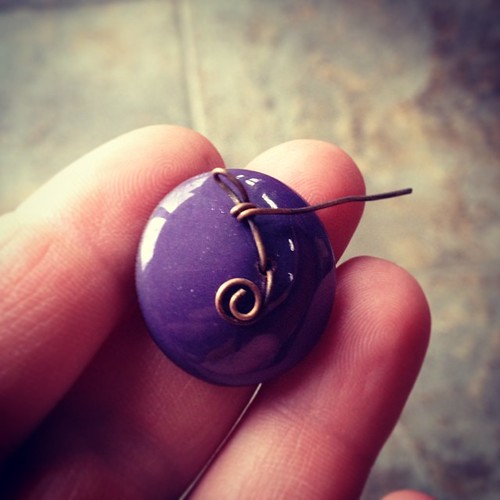
Leave the other end full length (if you don't have a separate hole to hang the assembly from...if you do, cut the other end the same length and spiral in the other direction). Select an area on the wire to make a small wrapped loop. I wanted my wrapped loop to be hidden behind the discs. But this is a personal decision.
Make a small loop, then 2 tight wraps at the base of the loop. I squeezed my loop so that it is a flat loop rather than a round loop.
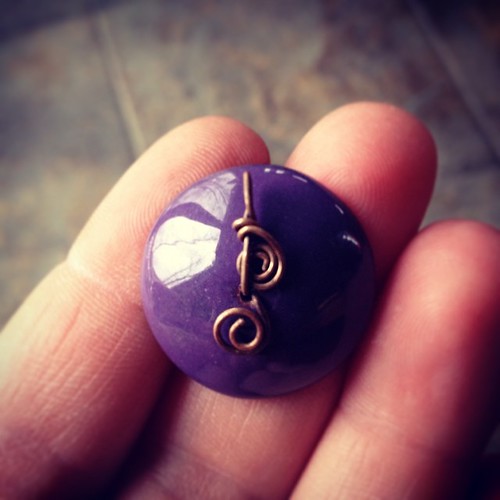
Spiral the remainder
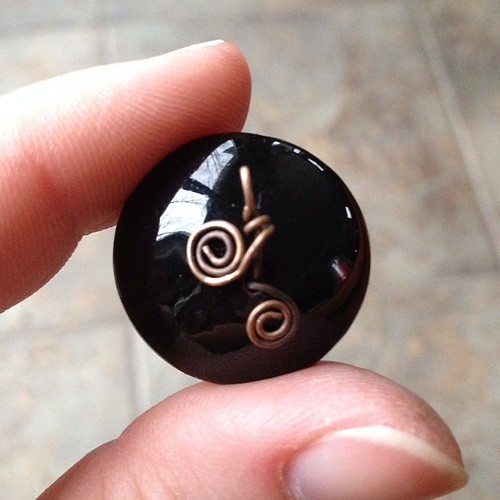
Again, tap with rawhide ever so gently while resting the assembly on something soft, face down.
Repeat as many times as you want until you run out of headpins, discs, or patience
I will be offering some of these double ended headpins in my shop within the next week or two if you're interested in playing with some double ended glass headpins.
Have a wonderful week!
-Jen Cameron

Those are beautiful, and so nicely spiraled. I wonder if I could make double headpins with PC? Might have to try that :-)
ReplyDeleteHa, ha, Jen, that's okay! You took it into a totally different direction, and I love how you created the loop in the back! I am still playing with ideas for my new headpins ;)
ReplyDeleteWhat a great idea, thank you. E x
ReplyDeleteBeautiful! Even the back is cute, and they do look very sturdy. I have to try one of these double headpins--I'm thinking they'd work great with lampwork discs from my stash for earrings.
ReplyDeleteBeautiful headpins! They were useful and creative just made in metal (like Melissa's), but in lampwork they're so pretty. They're really making my head buzz with ideas for how to use double headpins. A new must-have jewellery component, perhaps?
ReplyDeleteThese are just amazing Jen - love them. Thanks for sharing x
ReplyDeleteOMG - love these!
ReplyDeleteWhere there is a will, there is a way. Well done!
ReplyDeleteThese are not only clever, they are beautiful as well. Love them!
ReplyDeleteBeautiful!
ReplyDelete